Solar air heater - DIY installing a solarsheat
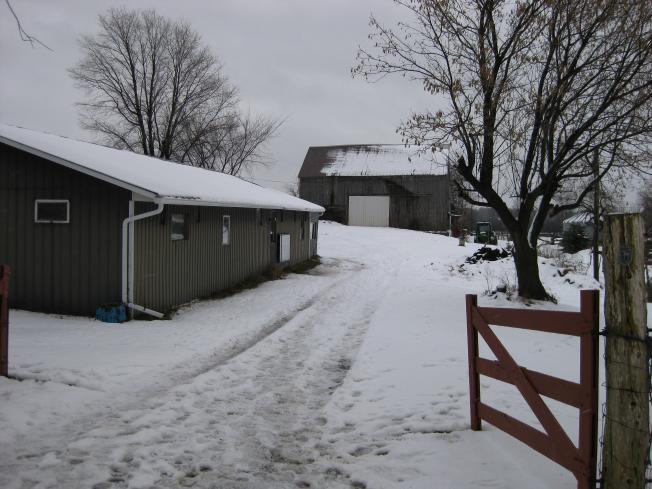
This is a step-by-step example of installing the commercial solar air heater, Solarsheat. In this case we installed it oriented horizontally on a horse barn. I and another installer did this work for Isolara Energy Services.
Making the vent holes
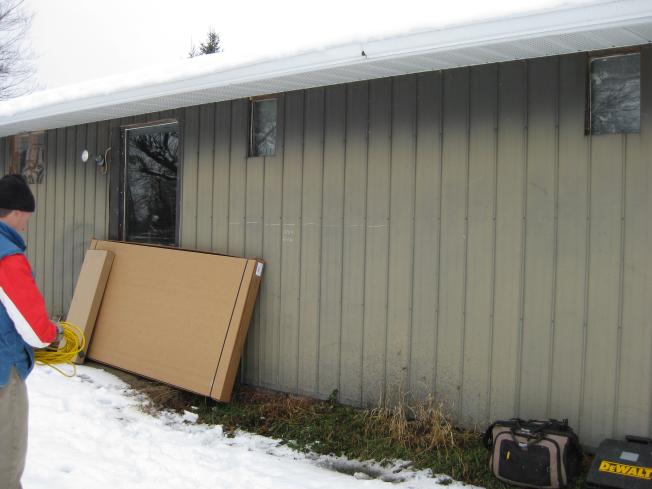
The first step was to make the vent holes, one for the cool air to go from the barn interior into the Solarsheat, and another for the heated air to go from the Solarsheat back into the barn. The Solarsheat comes with a template to make this easy. The template is a large sheet of cardboard the same size as the Solarsheat with two holes marked on it.
Before using the template, we looked for the studs (two-by-four wooden framing inside the wall.) You don't want to make holes in the studs as that'll weaken the wall, but also, it's very hard to cut a hole in a stud using a hole saw. In this case we could easily see the nails in the horizontal boards that went into the studs. Most walls will have drywall and be painted so you'll have no idea where the studs are just by looking. In that case go buy a good stud finder at your local hardware store. Make sure you also look at the wall from the outside in case there are any placement issues there too.
We did have an issue with the template. The hole drawn on the template on the right was not centered with respect to the narrow length of the cardboard the same as the hole on the left. It was off by 1/8". So we had to account for that and then drill such that our holes would be centered the same.
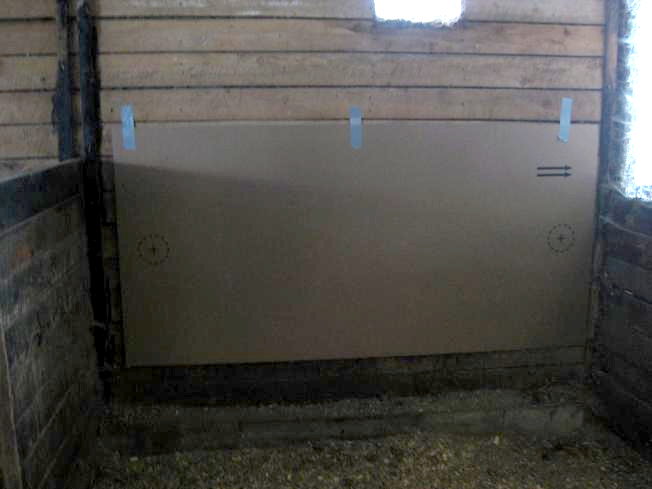
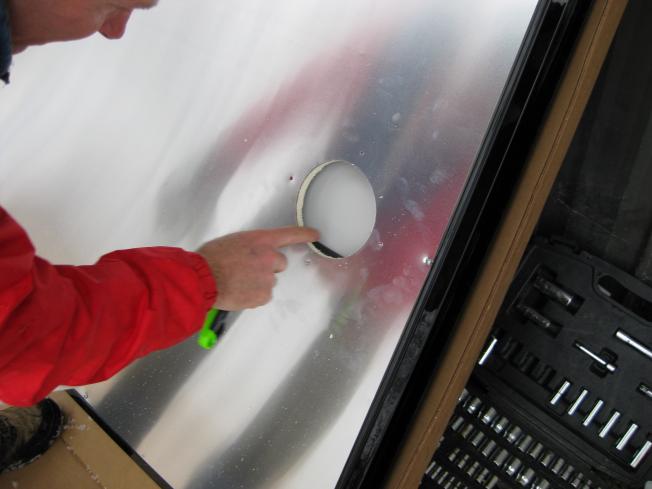
We placed the template on the wall as in the photo below and then used a very long drill bit to drill a small hole all the way from the inside to ourside. The reason for drilling all the way is because you'll next use a 5 1/4" hole saw to cut from the inside out and also from the outside in. It's doubtful your hole saw and drill will be able to go all the way from one side only. By first drilling one small hole all the way we can be sure that the larger holes will meet in the middle.
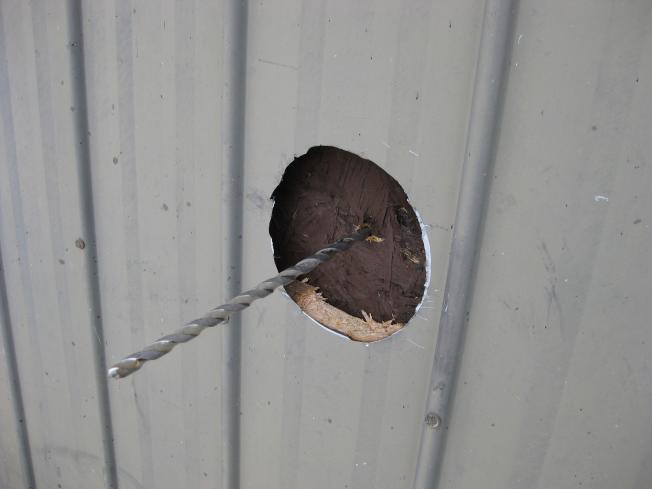
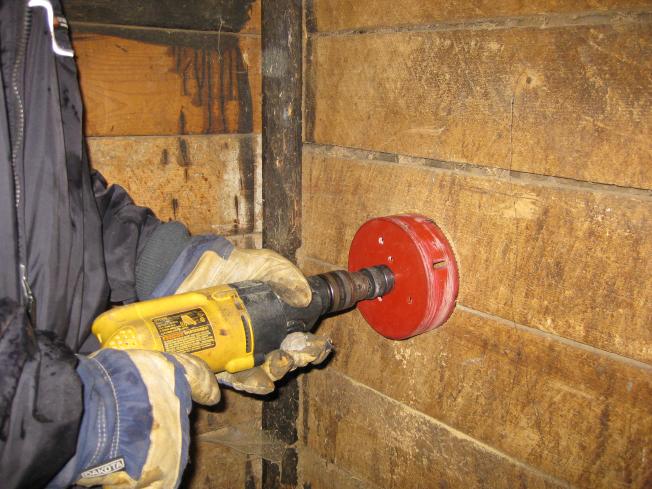
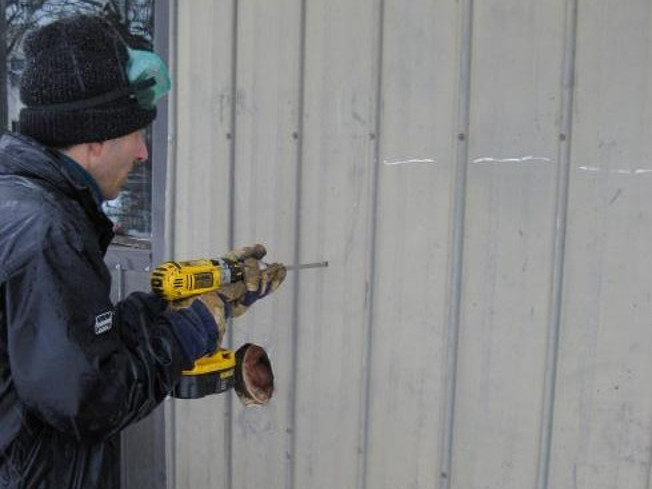
Next, we used the 5 1/4" hole saw, as in the photo below, to make the larger holes. The hole saw has a smaller drill bit within it which goes into the small hole you previously drilled and acts as a guide so that the larger hole is centered uniformly around the smaller hole. We did this for both holes from the inside and the outside.
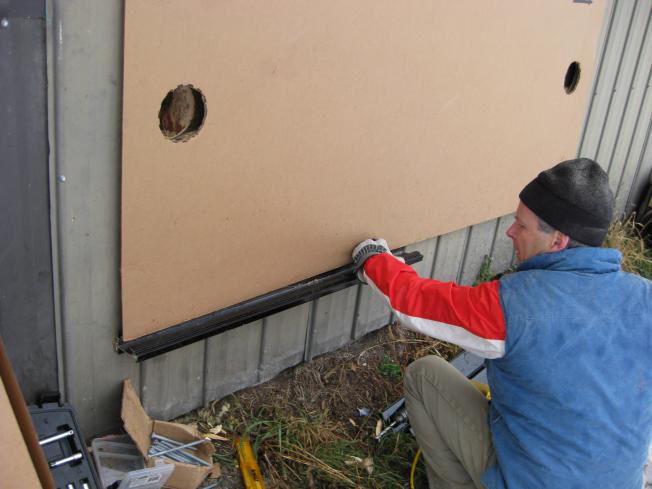
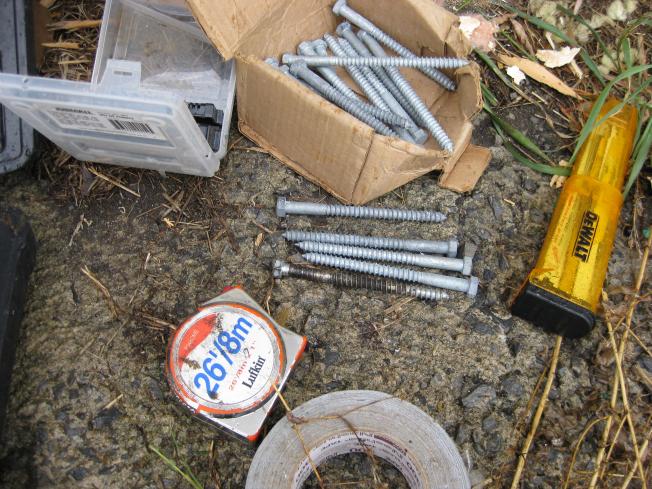
Mounting the bottom bracket
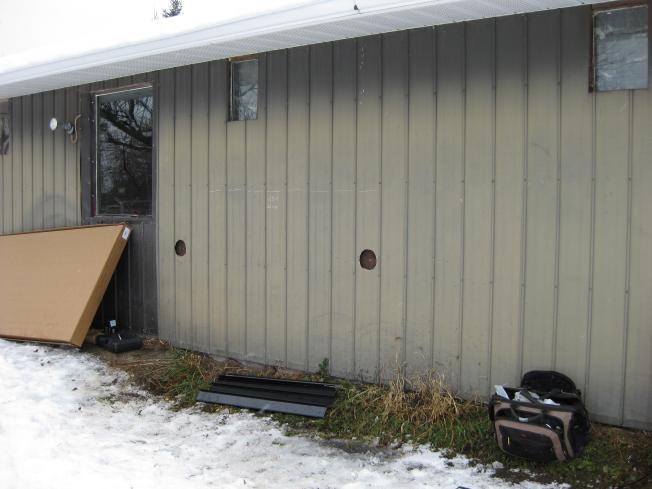
We cut the holes out of the cardboard template and placed it on the outside wall, lining up the holes in the template with the holes in the wall. We used the bottom of the template to see where to put the bottom bracket or brackets (in the case of a horizontal mounting there were two bottom brackets and two top brackets.) Use long lag bolts (see photo below) to bolt it them to the wall and make sure the lag bolts go into the studs in the wall. In this case it was easy to find the studs by looking at where the nails were in the inside wall. They were 18" apart. From the outside we could reach into either of the holes in the wall and find a stud and then meassure 18" away for the next stud and then 18" from there for the next one after that and so on. Drill holes in the braces for the lag bolts. You can also pre-drill holes in the studs too but make sure the hole is smaller than the diameter of the lag bolt so that the lag bolt can grip. The sides of the lag bolt don't have to grip the braces so those holes can be drilled larger.
Cutting the hole in the back of the panel for air into the panel
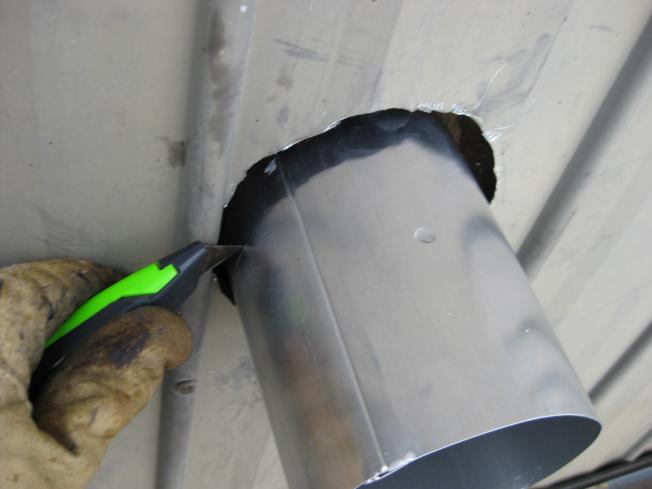
The location for the air intake hole is marked in the back of the Solarsheat. We cut it out, as in the photo below, using a sharp knife. Make sure you don't cut too deep. You need only cut out the metalic back and the insulation. The air outake hole is already cut out and has a fan in it.

Preparing for the thermostat wire
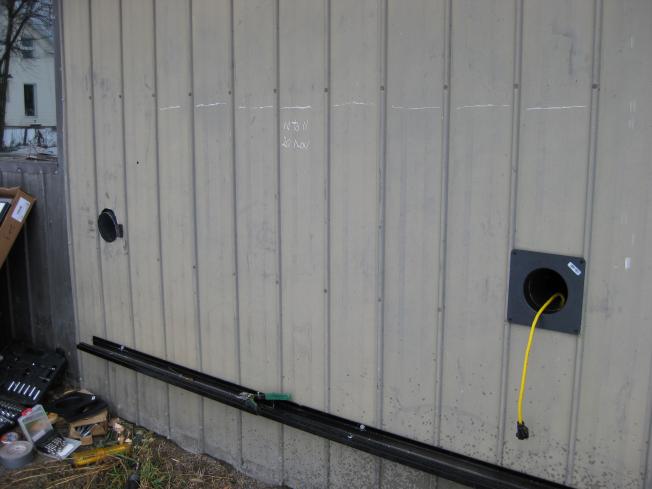
There is a thermostat inside the Solarsheat and the wire for it is coiled up and taped to the back near the air outtake hole. This wire will have to be connected to the electronics inside so we drilled a hole all the way through the wall for it. The hole can be drilled anywhere, as long as the wire will reach. Drill it in a location that'll be behind the Solarsheat so it won't be visible from the outside but also take into consideration where you want it to come out on the inside wall. Test with putting the wire through the hole but don't put it through permanently until putting the Solarsheat on the wall later.
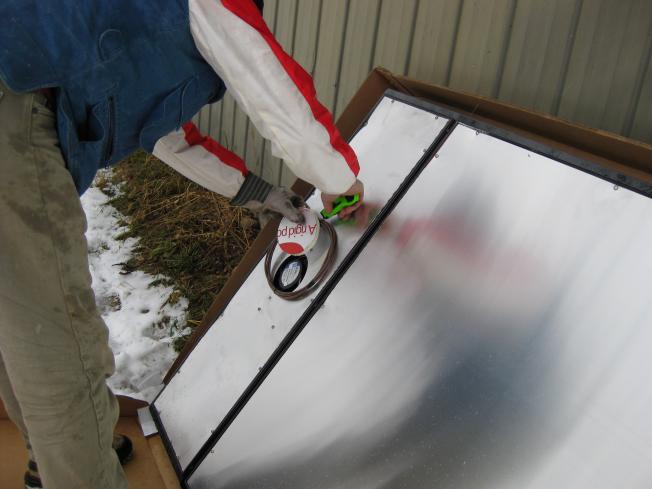
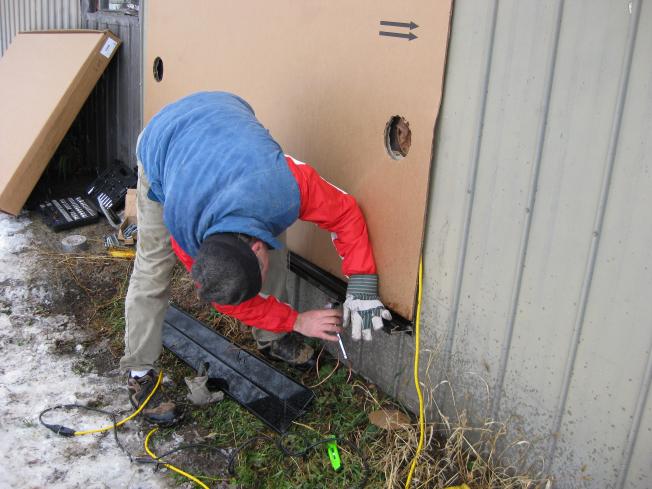
Putting and cutting the flashing and putting the collars and insulated foam
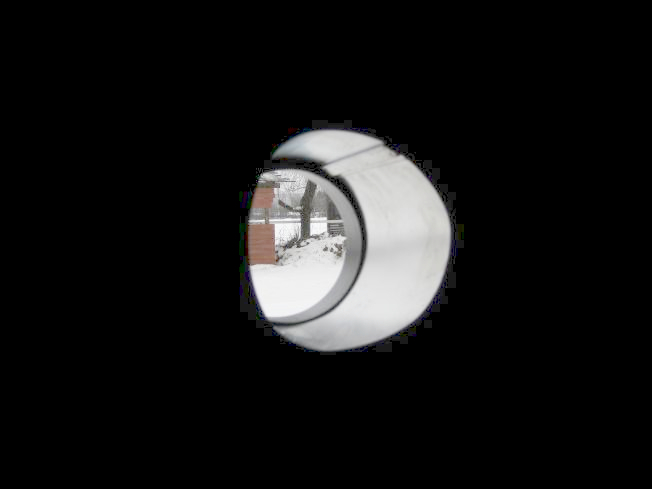
One at a time, one person pushed an aluminium cylinder duct that comes with the Solarsheat through the hole from the inside and held it in place while the other person marked it. Normally you'd mark them where they meet the wall but in this case we had the ridges in the metal wall to consider so we marked them flush with the ridges. In the photo below we mark it using a knife. We then removed the duct, unrolled it to make it easy to cut, cut it to the marked length and then rerolled it. We then put it back in the hole and repeated these steps for the other duct. We placed the collars inside of the ducts and put chaulking between the wall and the back of the collar. We then attached the insulating foam to the flat part of the collars facing the panel.
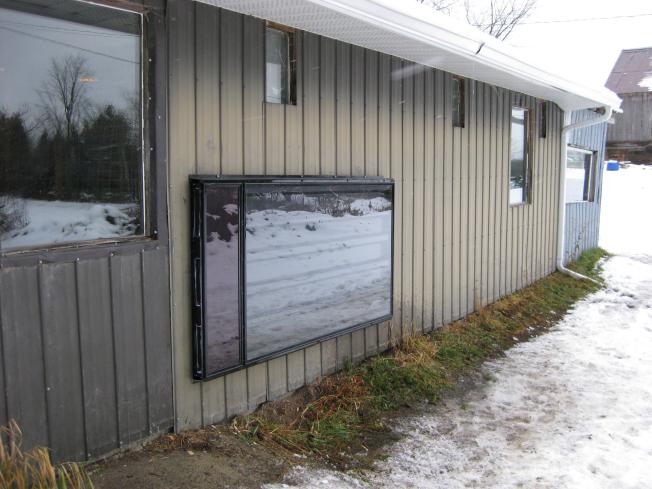
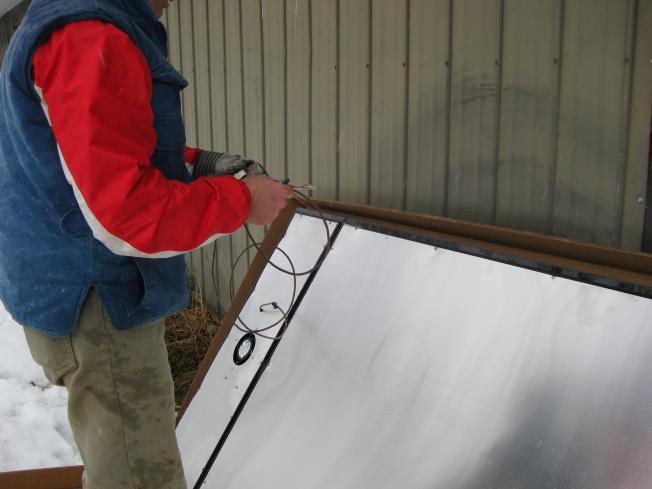
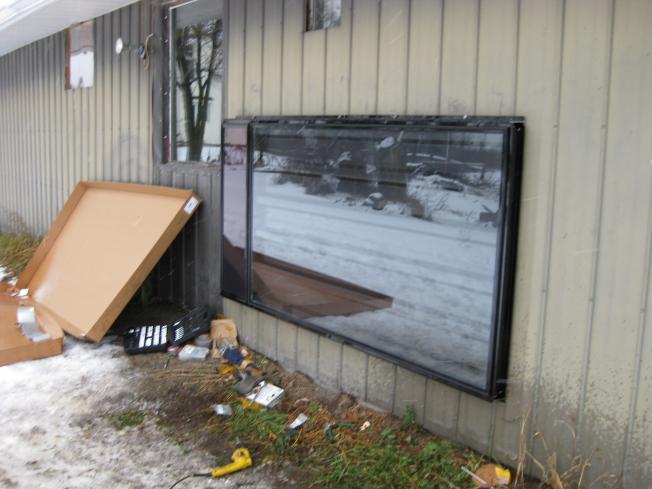
Top bracket and mounting the panel on the wall
One of us placed the panel on the bottom bracket while threading the thermostat wire through the hole that we'd drilled earlier. He then held it in place while the other person mounted the top brackets on the wall. We then used the small screws to screw the panel to the top and bottom brackets.
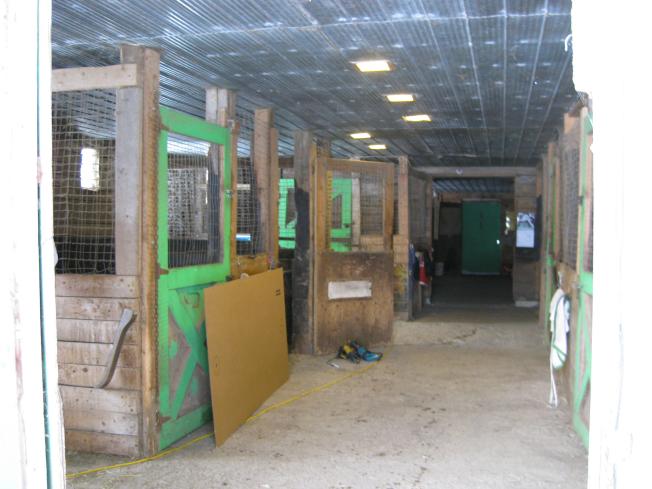
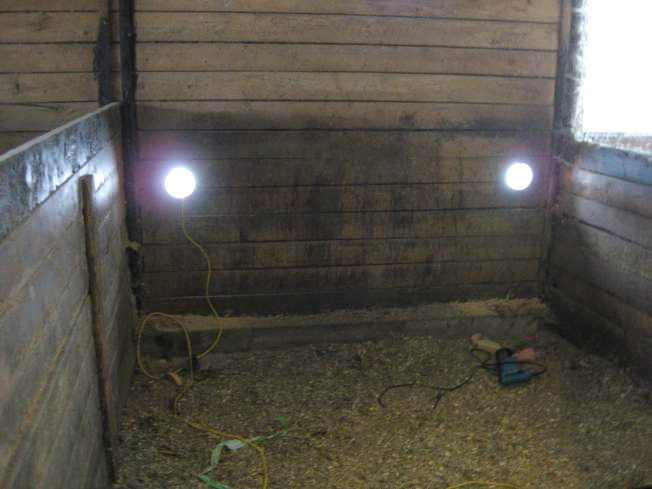
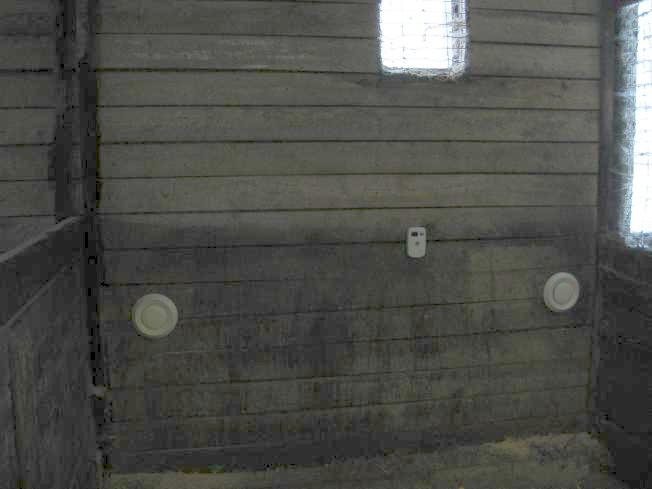
The inside parts
I was working on the outside portion so didn't get a chance to take any photos of the placement of the diffusor, backdraft damper, wiring up the thermostat, ... but here's a photo of what it looked like in the end.
The finished result