How to connect to a Raspberry Pi via Ethernet to a modem
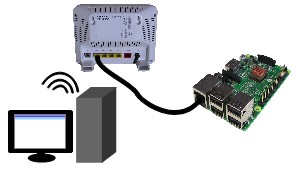
This involves connecting your Raspberry Pi to your router using an Ethernet cable. The computer can be connected to the router using an Ethernet cable as well, or using wireless.
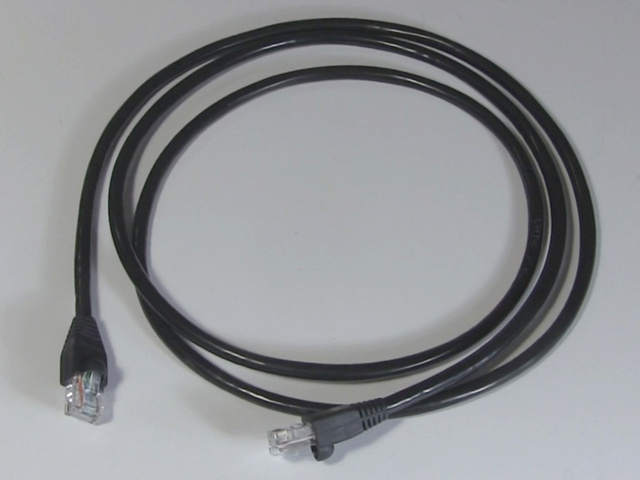
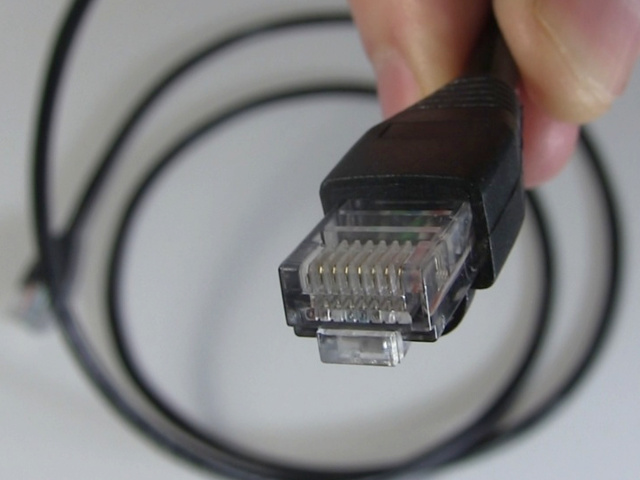
To physically connect the Pi to the router you'll need an Ethernet cable that has male RJ45 connectors on both ends. Plug one end into the computer and the other end into the Pi.
Next, give power to your Raspberry Pi. You should see various lights lit up at different times.
Finding the Pi's IP address
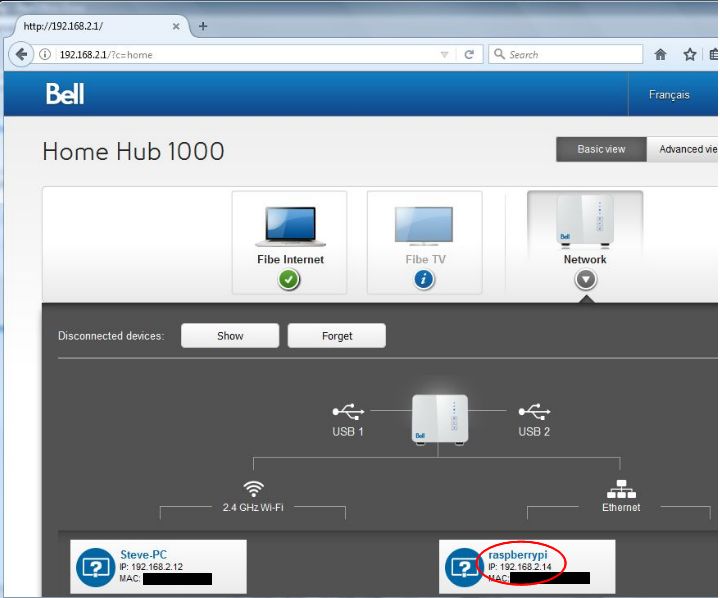
The router should have noticed that the Pi is connected to it and it should have given it an IP address. You need to find out what that IP address is. For most routers you should be able to go to a browser and type in the IP address of your router to connect to it as is shown in the snapshot below. Type the address into the browser's address bar, located near the top-left of the browser window, and press Enter. If you don't know the router's IP address then contact your internet provider to get it. It'll be something like 192.168.1.1 or 192.168.2.1. In the snapshot I'm using the Firefox browser running on Windows Vista and have already given it the IP address following the above steps. You can see it circled in the top, left. Note that I typed in only the "192.168.2.1" in the address bar. The browser filled in the stuff that you see following it. My router is called the Bell Home Hub 1000 and that's what you see in the webpage that came up. Unless you have the same router, yours will look different but have similar features.
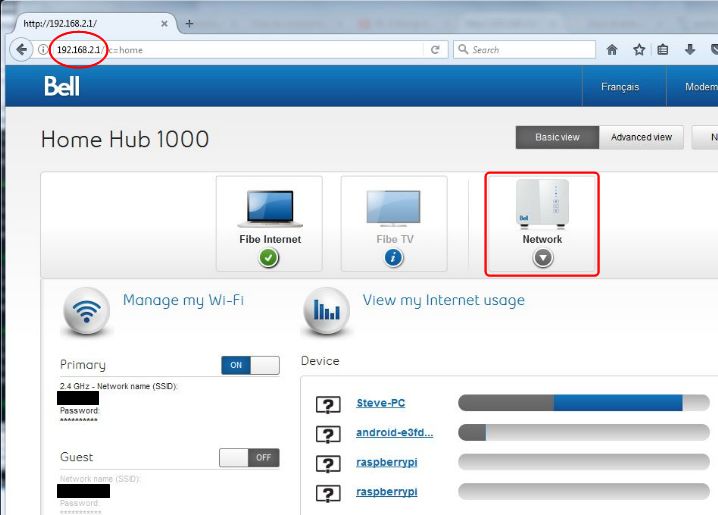
For my router, the next thing I need to do is click on the Network icon on the right, as highlighted in red in the above snapshot. That changes the webpage to show more information about my network, as shown in the snapshot below.
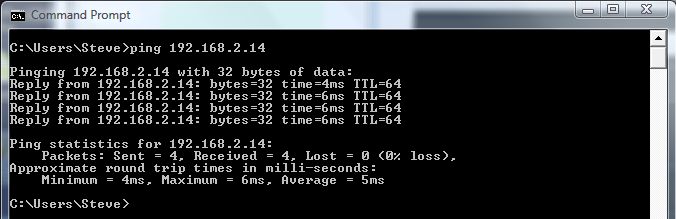
Circled in red at the bottom, you can see that it's showing the Raspberry Pi as being connected and it's giving its IP address, 192.168.2.14, the one we're looking for.
Using the IP address to connect to the Pi
Now that you have the Pi's IP address, you can connect to it however you want, provided the setup on your Pi allows you to connect.
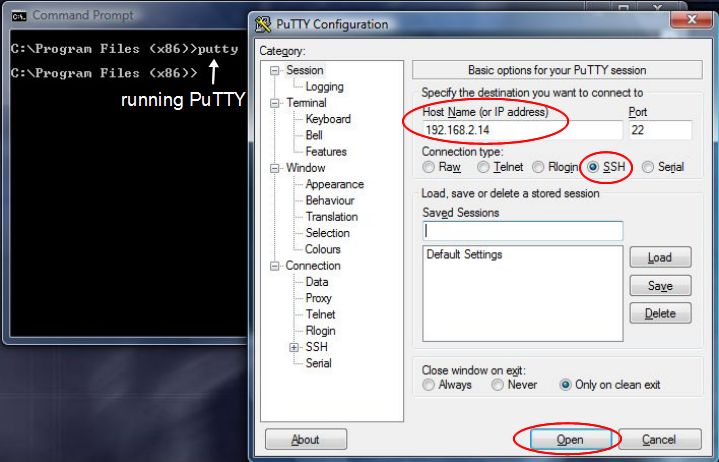
In my case, the setup that came with Raspbian on my SD card allowed me to ping the Pi to see if I could get to it at all. This is done by running the ping command and passing it the Pi's IP address, as shown below. Doing a ping is like tapping it on the shoulder to see if it's there.
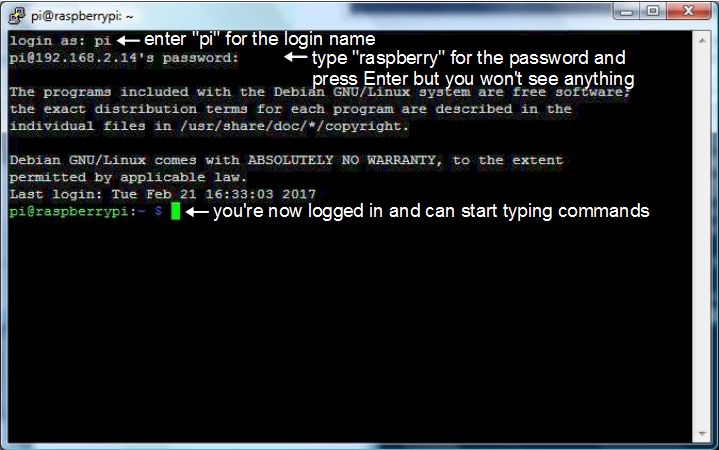
I could also start up an SSH (secure shell) session using PuTTY, free software that most Pi users use at one point or another. In the snapshot below I'm running it from a Windows Command Prompt window. Once it was up, I typed in the Pi's IP address.
Note above that the Connection type is selected as SSH and so when I click on the Open button I get a new window with an SSH running in it. I'm asked to log in. For a new Raspberry Pi system the username is usually pi and the password is raspberry.
At this point you are connected and able to start typing commands.
