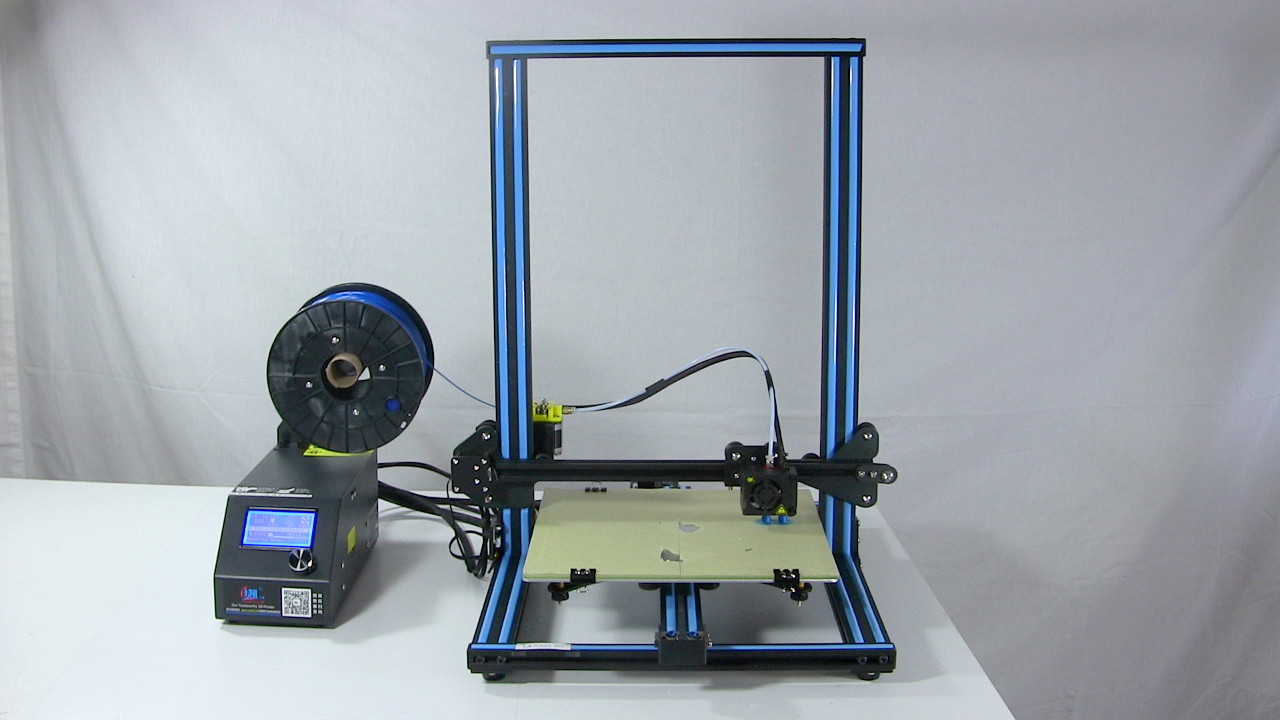
Creality CR-10 3D printer
I bought a CR-10 3D printer, also known as a Creality CR-10 3D printer, and it's been great. The CR-10 is realitively inexpensive at around $400 US while also producing high quality prints. In the first few weeks (as of this writing) I've done around 20 to 30 print jobs without the extruder getting clogged or having any other problems.
I purchased it from Gearbest.com, requesting the fastest, free shipping method as well as the $7.80 shipping insurance. It arrived in two weeks. To assemble it I followed the excellent video shown here step-by-step. Having watched people's videos about their initial problems, it's clear they didn't know about many of the steps given in the video (link to it on their the Tiny Machines 3D YouTube channel).
The printable size is 30cm x 30cm x 40cm (height) or 11.8" x 11.8" x 15.7" (height).
The CR-10 can print PLA and ABS at a minimum. The bed is heated. ABS has a higher melting point and so definitely needs that heated bed, though the heat is used for PLA too. For ABS you'll likely have to make some sort of enclosure to keep the heat in. For PLA I find that 220°C at the hotend (extruder temperature) and 60°C at the bed work well.
Video - My CR-10 3D Printer - Creality 3D Printer
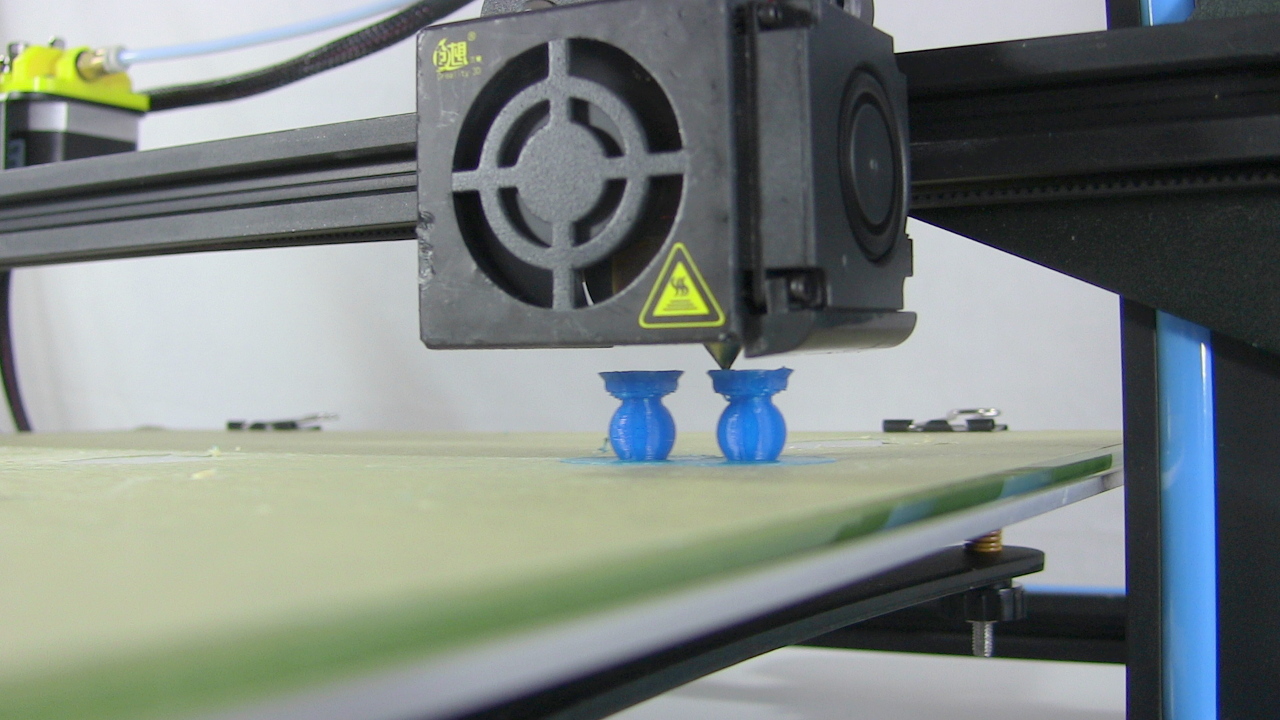
Here's the CR-10 in action. I also show how it works, how to setup a printing, and some of the things I've printed.
Buy A CR-10 And Support This Website
I purchased my CR-10 from Gearbest.com. It arrived in two weeks, worked the first time and I haven't had any problems with it as of this writing, and I've printed quite a bit.
If you buy it from Gearbest.com using one of the links below then it will cost you nothing extra but I'll receive a portion of the price, which will help keep this website going, meaning more projects and informational webpages.
For those who want a US-style plug...
Creality3D CR - 10 3D Printer - US PLUG BLUEFor those who want an EU-style plug...
Creality3D CR - 10 3D Desktop DIY Printer - EU PLUG COFFEE AND BLACKModifications
Many people buy the cheaper Anet A6 or Anet A8 which require doing many modifications in order to increase the quality and make them last. That's fine, if you don't mind spending the time to do that. However, I wanted a 3D printer as a tool and preferred to spend my time using it to make the things I need instead. I did print out one part to add to it, and had to add one other thing, both covered below, but they were both simple and quick.
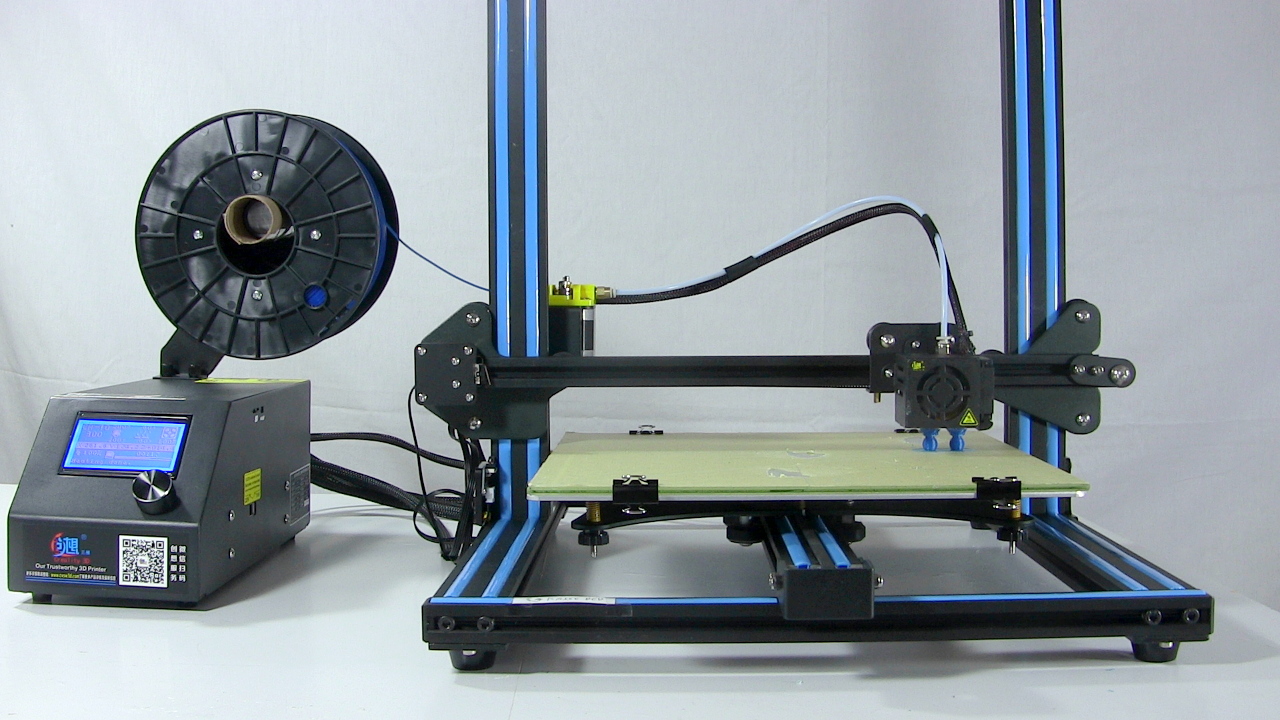
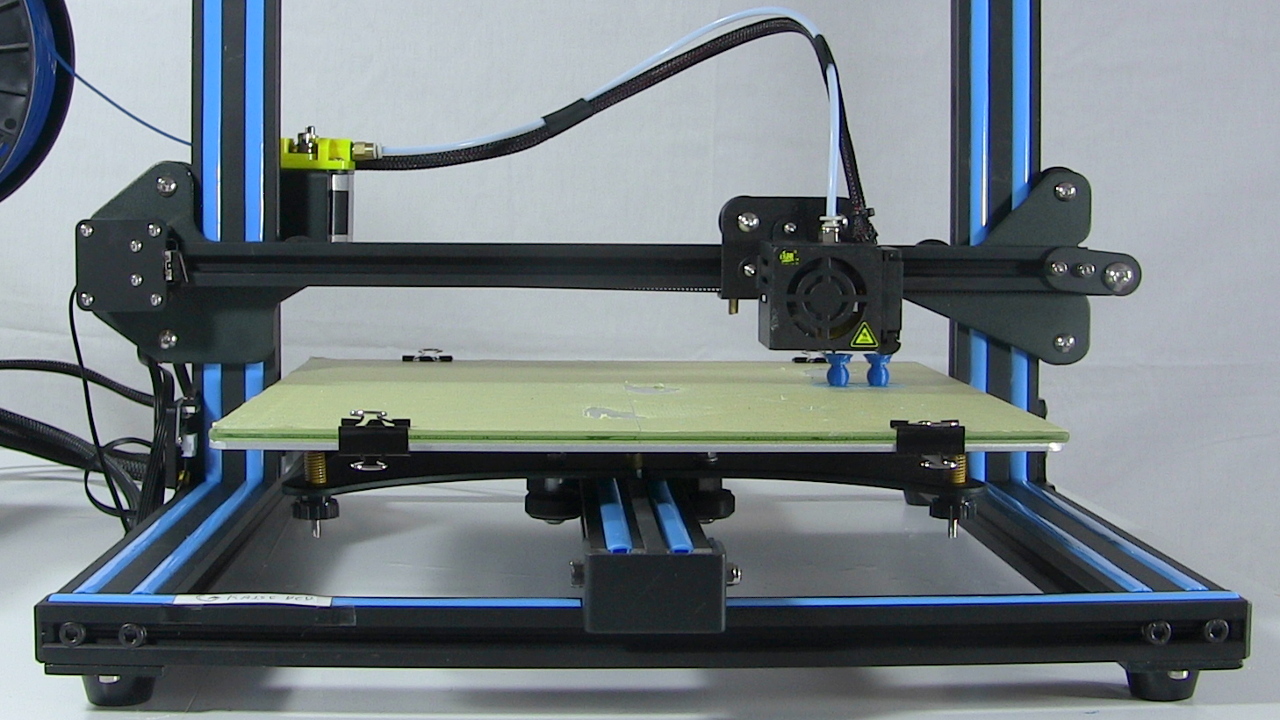
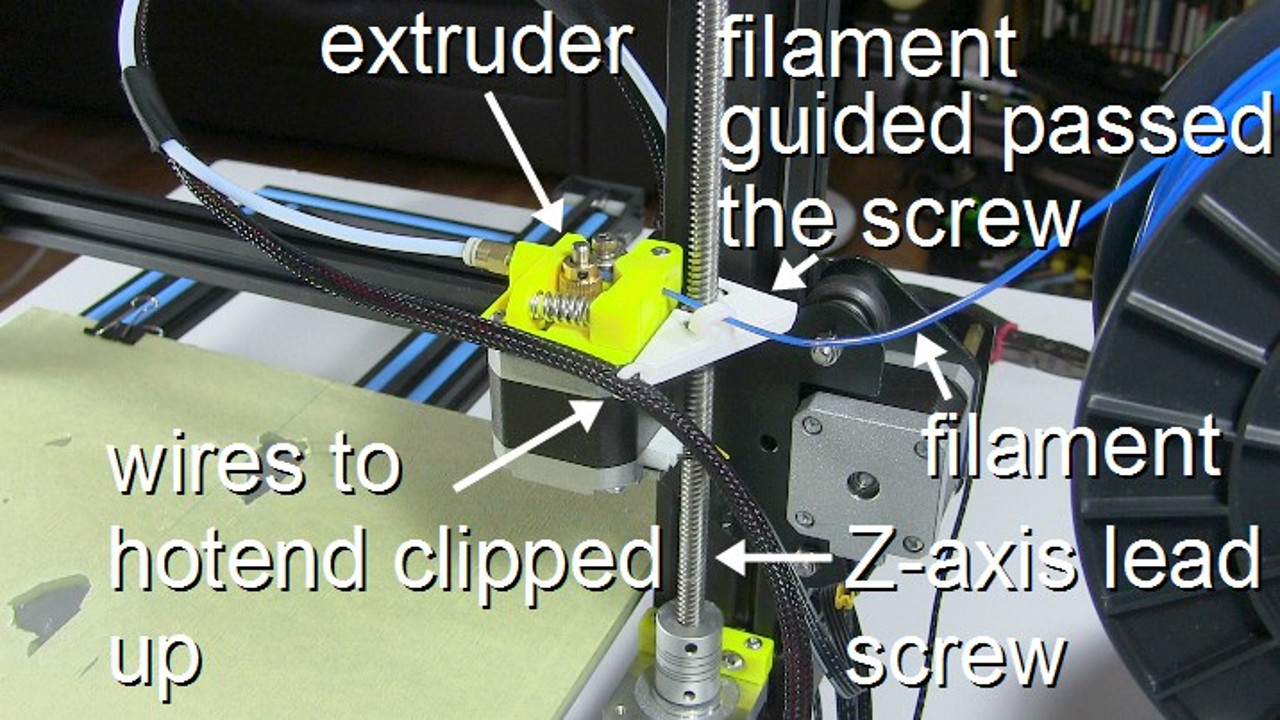
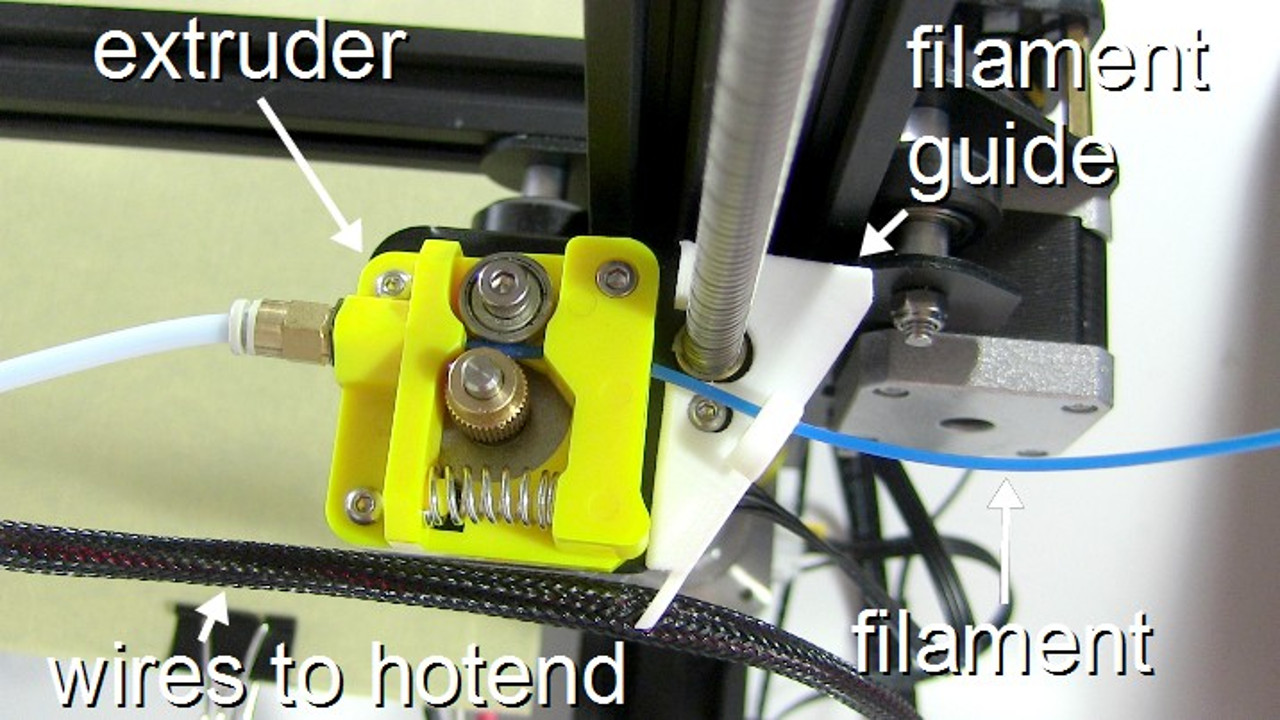
Filament guide and hotend wire clip
Before the filament enters the extruder, it comes close to the Z-axis lead screw, which can be greasy. You can position the filament spool such that the filament won't touch the screw but it's nice to not have to worry about it.
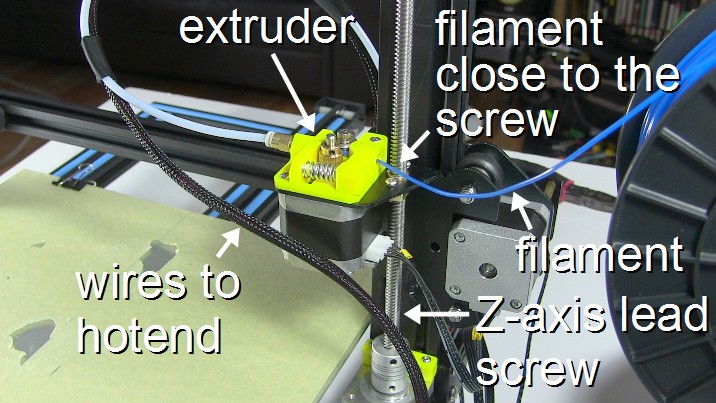
And so I found a filament guide on Thingiverse.
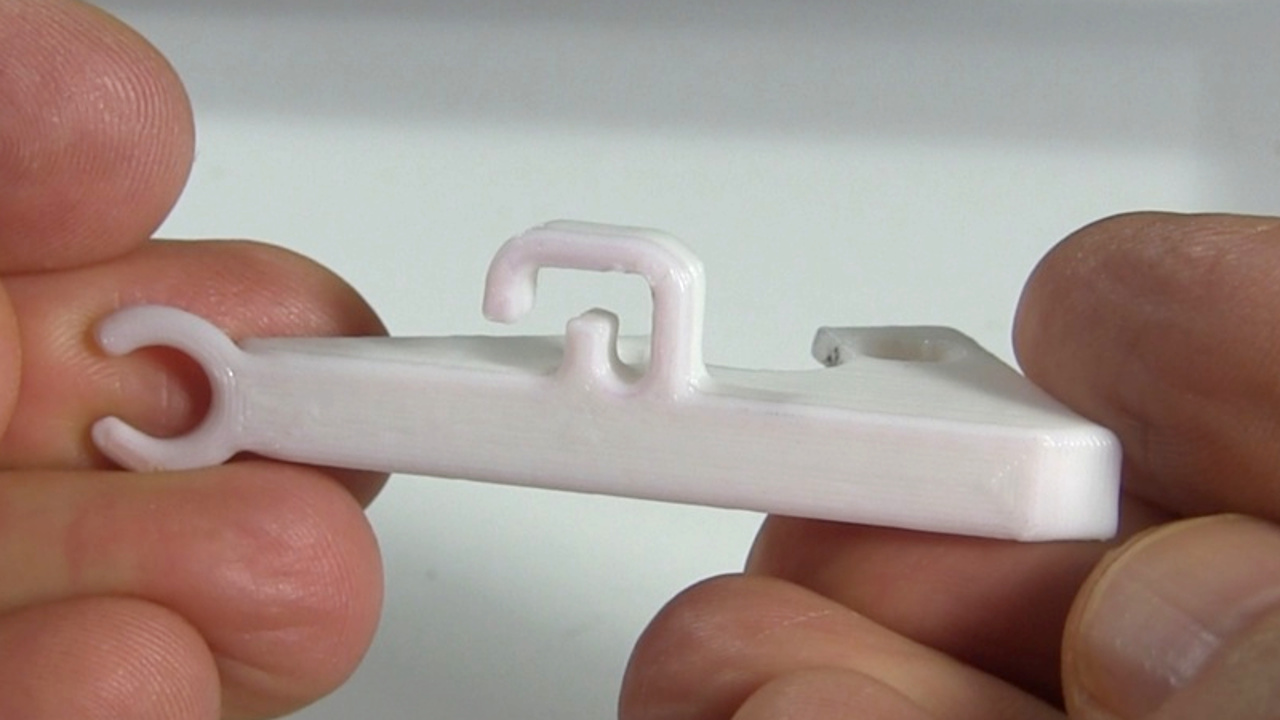
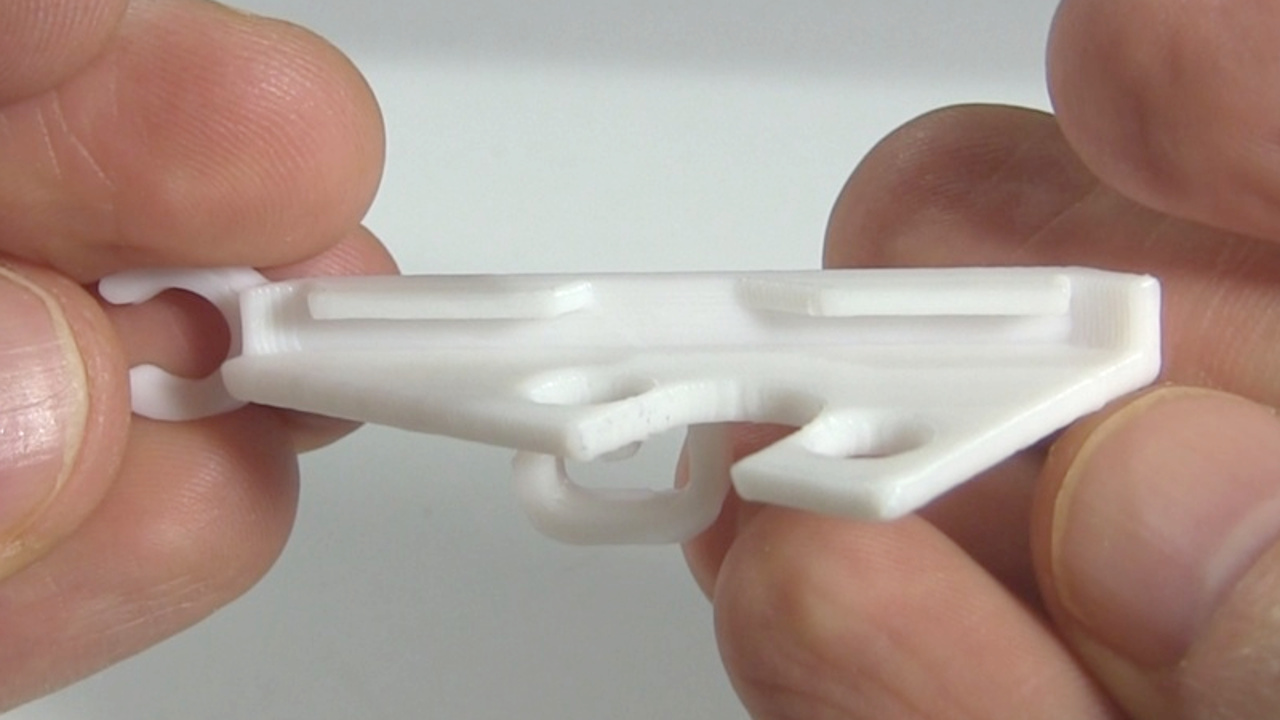
It guides the filament into the extruder while keeping the filament away from the lead screw. It also has a clip for the wires going to the hotend to keep them from dangling in the air. It printed perfectly and snapped in place easily.
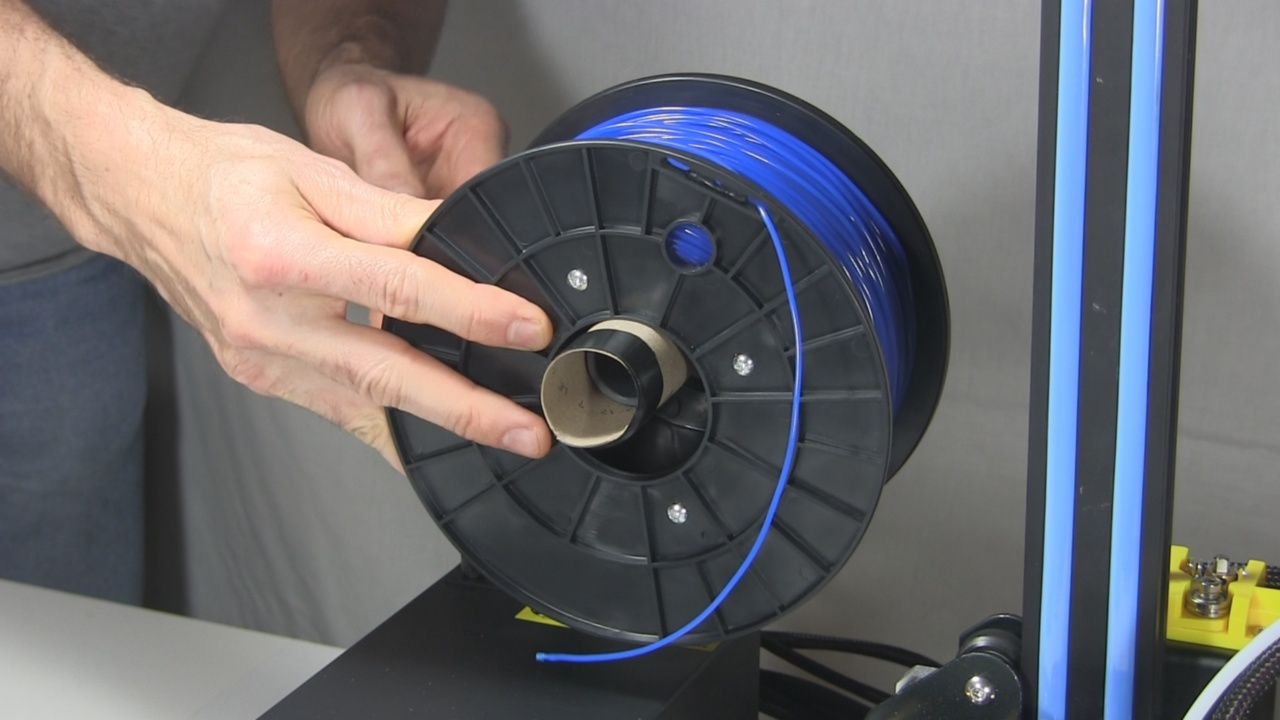
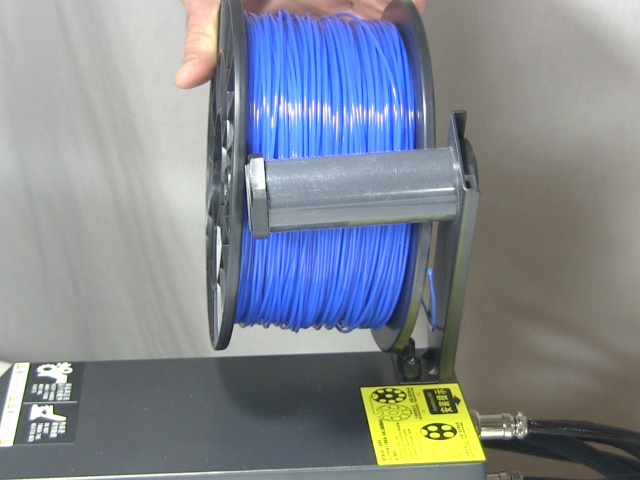
Making the filament spool's holder tube longer
The tube that comes with the CR-10 for sitting the filament spool on was too short for a role of PLA filament I'd purchased from a local supplier.
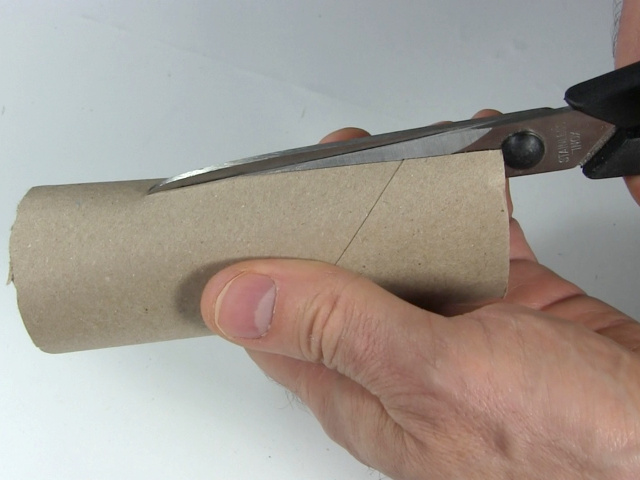
After digging around for some sort of tube to use instead, I realized I could simply use a cardboard paper towel cylinder. I simply cut it to half its length and then cut a slit along it lengthwise.
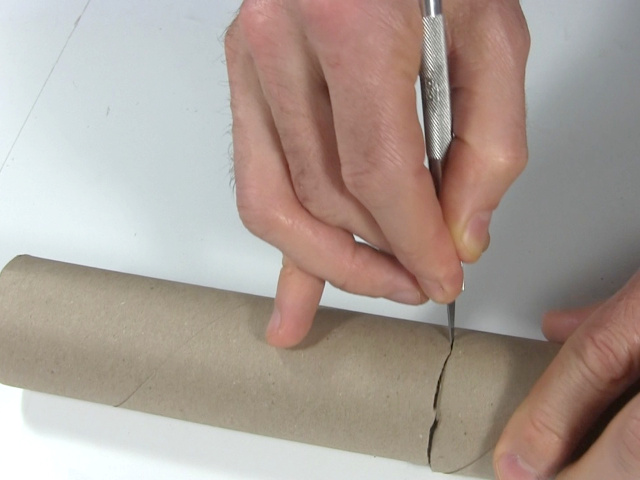
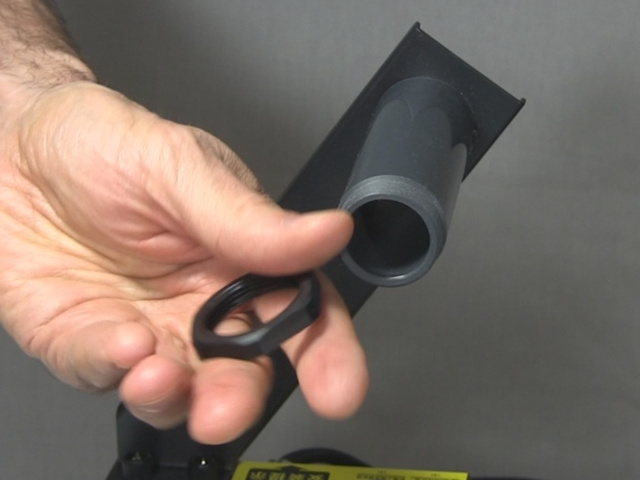
I removed the nut on the end of the plastic tube that came with the CR-10.
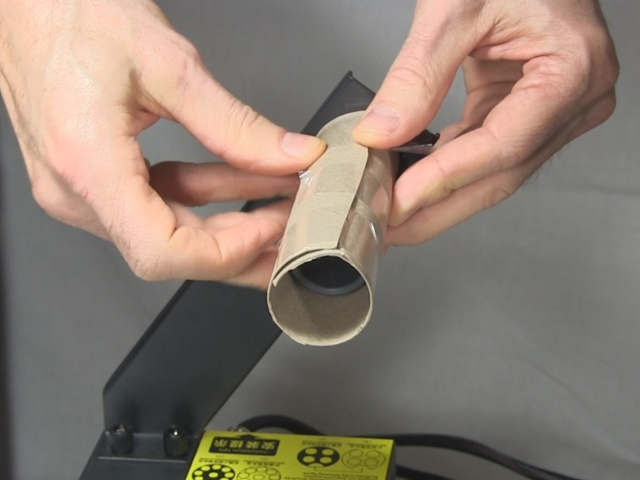
Then I wrapped the cardboard tube tightly around the plastic tube, making sure it had an even diameter along its whole length. I wrapped packing tape around it. It was on tight enough that it wouldn't move.
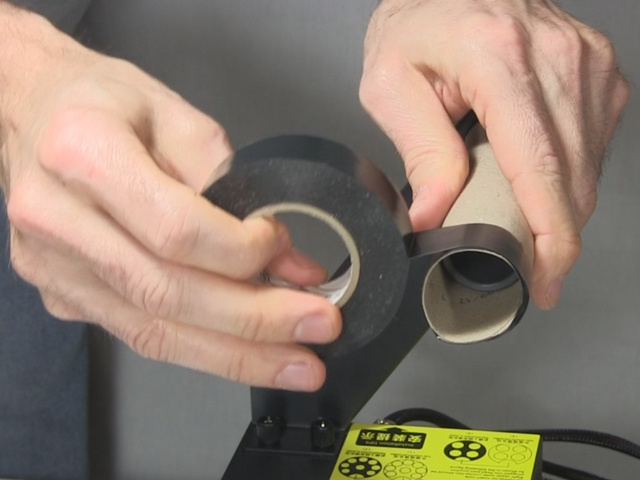
I also needed to put something on the end of it so that the filament spool wouldn't slide off. For that simply wrapped 4 or 5 turns of thick tape around the end, black electrical tape in my case but duct tape would also do.
The result works great.