Remove chuck from drill and drill motors
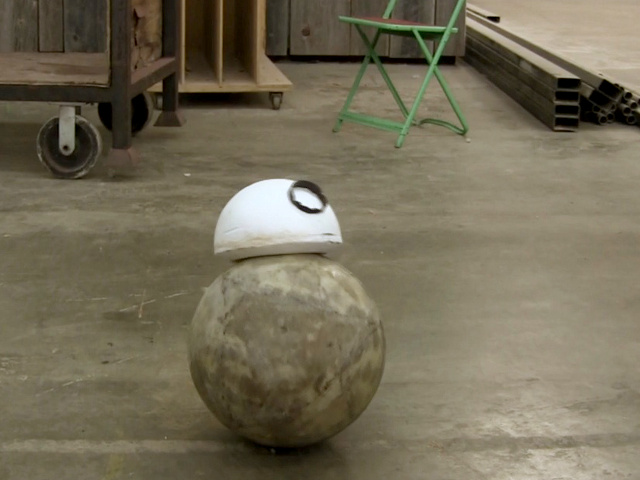
Here's how to remove the chuck from a cordless drill, which is useful if you want to replace the chuck but also if you want to use the drill motor for something else. I used two drill motors in my BB-8 droid's drive system.
There's also a video below showing various ways to remove the chuck and drill motor.
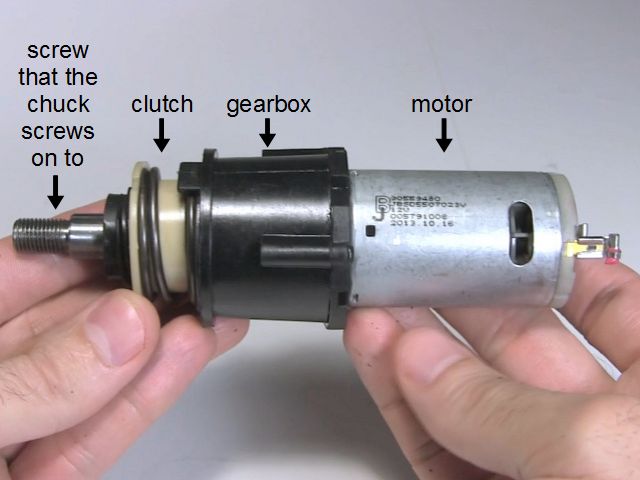
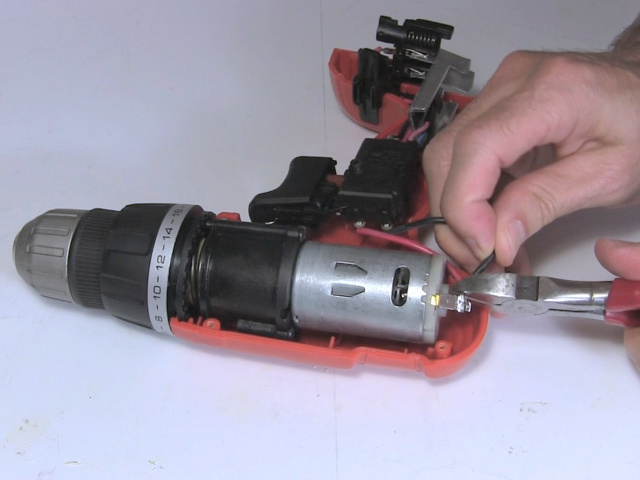
In the photo below you can see the chuck we want to remove as well as a drill motor with the gear box and clutch still in place. The gear box and clutch can both be removed too but the gear box is useful for converting the fast rotation of the motor to a slower, higher torque rotation which can be useful for some applications.

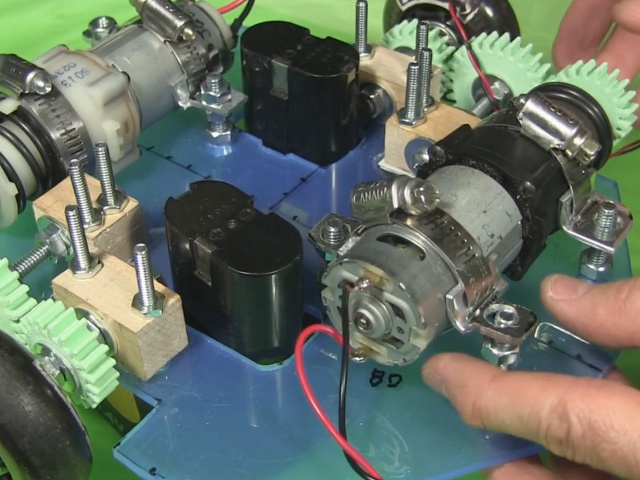
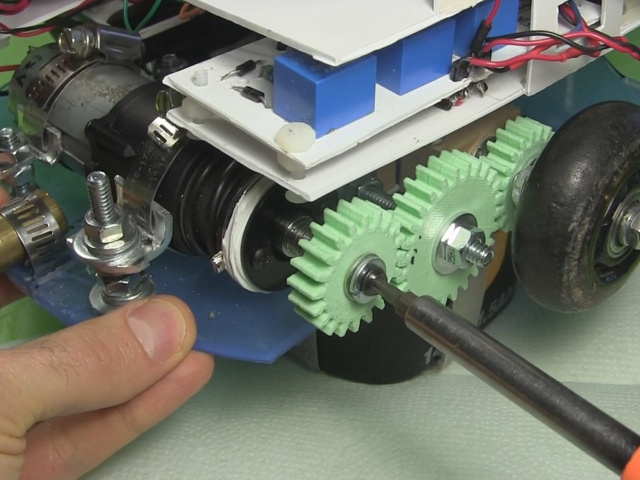
Below you can see that I used two drill motors in the drive system for my BB-8 droid.
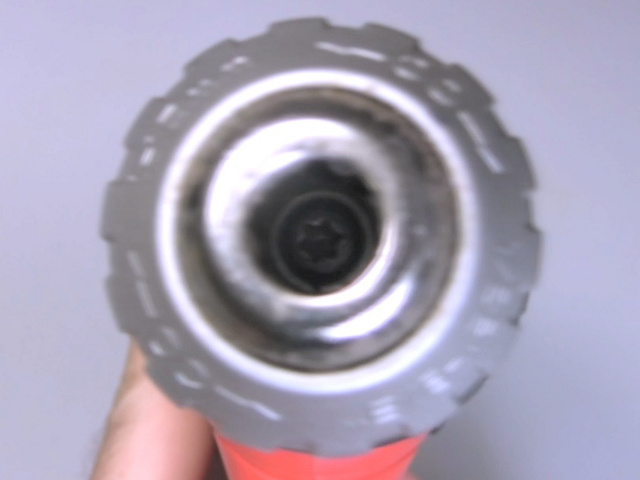
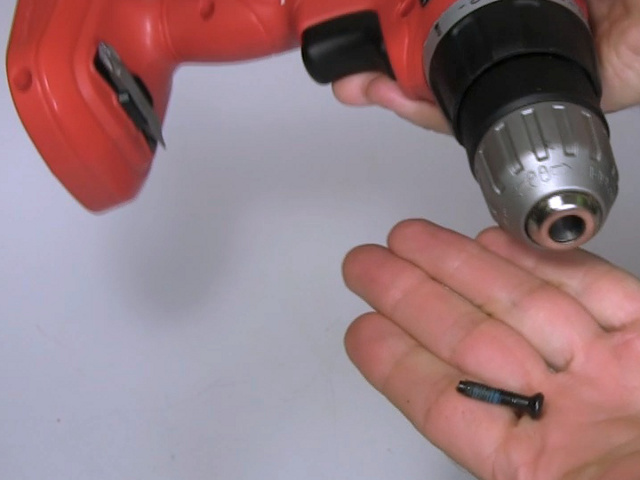
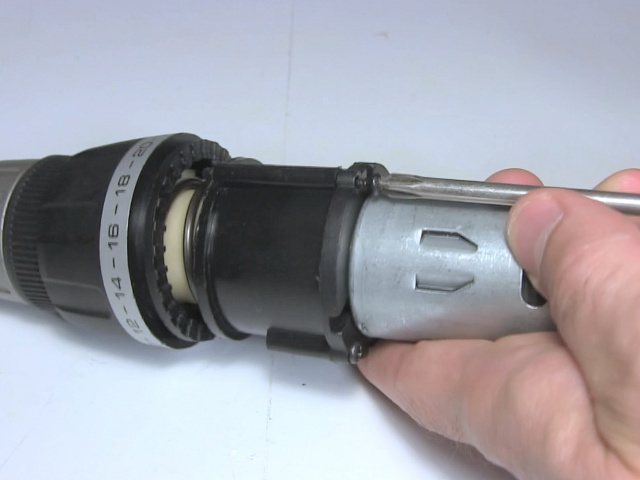
The first step is to open the chuck all the way as you would for inserting a large diameter drill bit. If you look inside you'll see a screw, as shown below. Unscrew that screw. Note that to unscrew it you have to turn the screwdriver clockwise, which is the opposite direction you'd normally turn it to remove a screw. If you're going to be removing the motor, gear box and clutch for something else then make sure to keep the screw as you can use it to attach whatever it is you're using the motor for.
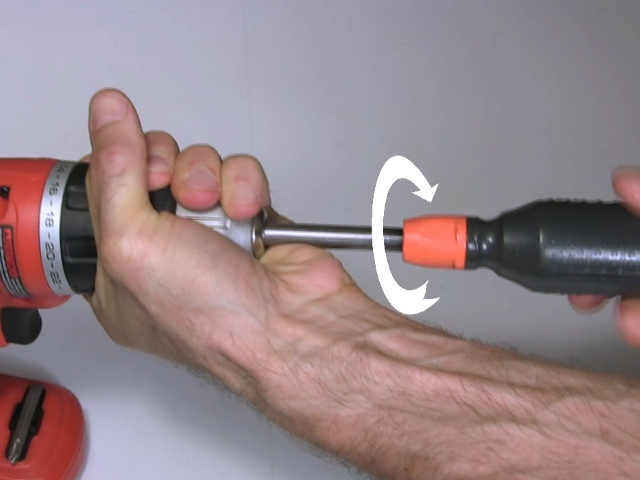
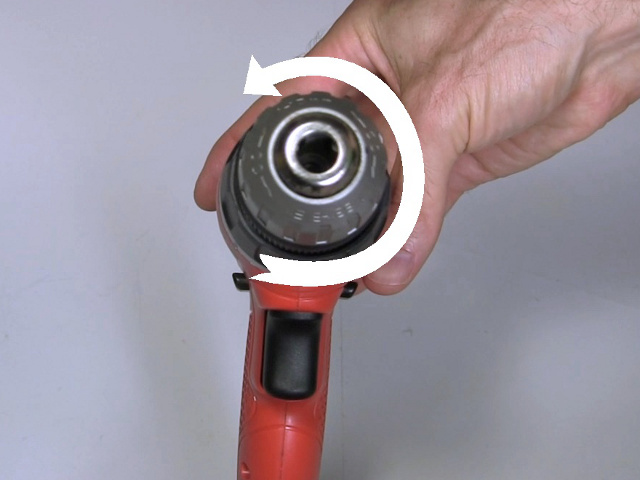
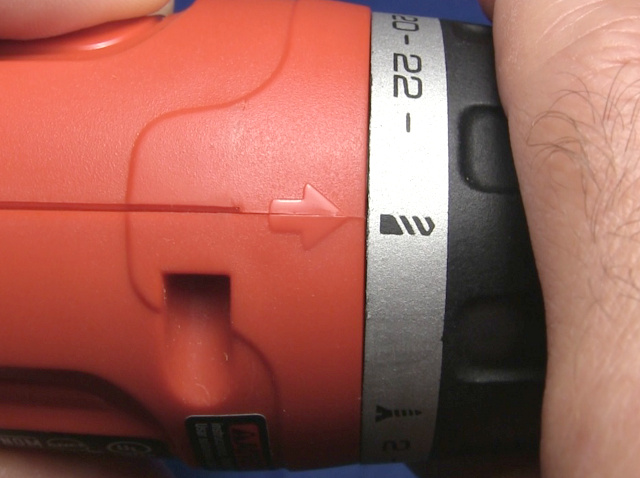
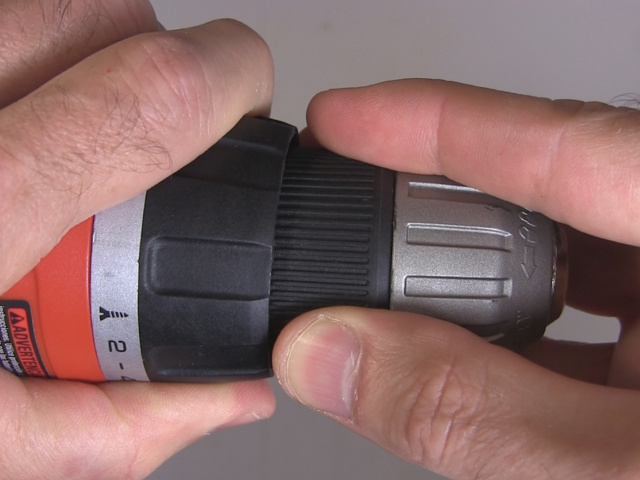
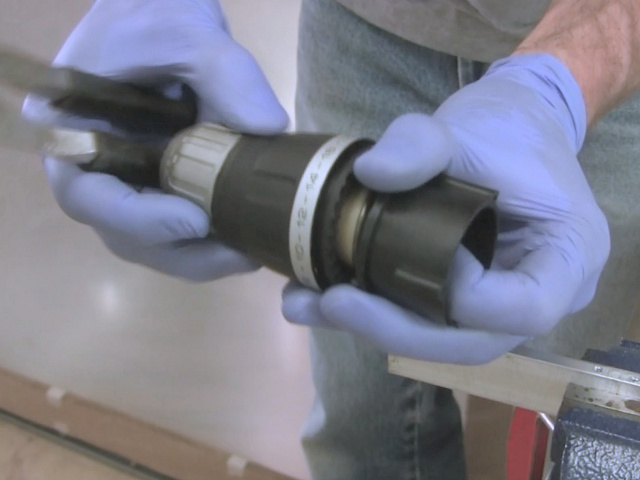
The next step is to remove the clutch. It's actually screwed on to the rest of the drill. To loosen it you need to rotate it rapidly and sharply in the counter-clockwise direction, as shown below. There are a number of ways of doing this, which I talk about below. But before you do anything, if the drill has a drill setting then set it to that.

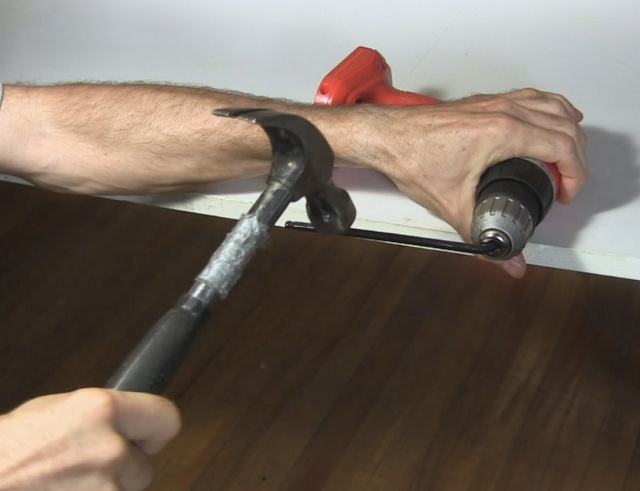
Method 1. Sharp hit with a hammer
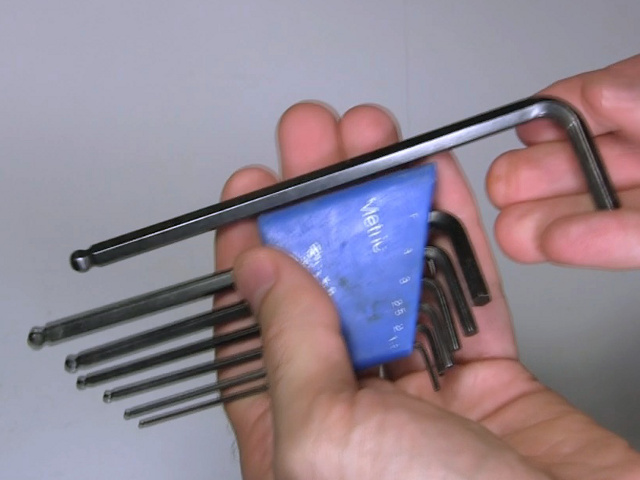
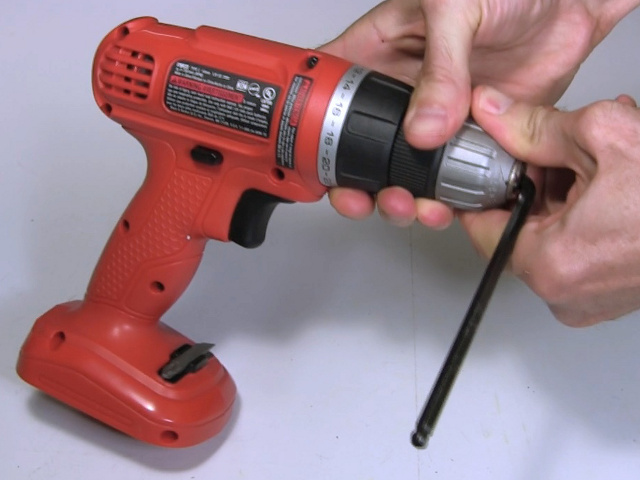
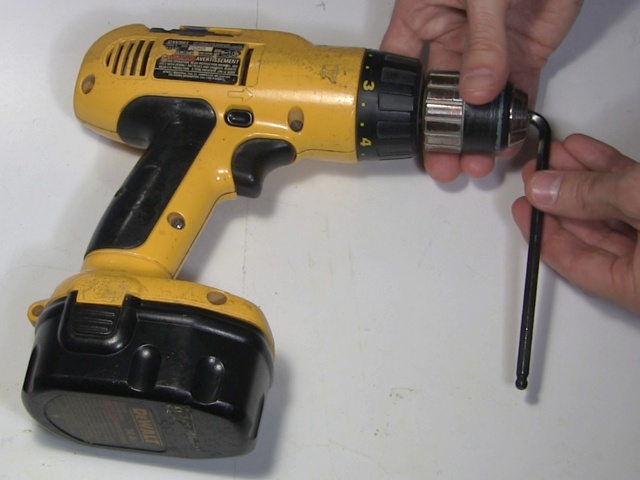
For methods 1 and 2, get the largest allen key you have that will fit in the drill. Put the drill on a table and hit the allen key hard and fast with a hammer in the direction shown. That should loosen the chuck to the point where you can unscrew it by hand. If it doesn't then try another method.

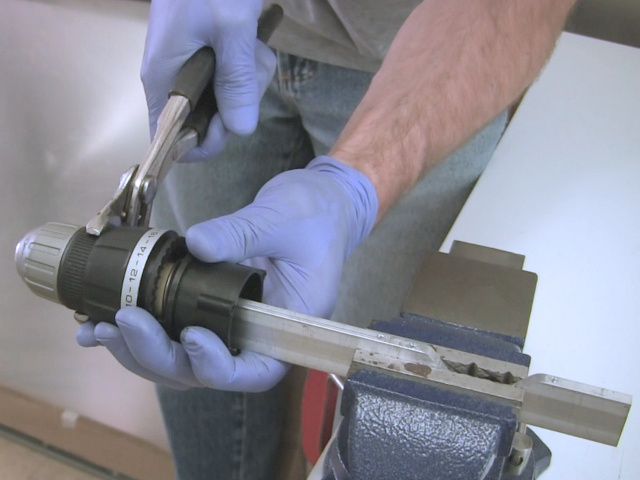
Method 2. Sharp hit against a table
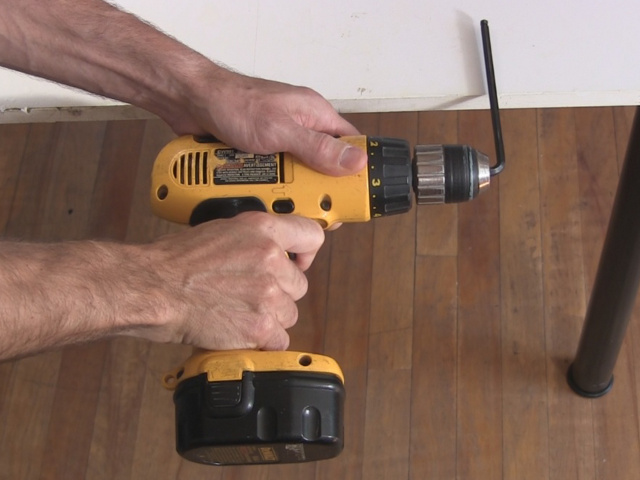
As with method 1, first put the largest allen key that will fit in the drill. Then power the drill suddenly and at high speed such that the allen key will hit against a table's edge as shown below, stopping it suddenly. That sudden breaking will be the equivalent of rapidly turning it in the other direction.
As with method 1, that should loosen the chuck to the point where you can unscrew it by hand. If it doesn't then try another method.
Method 3. Using another drill
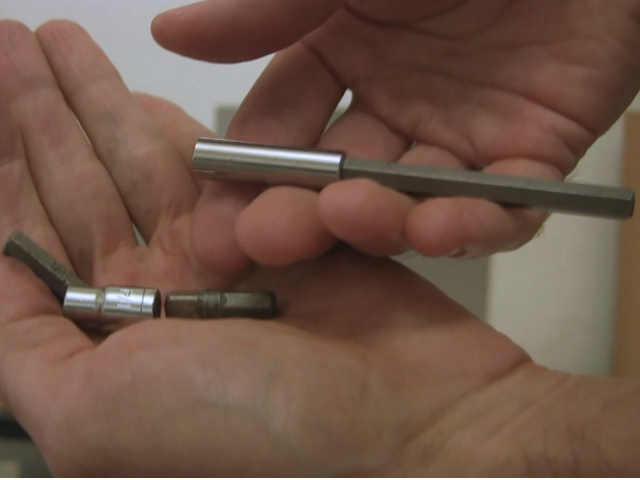
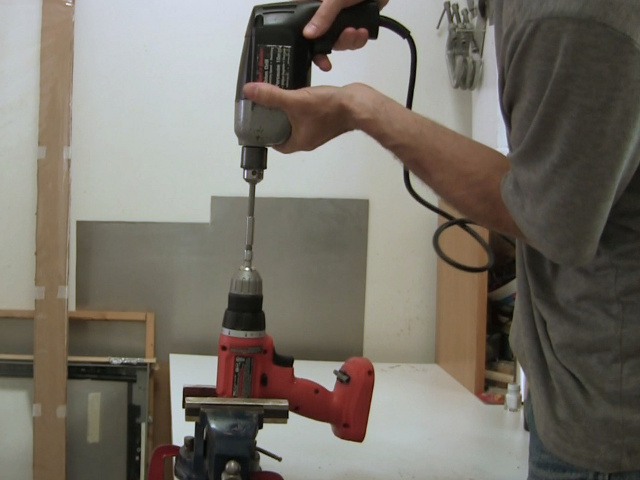
Put together whatever you have that will allow you to connect your drill and another as shown in the photo below. In my case I used a bunch of pieces from a socket set. Then turn the other drill on suddenly such that it will rapidly and sharply rotate the chuck which you're trying to remove in the counter-clockwise direction.
As with method 1, that should loosen the chuck to the point where you can unscrew it by hand. If it doesn't then try another method.
Method 4. Removing from the inside
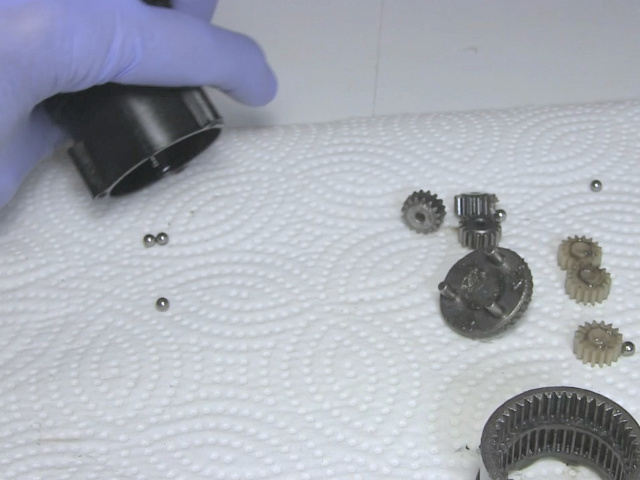
As a last resort, take the drill apart and try to unscrew it by gripping something from the inside. Make sure you keep track of the parts you remove so that you can put it back together again if you want to. In my case I recorded it all on video. My drill motor was screwed to the gearbox so I had to unscrew it. Some drills are not screwed on and simply fall away with a little encouragement. I had to remove everything to the point where I was looking at the inside of the clutch.


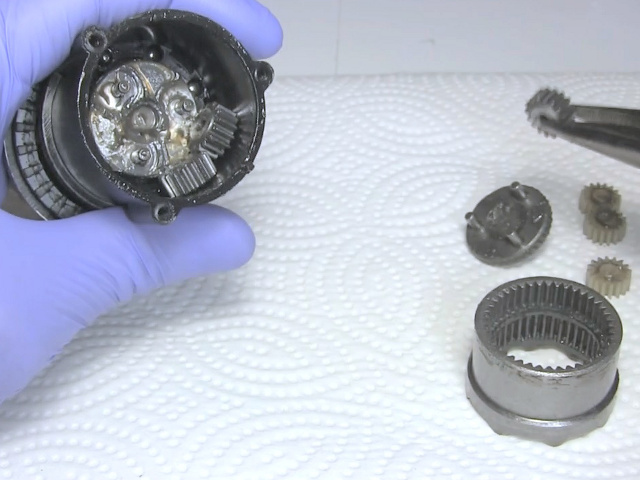
WARNING: There may be a bunch of balls inside in front facing side of the clutch. Remove those balls so that you don't lose them.
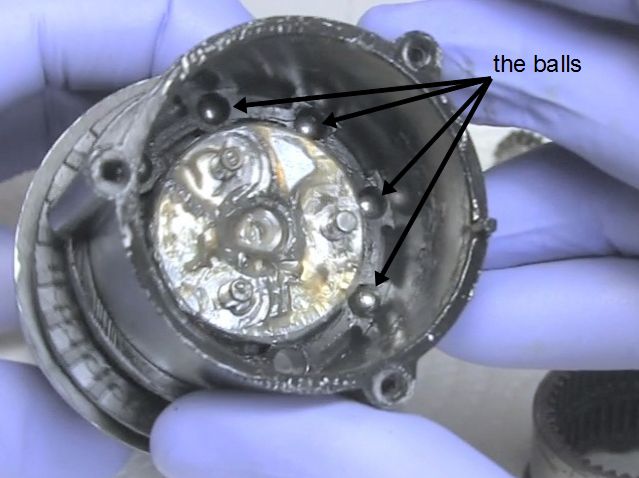
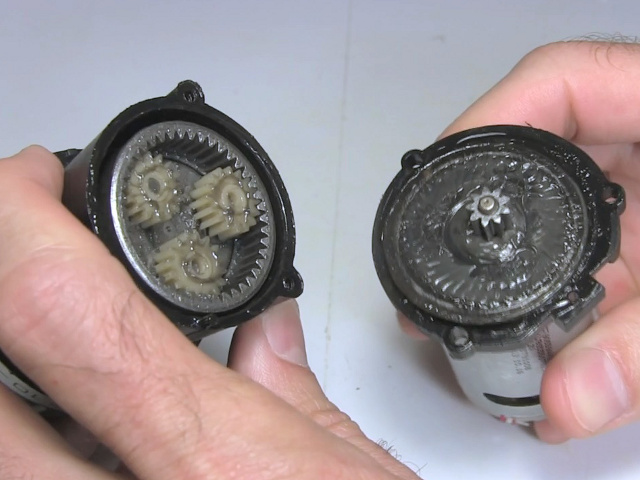
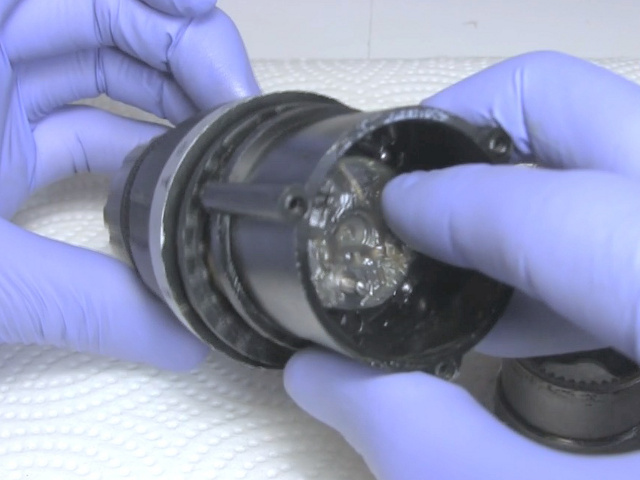
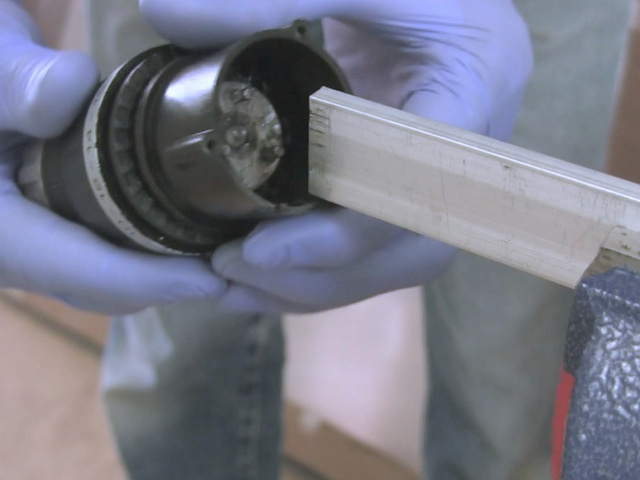
As sown below, I found that inside there was a part that was attached to the chuck, or whatever the chuck was screwed onto. That part had three rods sticking out. I could easily press against one of those rods with my finger to turn the chuck. So I figured if I could grip the rods firmly enough, I could loosen the chuck.
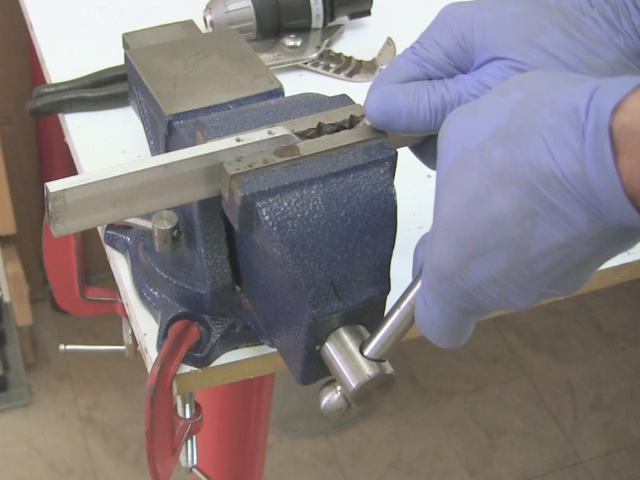
To do that I put a metal bar in a vice (a piece of wood might work as well). I then positioned two of those rods such that they were pressing against the end of the bar and then turned the chuck with a pair of hose pump pliers, though any tool that is big enough to grip it will do. It didn't take too much effort to loosen the chuck, and in fact it just may have been doable by hand instead of using the pliers. I could then unscrew it the rest of the way by hand.
Testing and using
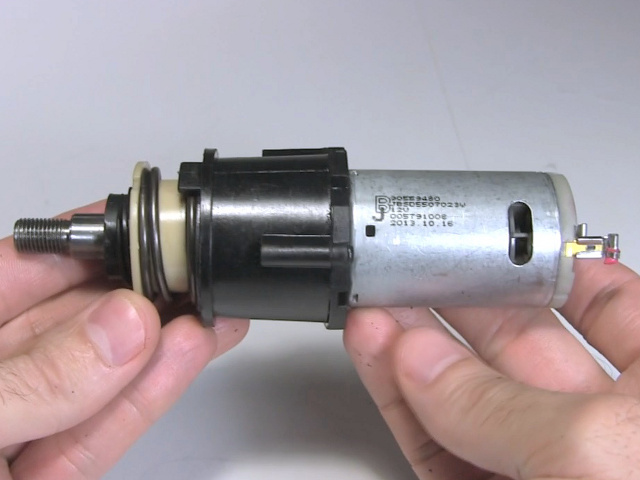
Below you can see the resulting drill motor, with attached gearbox, clutch and the screw that the chuck was screwed on to. I then tested it and it worked fine.
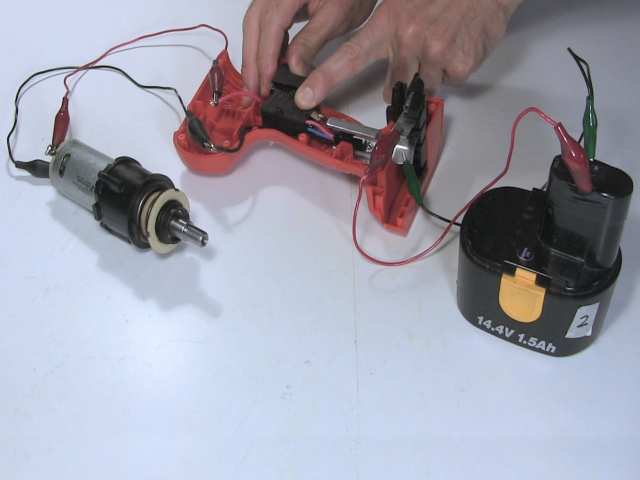
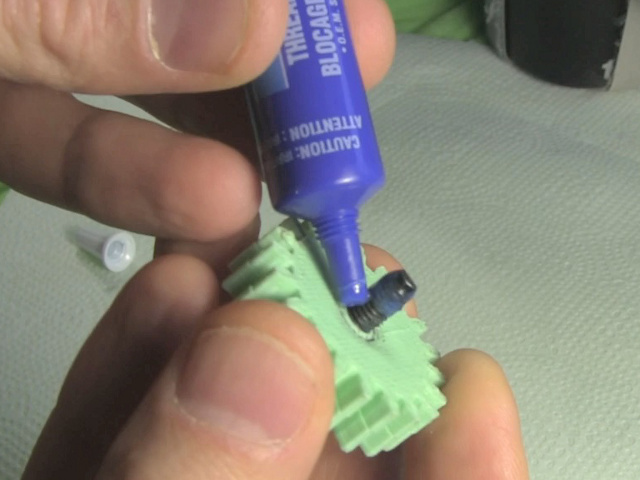
As I said, I was using mine in my BB-8 droid and more specifically I was attached gears to the motors. I first put loctite on the threads of the screw that I'd removed at the beginning above. Then I screw it on. Keep in mind that to tighten it you turn it in the opposite direction you'd expect -- turn it counter-clockwise.
Video - How to Remove Chuck and Drill Motor
The following video shows a few different ways to remove the chuck from a cordless drill as well as take the drill motor from the drill. Note that in the video, for the method where I slam the allen key against a table I turn it in the wrong direction.
