Ion wind rotor (aka propeller, spinner or pinwheel)
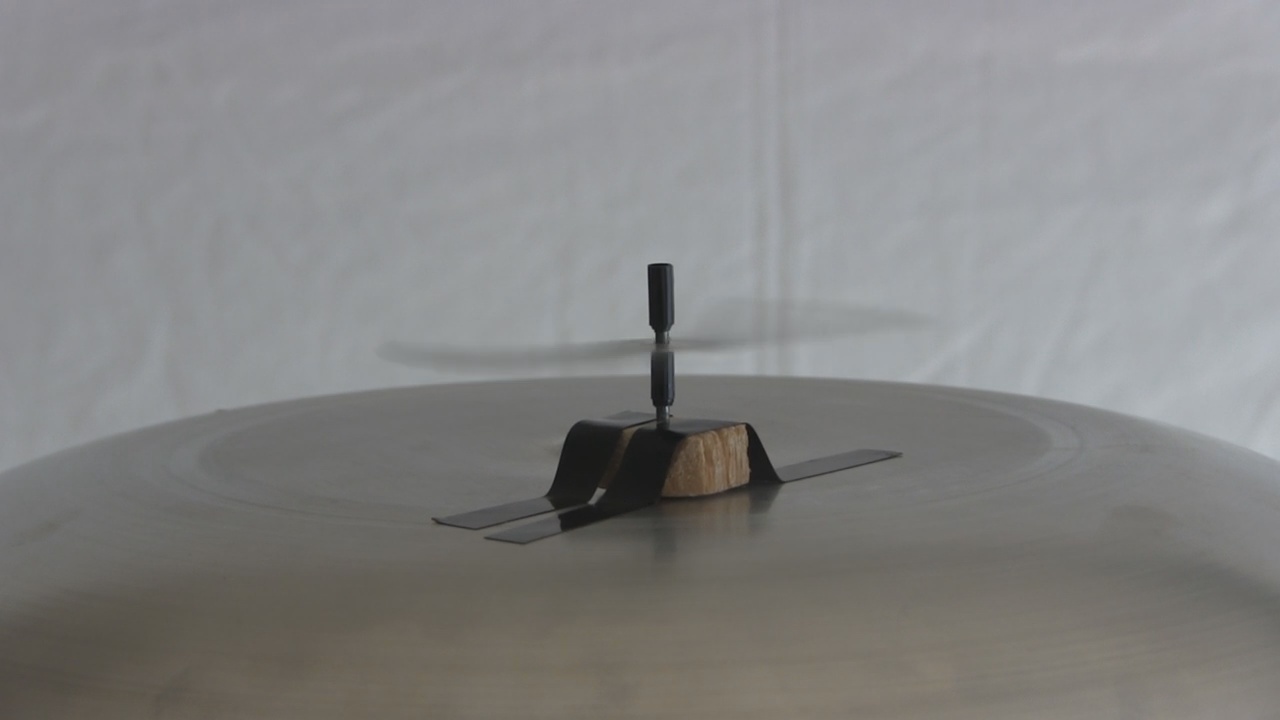
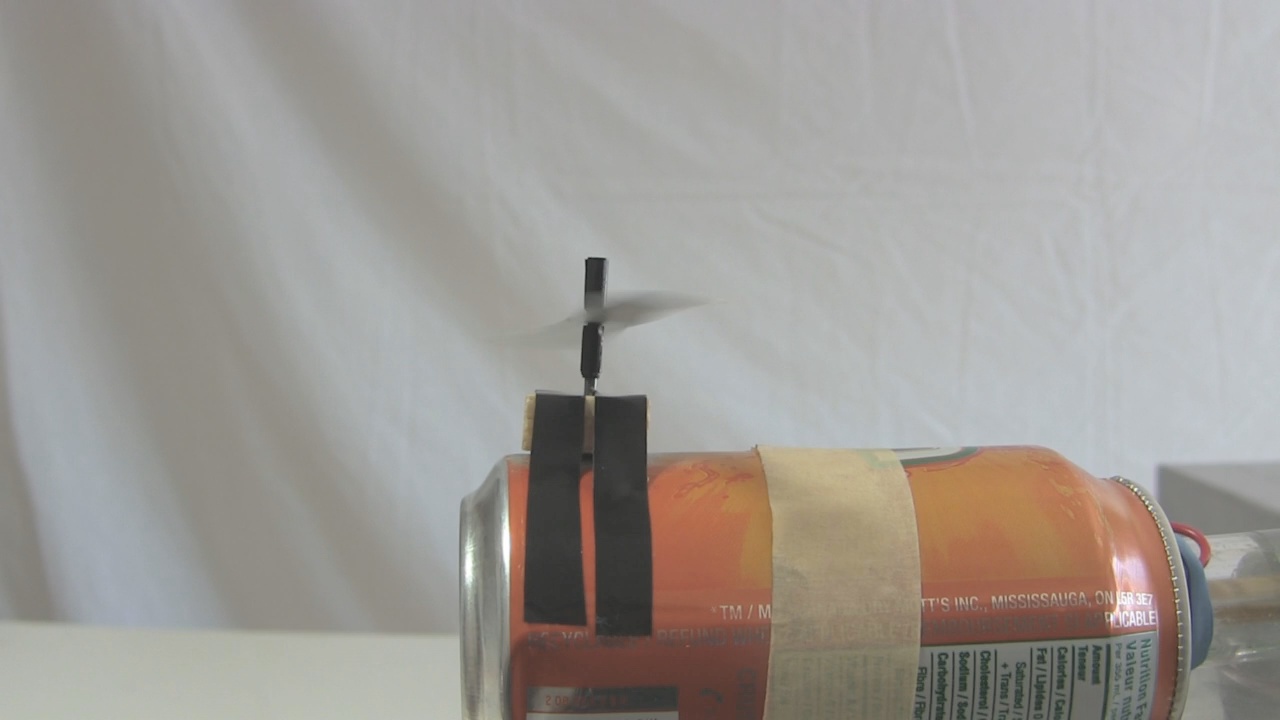
An ion wind rotor (aka propeller, spinner or pinwheel) is a fun and simple high voltage demonstration that involves making an object spin under the influence of high voltage. That object can be as simple as a paper clip with sharp ends or a thin sheet of metal shaped more like a propeller, also with sharp ends. The trickiest part is arranging it so that it can sit balanced on something so that it can spin freely.
You can see it in action in the video below.


How to make and ion wind rotor
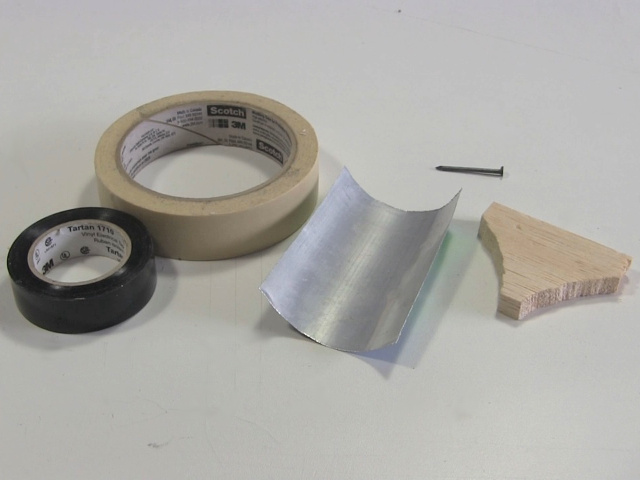
The parts I used are shown below.
Any tape will do. Below you can see masking tape and black electrical tape. I used the black tape because I thought it looked cooler.
I made mine out of a sheet of thin aluminum taken from a soda can, but you can also buy some from hobby stores, art stores, and hardware stores (called flashing). It doesn't have to be aluminum -- any metal will do as long as it's thin and lightweight. I tried aluminum foil but that was too lightweight.
You'll also need something like a nail -- basically something made of metal with a sharp point that you can put the rotor on.
I also used a piece of balsa wood for a base. Anything will do for that, as long as it can hold the nail vertically in place. Even a piece of modelling putty will work!
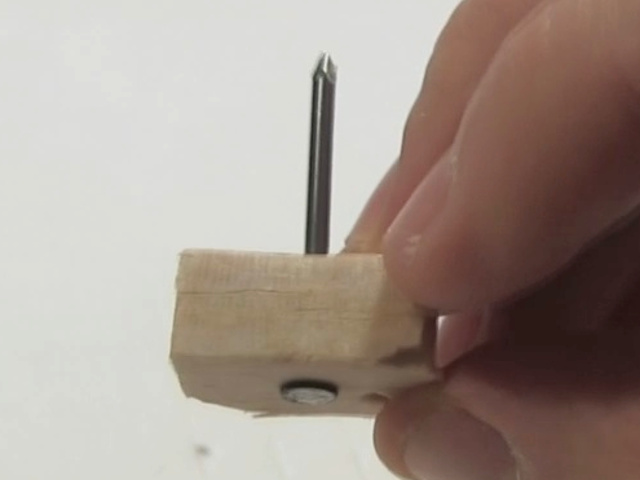
Once you've gathered the parts, cut the base. I didn't make any measurements there, just use whatever you think will be sturdy enough to hold the nail vertically.
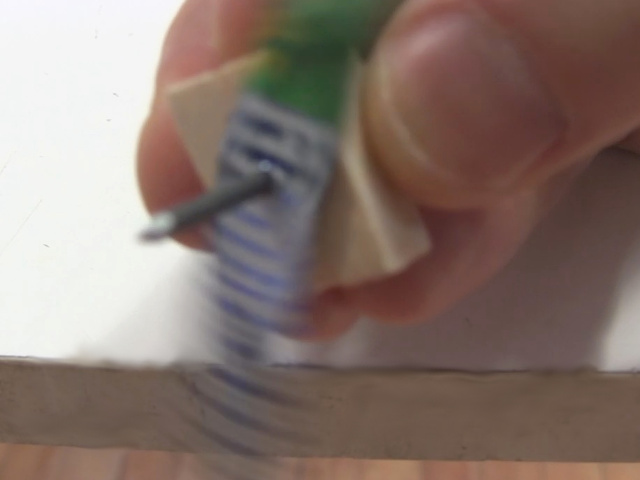
Once the base was cut, I pushed the nail through, which was easy to do with basla wood. Be careful not to poke yourself with the nail. In my case I'm demonstrating the ion wind rotor by sitting it on a Van de Graaff generator's dome. The path for the electricity is from the dome, to the nail, and then to the rotor. So the electrical contact with the dome is being made using the nail's head (the flat part of the nail). If you're doing it the same way then make sure the nail's head is sticking out a bit lower than the bottom of the wooden base.

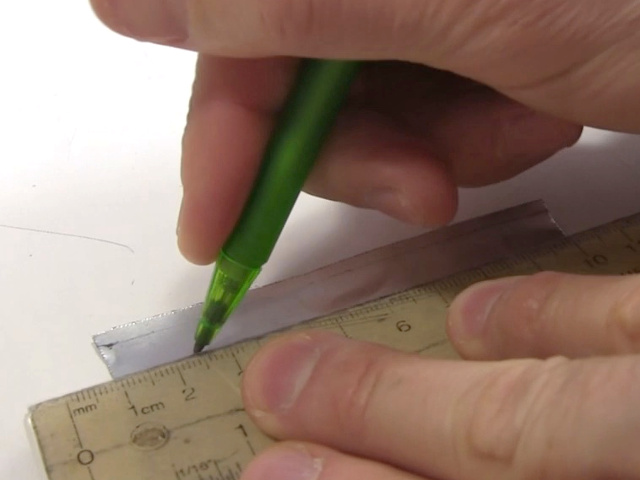
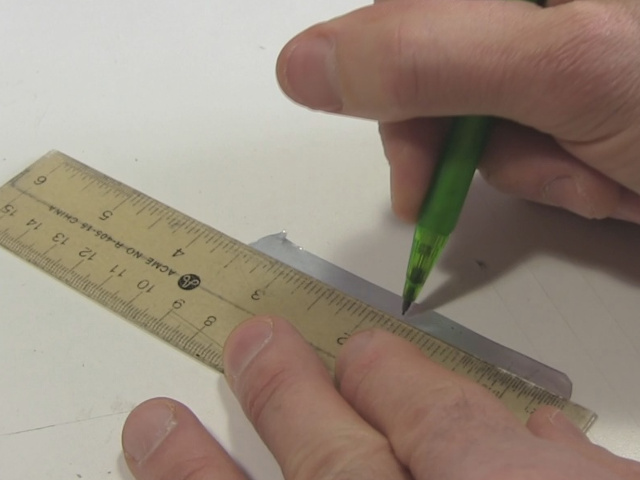
Next, as shown below, draw an outline of the rotor on the metal sheet. There is no specific template needed for this. Do what you want. However, make sure that it is symetrical. That's because when you later put it on the nail, you want it to balance reasonably well, though it doesn't have to be perfect. That means you want the mass of the rotor to be distributed evenly on either side of the nail. Also, put two sharp points on the ends, pointing in opposite directions as shown below.
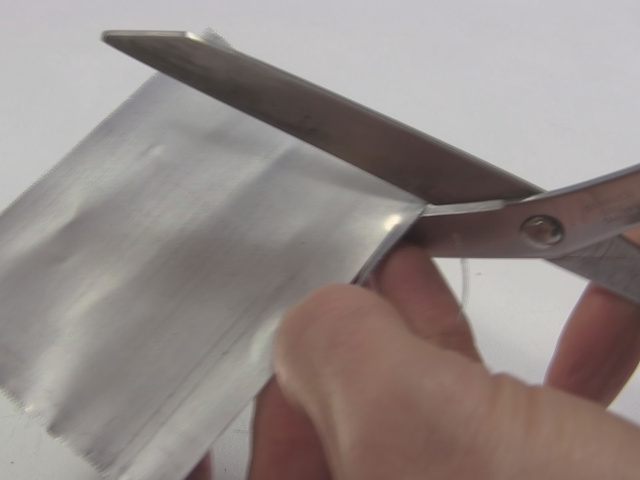
Cut it out. I used normal scissors but keep in mind that cutting metal with scissors like this will blunt the scissors a little. If you have a sheet metal cutting tool then that would be better.

Find the center of the rotor and mark it. Take some care to find the center as closely as you can. That's so that it will have a chance of balancing well when sitting on the nail.
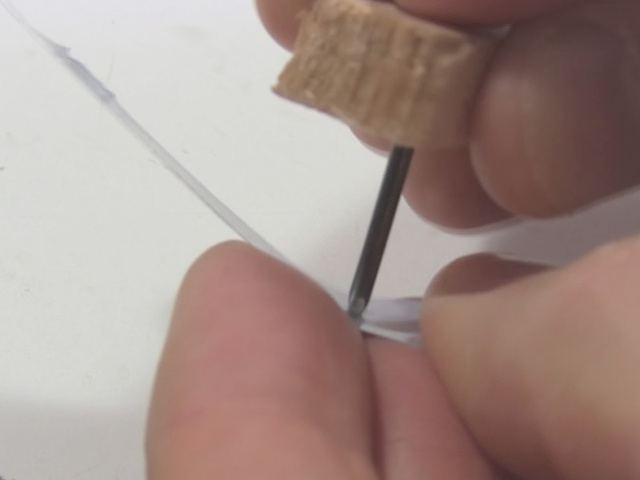
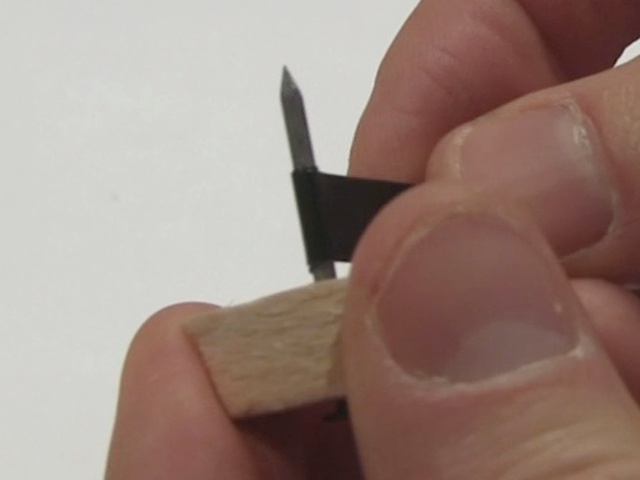
Use the nail to poke a hole at the marked center. Be careful not to poke yourself when doing this.
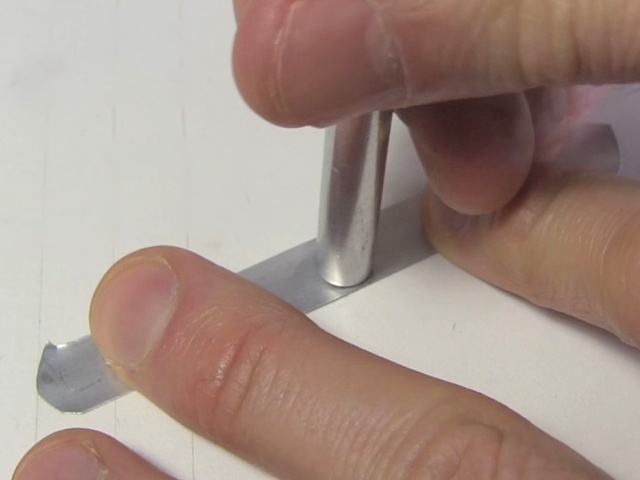
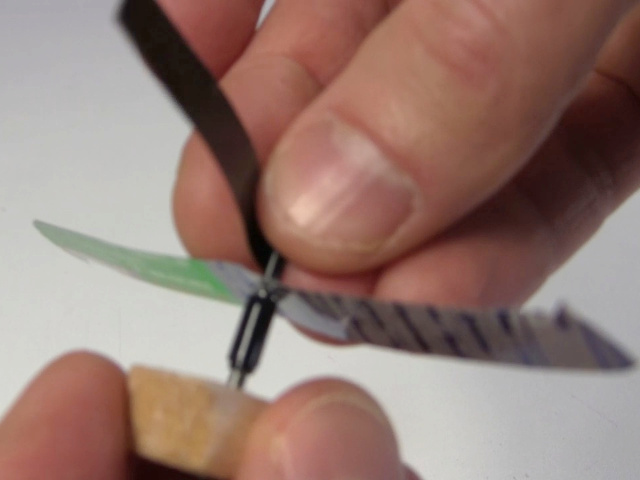
Then clean up the hole. In the photo below, I'm flattening the edges with a blunt object but also make sure the hole forms a reasonably circular shape so that it will spin well when on the nail. But at the same time, don't make the hole too much bigger when cleaning it up, otherwise it won't sit well on the nail.
Put the rotor on the nail and spin it by hand to see if it spins well on the nail.
Next, cut a narrow strip of tape and wrap it tightly and neatly around the bottom part of the nail. This is what the rotor will sit on.
Then put the rotor on.
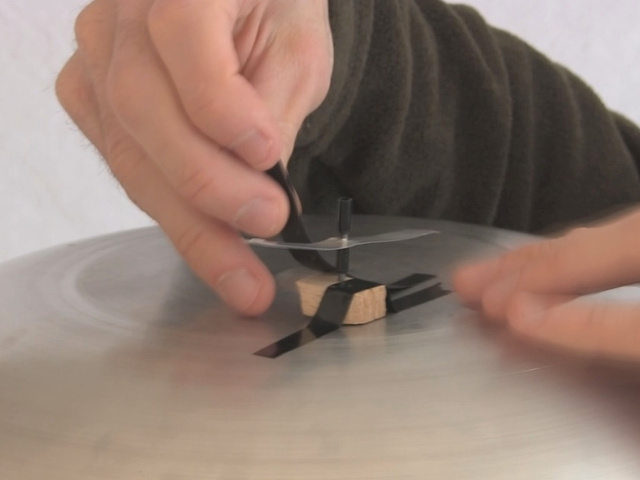
And finally put another strip of tape on top. For my demonstrations I sat the rotor on top of a Van de Graaff machine's dome. That dome produced an upward repulsion force on the rotor and without this tape, the rotor flies off. If you don't have that problem then you don't need this tape. Don't put the tape so that it holds the rotor tightly against the bottom tape. Leave a little space between the tape and the rotor. It's just there to keep the rotor from flying away.
Lastly, I tape it to the top of the Van de Graaff generator's dome. As mentioned above when talking about pushing the nail through the wooden base, the electrical contact with the dome is made through the head of the nail. So I made sure the nail's head was touching the dome.
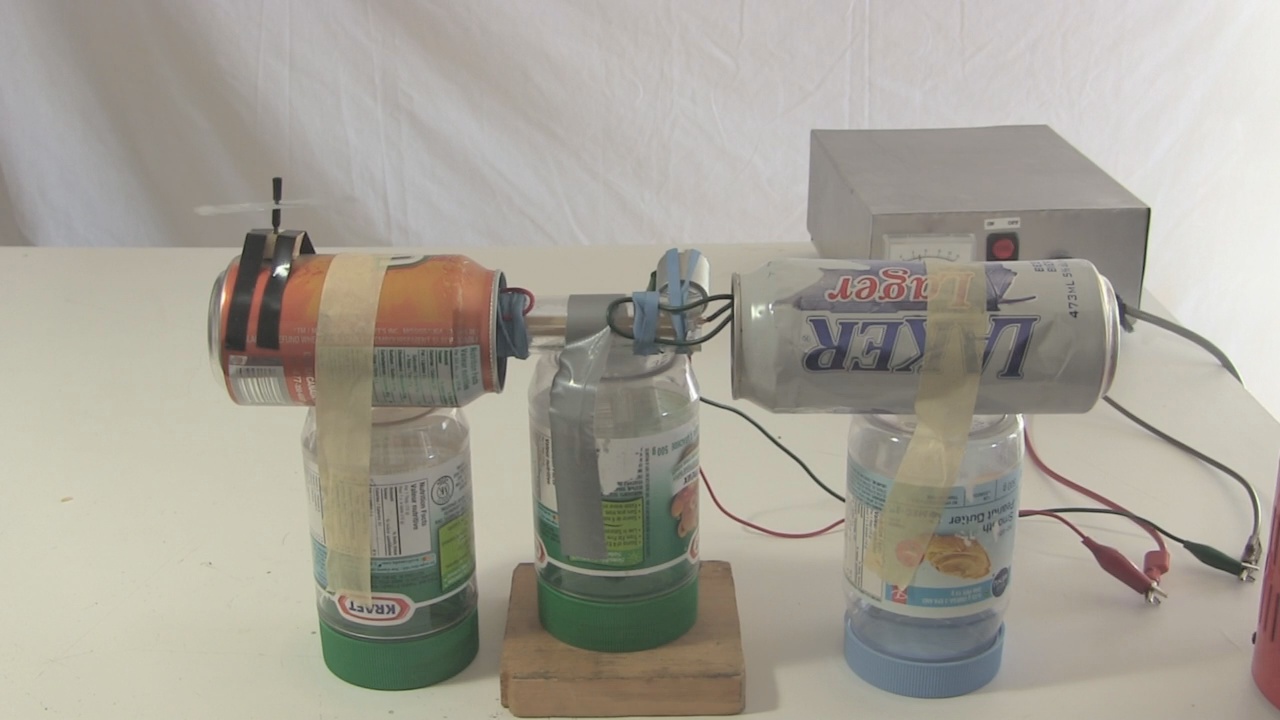
Demonstration using soda can Van de Graaff generator
For variety, and because not everyone has a big Van de Graaff generator, I tried it with my homemade soda can Van de Graaff generator, something most anyone can make.
Video - Ion Wind Rotor
The following video takes you step-by-step through how to make the ion wind rotor, followed by an explanation of how it works, and then various demonstrations.
