The following was an attempt to make a working grav-cap, also
known as an electric rocket, by John Pietrasik.
Thank you to John for sharing this work.
All of the following text and photos are from him.
Report dated Feb. 5, 2001
Abstract
A multi-layer Mylar-aluminum foil "grav-cap" is tested. Results and
conclusions are noted.
Introduction
The original documents describing the construction of the "gravity-warp
capacitor" (or "grav-
cap") state that a functional device could be
constructed using tin for the plate material and wax
paper for the
dielectric, although "better" (i.e., more modern dielectrics) could
possibly improve
performance.
The report of success from "Cliff L." (from Bill Beaty's website)
seemed to verify this statement.
Cliff L.'s device was constructed
using Mylar layers for the dielectric and aluminum foil for the
plates. The device described here is a variation of that design.
Device construction
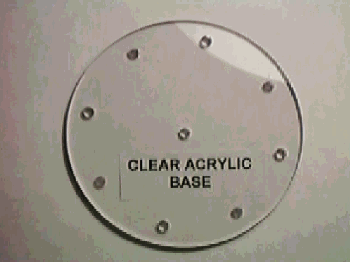
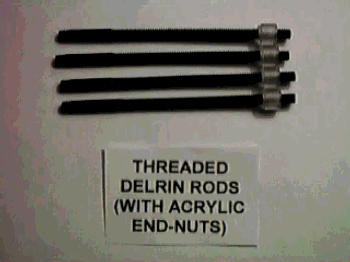
Acrylic endcaps (Figure 1) were used in place of wood, and Delrin
threaded rods (Figure 2)
were used in place of steel. This "all plastic"
design yielded a completed unit that was both small
in size (6" O.D.) and
arc-resistant (i.e., no arcs would accidentally jump to the threaded rods).
Figure 1. Acrylic base (endcap)
 |
|
FIGURE 2. Threaded delrin rods
 |
|
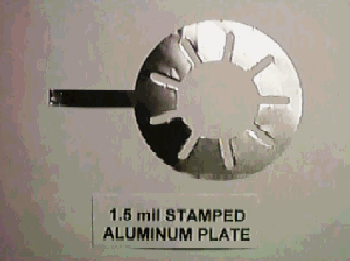
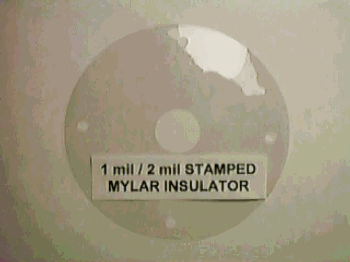
Each "capacitor section" was composed of professionally die-stamped pieces in the following
configuration (see Figure 3 and Figure 4):
Figure 3. Stamped aluminum plate
 |
|
Figure 4. Stamped mylar layer
 |
|
Layer 1: 0.0015" Aluminum foil (+ Polarity)
Layer 2: 0.002" Mylar
Layer 3: 0.0015" Aluminum foil (- Polarity)
Layer 4: 0.002" Mylar
Layer 5: 0.002" Mylar
Originally, the device was to have 0.001" Mylar between the plates and
one layer of 0.002" Mylar
separating the sections. However, the 0.002"
film was found to be mechanically easier to work
with and provided a
higher breakdown voltage. Therefore, the grav-cap was constructed using
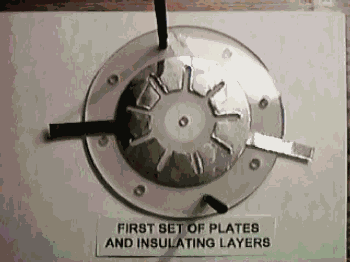
only this film. Figure 5 shows the device with the first "capacitor
section" installed.
Figure 5. Completed first section
 |
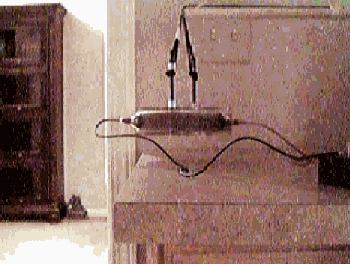
|
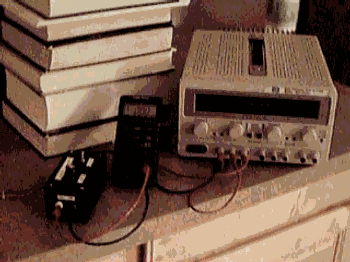
Power to the device was provided by an EMCO 4100 series HV module (10kVDC,
10W max
output). In order to adjust the high voltage and monitor the
actual value, a small interface box
was constructed. This device connects
directly to the EMCO 4100's 7-pin Molex header and
contains a power switch,
a 10-turn adjustment potentiometer, a pair of banana jacks for the +24V
and GND inputs, and a pair of banana jacks for the voltage monitor output
(1VDC per 1kVDC
actual output). A digital multimeter was plugged into
these jacks (see Figure 6).
Figure 6. Power supply module and interface box
 |
|
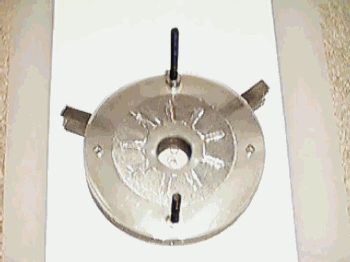
Construction of the device was completed on 01/23/2001. It contained
120 isolated sections (i.e.,
240 aluminum foil layers). The device
(without power leads attached) is shown in Figure 7.
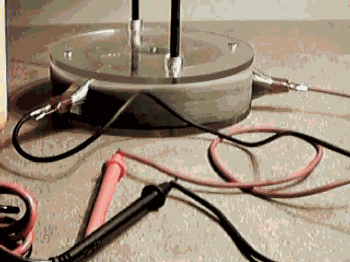
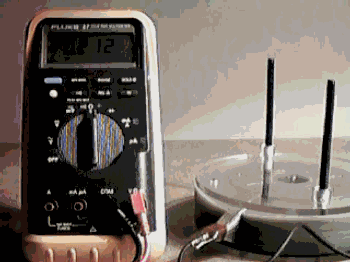
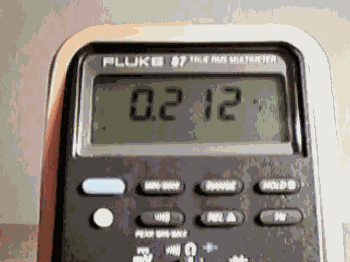
Using a FLUKE 87
DMM the total device capacitance was found to be 0.212 uF as shown in
Figures 8-10.
Figure 7. Completed device (no connecting leads)
 |
|
Figure 8. Capacitance-measurement connections
 |
|
Figure 9. DMM showing capacitance
 |
|
Figure 10. Close-up of DMM capacitance measurement
 |
|
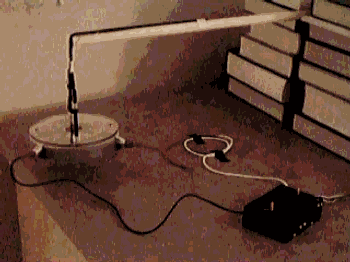
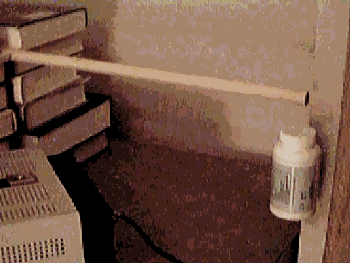
The "beam-balance" test setup is shown in Figures 11-14. The device was
attached to one end
of a 3/8" diameter dowel rod while a plastic vitamin
bottle was attached to the other. The bottle
was filled with coins until
the weight balanced. I did not have a scale for weight measurements
but estimate the device to weigh approximately 3 lb (1.36 kg).
Figure 11. Beam-balance setup
 |
|
Figure 12. Close-up of grav-cap on beam balance
 |
|
Figure 13. Close-up of +24VDC supply and interface box
 |
|
Figure 14. Close-up of vitamin bottle counter-balance
 |
|
Observations/results
The first tests were performed the same evening that the device was completed (01/23/2001).
Figures 15-20 show the device unpowered then powered at 1kV, 2kV, 3kV, 4kV, and 5kV.
Adjustments were made slowly. In all cases, NO beam-balance deflection occurred (i.e., no force
was observed).
Figure 15. Position of device when unpowered
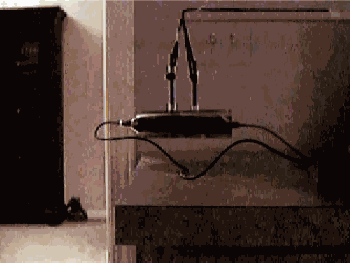 |
|
Figure 16. Position of device at 1kV
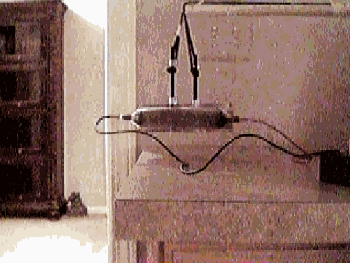 |
|
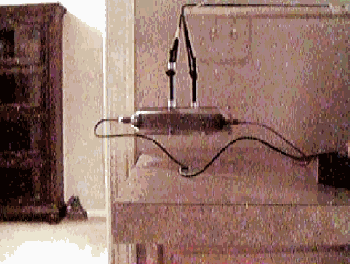
Figure 17. Position of device at 2kV
 |
|
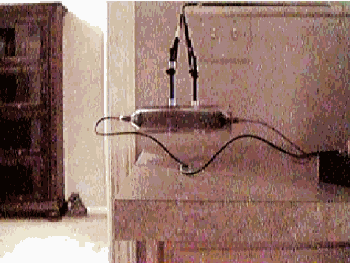
Figure 18. Position of device at 3kV
 |
|
Figure 19. Position of device at 4kV
 |
|
Figure 20. Position of device at 5kV
 |
|
On 01/25/2001 a "pulse" test was conducted. While in the OFF state, the
power supply module
was adjusted to 4kV. Power was then turned on,
forcing the grav-cap to charge quickly. The
4kV setting was reached in
approximately 10 seconds. Again, NO force was observed.
Conclusions
Though similar in construction to the "grav-cap" of Cliff L., this device
appears to have differences significant enough to prevent it from
functioning.
Additional experiments will be conducted in the near future to determine
these differences and
show what is necessary to construct a working device.
Acknowledgments
I would like to thank the following individuals for their contributions
and insights on this project
(whether directly or indirectly): Bill
Beaty, Tony Dekelaita, Steven Dufresne, and Cliff L.
|
Do you have a project you'd like to share on rimstar.org too?
You're more than welcome to. Click
here for details.
|
|

|

