Solid Dielectric Candle Engine 1 - Construction

Initial construction prior to first tests (Sep. 5-6, 2005)

Started with a 5cm diameter candle that was 14cm long. I trimmed the diameter to about 3.25cm to reduce the weight. I soldered the red wire to the head of three pins and stuck them 2cm deep into the candle, surrounding the wick.
Trimmed the wax candle dielectric and inserted the needle 
      electrodes in one end.
I then poured an additional 3cm of paraffin wax over the needle-end for insulation.
Poured paraffin wax using an aluminum tape mold over the wire 
      ends of the needles for insulation.
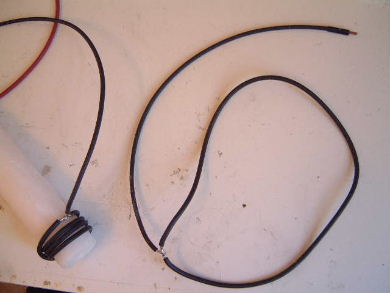
The coil for the other end is actually a single large loop that is wrapped around the candle the same way you would if you were wrapping a rubber band around it. I then coated all the exposed wire and solder with Liquid Electrical Tape for insulation (not shown).
Wrapped a coil of insulated wire around the other end of the
      wax candle dielectric and coated the soldered partion with liquid 
      electrical tape.
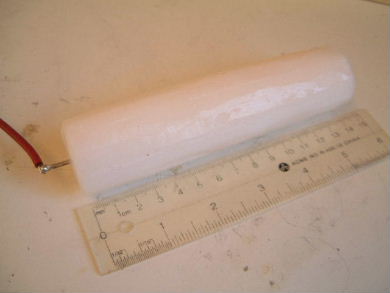
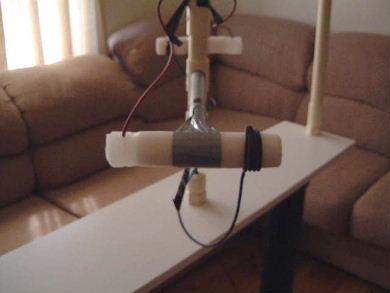
The end result. The coil can be slid back and forth along the candle to change the distance between it and the needle tips embedded inside the candle.
The end result showing the solid wax dielectric propulsion
      engine mounted on the test rotor.
rimstar.org
Contact:
Liked this? Share it with: