
Construction of my wooden bin took longer than expected and my 1/2 pound of worms had arrived. So I quickly grabbed a plastic recycling bin and used duct tape to tape fly screen to the top. Presto! A worm composting bin.
|
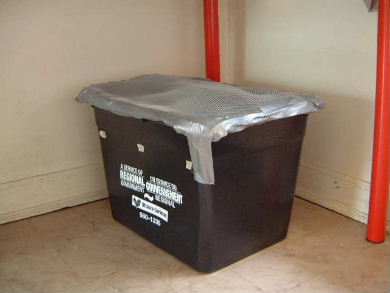
The problem was that it was troublesome to gently undo enough duct tape to open the top and close it again without having to redo some duct tape each time I added food. Rather than making a better cover, I just continued building my wooden bin.
The three small white spots on the left side of the plastic bin in picture above are pieces of masking tape with numbers on them: 1, 2, ... I defined six areas for the bin (there're three more pieces of tape on the other side) and put the numbers on the side to remind me where they were. I started with food in area 1, then area 2 was next, and so on.
|
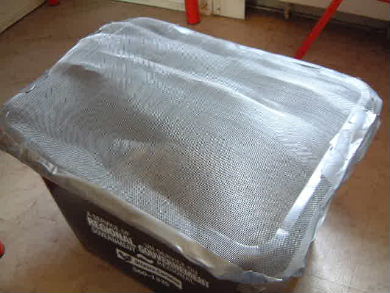
The pictures above don't show it but I lightly lay a dark green garbage bag on top to provide some added darkness for the worms. I didn't let it cover all of the screen though since I wanted ventilation.
|
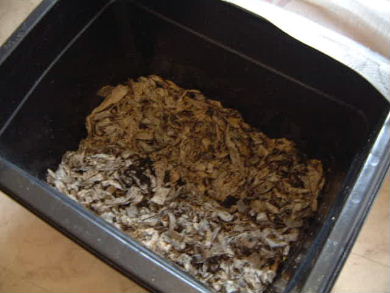
The bedding is damp newspaper, prepared using the method detailed on my bedding page. Notice that it isn't very deep but it did the trick.
General information about plastic bins
If you do want to go with a plastic bin then you can. It served me perfectly well under my kitchen table for 16 days after which my wooden bin was ready.
One problem you have to be aware of if using a plastic bin is that it is not a very good insulator. A hot sun will heat up plastic very fast and this heat will quickly be felt inside. Similarly for cold weather, where the interior will get cold quickly.
Another problem is that it keeps moisture in. If your bedding and food is very wet then you could get water droplets on the inside of the bin. These will drip down to the bottom of the bin and form puddles. This can be fixed any number of ways. One is to drill a hole for a drain near the bottom of the bin and leave the bin tilted so that fluid will flow down to this drain. Another way is to occasionally move some bedding aside and sponge up the fluid with a cloth or towel.
Note that the fluid, having come in contact with bedding, worm castings, ... will contain good nutrients for your plants. Don't just throw it away.
Enhancements you can make to a plain plastic bin are to:
- drill small holes in the sides for ventilation,
- make an easy to open cover, perhaps with hinges, and
- make a drain as described above.
