This details how I built my first wooden bin for
worm composting (vermicomposting). Don't be
afraid to change things
such as dimensions, number and location of ventilation holes, ... Even though I
could have done it myself, I let the folks at Home Depot cut my plywood pieces to
size. This design uses a minimum of wood (no frame needed) while still being strong.
Pay attention to safety when building. Wear googles and gloves when
appropriate.
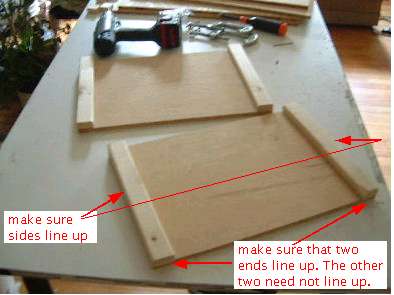
Attach the 4 12" long 1"x1/2" pieces to either side
of the short side pieces. These give extra strength without needing a frame.
 |
|
Sit the bottom piece on the table to act as a guide. Attach one of
the long side pieces to a short side piece. Note that you're actually screwing into
the 1"x1/2" piece. Repeat for all four sides. Note that you are not attaching to the
bottom piece during this step. The bottom piece is acting only as a guide so that
you can make all the side pieces fit squarely.
 |
|
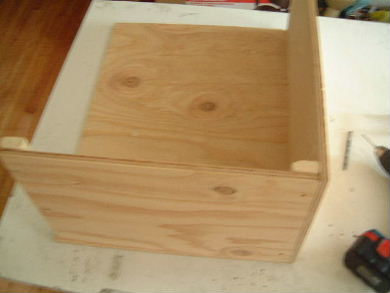
The end result after attaching all the sides together.
 |
|
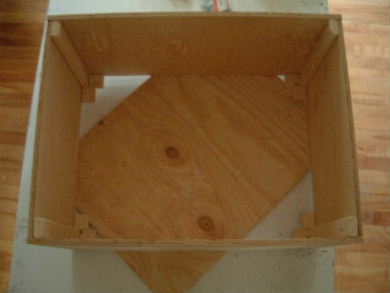
Next, in preparation for attaching the bottom, we attach the
8 1" long pieces, two at each inside corner.
Attach them to the side pieces only, not the bottom piece.
 |
|
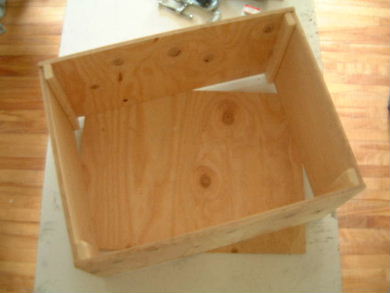
The end result after all 1" long pieces have been attached.
 |
|
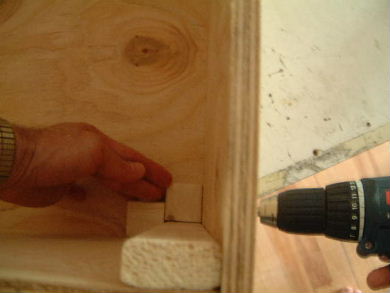
Next, to attach the bottom. First flip the box that you have so
far upside down so that the bottoms are up. Place the bottom piece on top. You'll
be screwing the bottom piece into the 1" long pieces. To help find where to screw,
slide the bottom piece so that you can see the 1" long pieces as in this picture.
Make a mark on the bottom piece about 1 1/2" in such that when you slide the bottom
piece back in place, the screw will go into the 1" long piece. Repeat this for all
screw locations before doing any screwing. Then slide the bottom piece to its final location
and screw it on.
 |
|
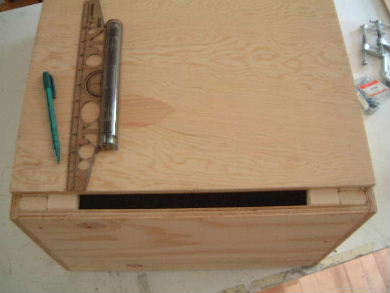
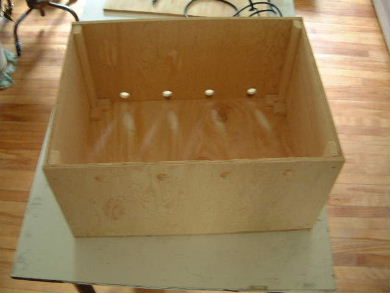
The ventilation holes are 1" in diameter so you'll need a suitable
drill bit as shown. This is messy work and your drill will have to spin fast. I used
my chorded drill for this as it has more umph than my chordless drill. Drill the
holes such that the end ones are in from the sides 4 1/2" and they are spaced 5"
from each other.
 |
|
The finished wooden bin.
 |
|
The next step would be to paint it, if you want to. I painted it glossy white to reflect
the sun (when it's outdoors.) I used exterior type latex paint because the can said it
resists mildew. I painted the inside surfaces of the bin too as I wanted to reduce
moisture damage to the wood. Don't forget to paint the cover.
After that, attach hinges, wheels, handles for carrying, ... insert worms.


