
There are a number of things that I do to help the worms survive the summer:
- use a shady location for summer cooling,
- bury the worm composting bin for cooling in summer,
- use geothermal cooling,
- reflect the sun's rays for cooling.
|
All the tricks listed above and detailed below seem to do the job though there's doubtless room for improvement. At 32C (90F) in the sun, as it often is here, in the top of the bin it was 31C (88F), which means that in the compost area it was about (based on previous temperature difference measurements) 25C (77F), and most importantly the worms were abundant and all over their food.
Shade for summer cooling
The use of a shady location for cooling in summer speaks for itself. In winter, the sun's path across the sky is lower. So to get sun in winter, simply make sure that the objects providing the shade block the high summer sun but not the low winter sun.
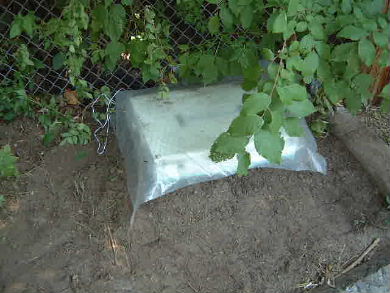
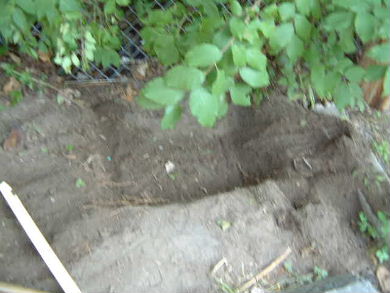
Bury the worm composting bin
The temperature under the ground is fairly constant day to day and cooler than the surface in summer. Burying the composting bin means that the bottom and sides of the bin will be at the temperature of the ground. The only solar heat will come from above and the net heat will be a mix of the two temperatures plus the temperature of the compost (composting generates heat.)
In my case I live in an apartment building and given people's squirmishness about compost smell (non-existant) and worms, I really have only one location at the end of our parking lot farthermost from the building. Unfortunately, when digging, about 70mm (3 inches) down, I ran into some very thick and healthy roots that I didn't want to cut. Heck, even if cutting them wouldn't normally bother you, the trees they're attached to are providing my shade! To make up for the lack of depth I piled up soil around the bin but it would still be best if it were buried deeper.
|
Note that before burying the bin I first wrapped plastic, I had a roll of polyethylene handy, around the bottom and most of the sides of the bin for waterproofing.
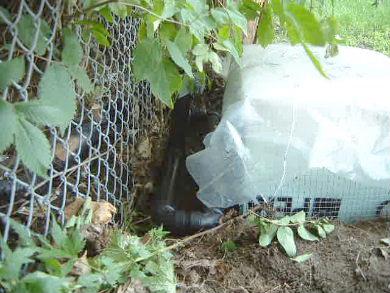
Geothermal cooling
Worm compost bins need ventilation - but who wants hot summer air?! So for my air intake, which are the lower holes in the back of my bin, I use air that first circulates through buried tubes to be cooled in summer by the surrounding ground as the following illustration shows.
|
|
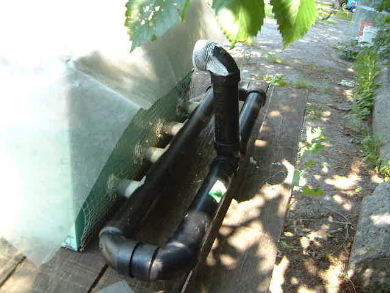
Full details on the construction of the tubes can be found by clicking here.
|

The longer the tubes are the better. However, the tubes should be long enough only to cool/heat the air to the desired temperature. If the tubes are too long then there could be too much friction for the air to be pulled in at all. Instead it will be stagnant and very little air will enter from them. Mine are probably shorter than I'd like but I don't own my property and can do only so much.
Reflecting sun's rays
Putting it simply, heating by the sun is caused by some of the sun's rays being absorbed by the surface of the worm composting bin, in this case that's the paint. Absorbing these rays causes heating. By using a glossy paint, less of the sun's rays are absorbed. Instead some are reflected. So less heating occurs.
Also, white paint will absorb less of the sun's rays than a dark colored paint.
So I use a white glossy paint.
Some temperature measuring methods
See the main temperature control page for suggestions for making temperature measurements.
