Piezoelectricity from rain water
Just for fun, I thought I'd try and see if I could get rain to activate a piezoelectric crystal. It turned out to be a lot harder than just sticking the crystal out in the rain.
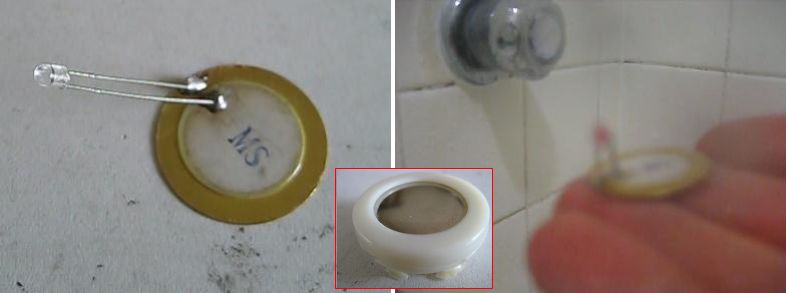
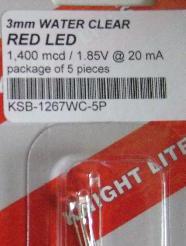
The crystal I used (photo below) was a disk type crystal taken from a gift card. I tested it by soldering an LED (Light Emitting Diode) to it (the LED details are also in a photo below.) On the right is me testing it out in the shower. For details on my extracting the crystal from the card holder and soldering on the LED, see this page about getting a piezoelectric crystal from a gift card.
From my tests in the shower I learned that:
- individual drops are needed with some pause between them,
- the drop needs to fall from at least around 4 feet to have the momentum required to light the LED sufficiently to see it.
Given that my source was to be uncontrolled rain, I ended up having to make a whole rain catcher and drop distributor.
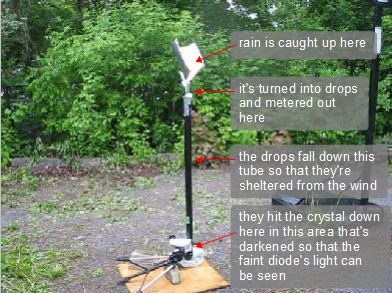

Making drops of the right size and that fall at the right rate was tricky to figure out. The following text and photos explain how it's done.
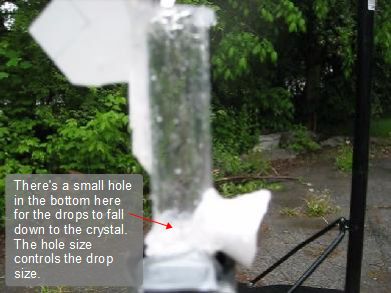
There's a small hole in the bottom of the clear cylinder for the drops to fall down to the crystal. In order for water to fall through the hole, there has to be enough pressure to overcome the surface tension of the hole. This pressure comes from the height of the water. The higher the water, the more the pressure.
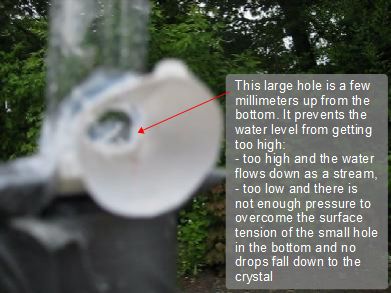
But if the pressure is too high, the water flows through as a stream instead of as drops. So a second, larger hole is in the side of the tube a few millimeters up. This prevents the water from getting too high.
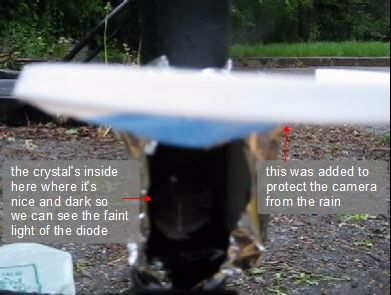
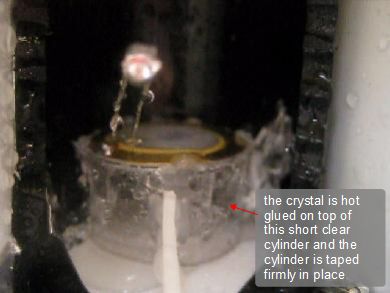
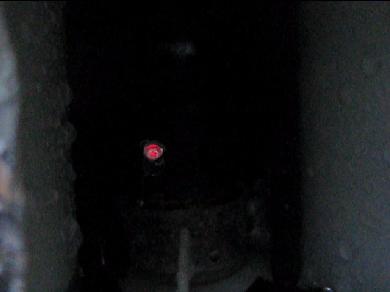
The piezoelectric crystal is hot glued on a short cylinder which sits on a platform glued inside the tall black tube (photo on right, below). The drops work best if there is nothing directly under the crystal, hence the short hollow cylinder. The tall black tube is to shelter the falling drops from the wind, otherwise the drops would almost always miss the crystal. Added covering was used to make things darker so that the camera would be able to see the faint light of the lit LED and to protect the camera from the rain.