Wimshurst Machine (27cm discs)
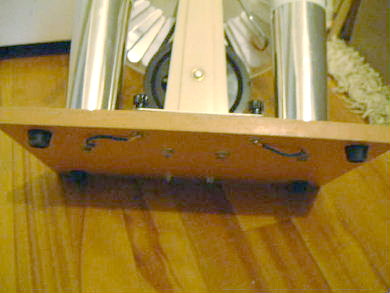
This very nice Wimshurst machine with 27cm diameter discs was purchased on ebay. My main purpose in buying it was to modify it for doing testatika experiments. It's a shame since it's such a fun Wimshurst machine to play with and is very robustly built. It worked right out of the box on the first try!

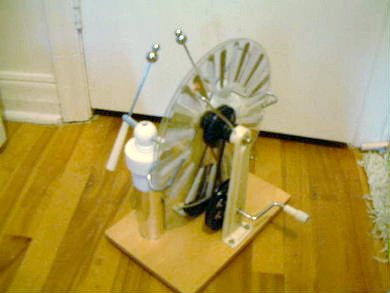
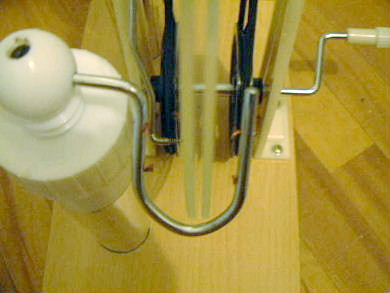

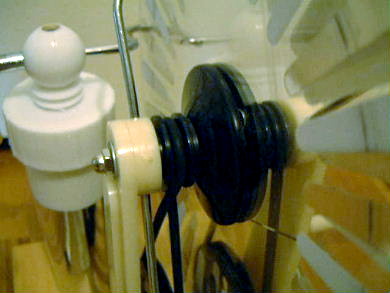
The main reason I picked this Wimhurst machine was because of the large diameter black disc bosses used for attaching the discs to the shaft (see the photo below). They make it easy to replace the disc with other ones due to their size and the fact that the disc is only screwed on to the boss (i.e. they're not glued.) As a side note you can see the twisted pulley belt on this side which is what makes this disc turn the opposite direction of the other disc (the Wright brothers did this to make their propellers counterrotate.)
See the following page of a fun experiment using two sectors of the Wimshurst machine and a coil wrapped around the pulley as an RF LC resonant circuit.
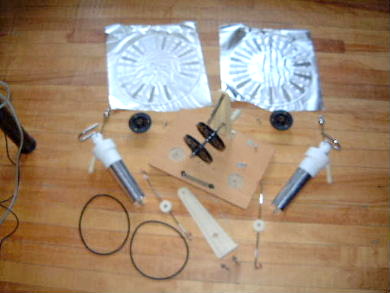
As stated above, my reason for buying this Wimshurst machine was to modify it for trying to make a testatika so after trying it for the first time, I then took it apart...

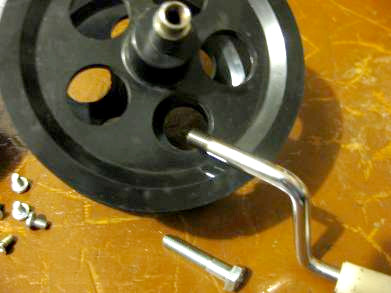
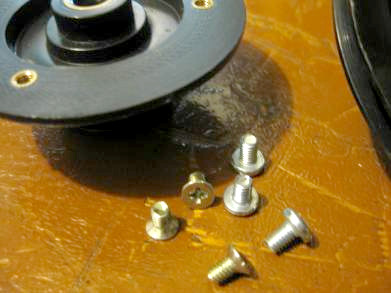
If you make your own disks for this machine, to attach to the bosses/hubs you'll need to drill three holes as precisely located as possible and bevel them. If this isn't done perfectly then you'll have some warping in the disk once it's attached to the boss. To get around this, I found some replacement screws that didn't require bevelled holes in the disk. Instead, the heads of the screws lay flat against the disk surface. This makes for an immediate reduction in any warping. The threads are metric, size M4. The length that worked well for my disk thickness was 6. I purchased them in the bins in the hardware section at Home Depot.
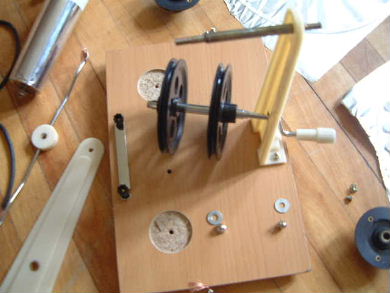
I'll probably replace the hand crank in the future with something else, such as a motor. I found that the threads that the crank screw into are metric, size M6. I found the bolt below in the bins in the hardware section at Home Depot.