Piezoelectric igniter crystal from a BBQ lighter
Many barbeque lighters use a piezoelectric crystal to create a spark to ignite a gas such as butane. When the crystal is used in this way it is often refered to as a piezoelectric igniter. The source of the gas is contained within the lighter body. If you remove this piezoelectric crystal while keeping the trigger mechanism and wires attached, you can see that it creates a spark around 7mm in length. This is in the kilovolt range.
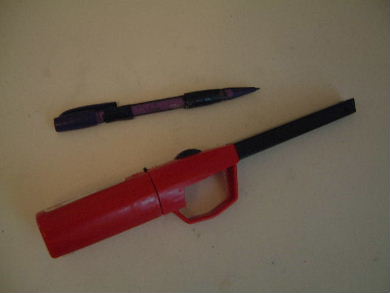
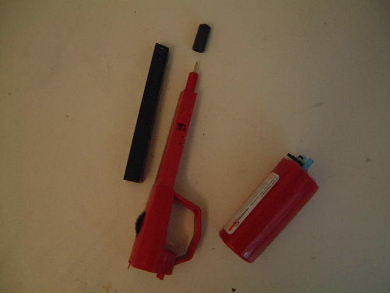
Getting a crystal from a BBQ lighter
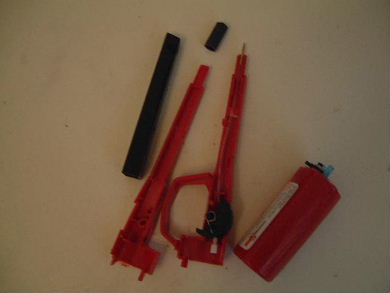
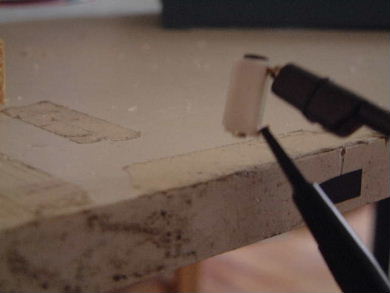
I needed such a crystal so I purchased one of these lighters and removed it as the following pictures show. Care must be taken in taking it apart since there is a flamable liquid under pressure here. I first kept lighting the lighter until it wouldn't light anymore in order to decrease this pressure. Note that this decreased the amount of fluid by only half so care must still be taken after this point.
Testing the crystal
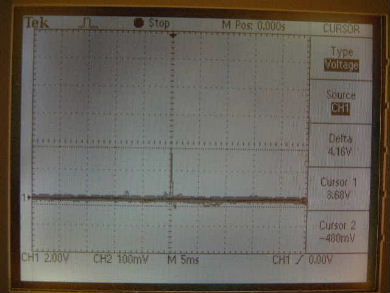
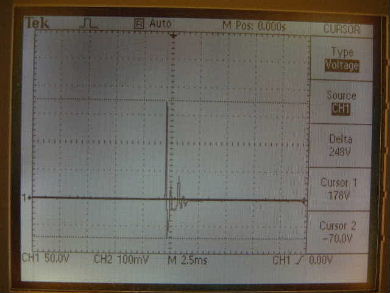
I didn't make any measurements or take pictures with the kilovolt spark. However, having extracted the crystal, I did some simple measurements hitting it in other ways.
Video - How to get a Piezoelectric Crystal from a BBQ Lighter
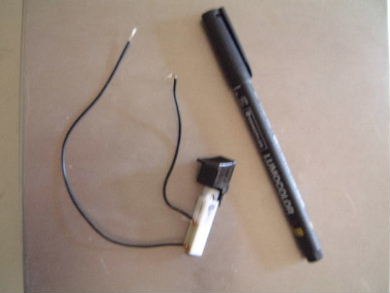
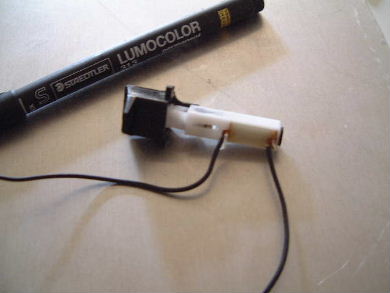
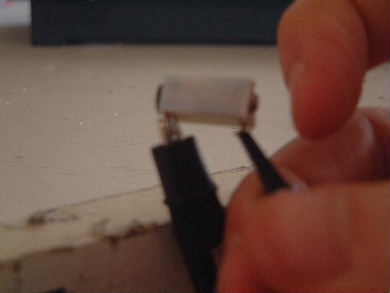
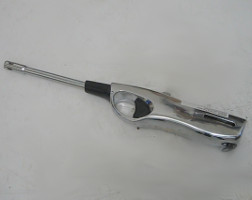
Here's a step-by-step video I made of another BBQ lighter I took apart. This crystal is cylindrical and wired a bit differently.
Piezoelectric static electricity generator
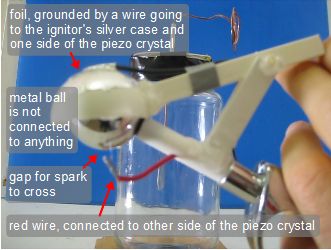
You can turn your igniter into a piezoelectric static electricity generator. Here I show how I did that using the ignitor from the above video. It's easy enough to make it give a shock during the instant that you press the trigger, but the idea here was to build up a charge on an attached metal ball (see photo below) by pressing the trigger repeatably, which turns out to be tricky. You'd think you could just attach a ball to the end, but the instant you release the trigger the charge is lost.
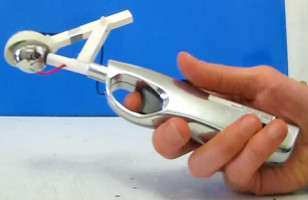
To make it, the ignitor is shortened (see photos below.) A piece of plastic then extends out the end to support a metal ball. The metal ball is electrically isolated from everything else.
The wire that went from one end of the piezoelectric crystal to the tip of the ignitor is lengthened and made to be one end of a spark gap facing the ball (red wire in the photos below.)
Then a piece of aluminum foil is draped over the outside of one half of a ping pong ball and grounded by being connected to the other side of the piezoelectric crystal, which is also attached to the ignitor's silver case, hence the term grounded (see below.)
To charge it, the grounded foil is brought near the metal ball. Note that the half plastic ping pong ball acts as an electrical insulator, preventing the foil from electrically contacting the metal ball. Instead, each time the ignitor is triggered, a spark crosses the spark gap from the red wire to the metal ball. It's held on the ball during the spark by the attraction from the foil, since the red wire and the foil are connected to opposite sides of the piezoelectric crystal.
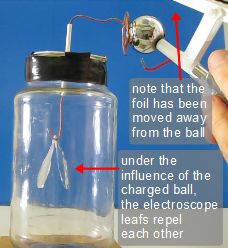
To get the ball to act as an isolated charged object, the foil is moved away, in this case by a plastic lever mechanism. When the ball is brought near the terminal of an electroscope, the electroscope's leafs separate, indicating that the metal ball is now charged.