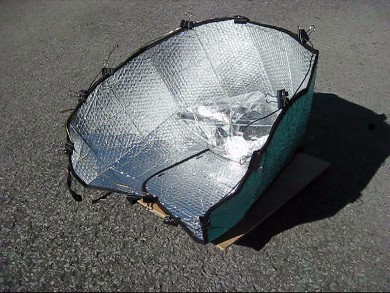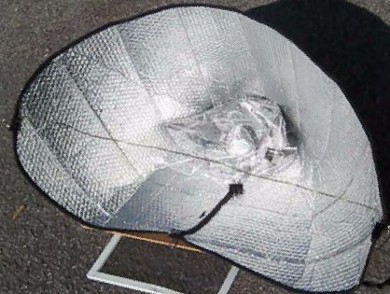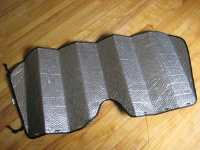
You've probably seen these sunshades in car windshields, but they
can also be used to do solar cooking. Below I'm warming up half a
can of beans. The temperature was 200F (93C) and I left it like
that for around 30 minutes under partly cloudy conditions.
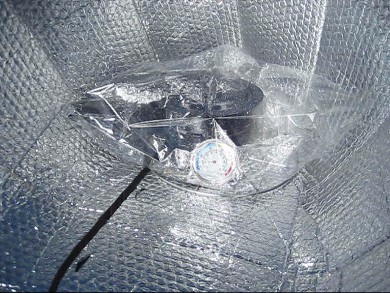
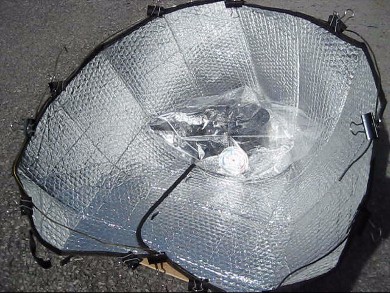
In the close-up on the right below you can see that the pot is inside
an oven bag along with a thermometer. In the solar world we refer
to this oven bag as the glazing. Its purpose is to keep a layer of
hot air all around the pot, reducing heat loss to the relatively
cool outdoor air.
It also keeps the wind from blowing across the pot and stealing
its heat directly.
Make sure the oven bag is touching the pot as little as possible.
I don't inflate it since blowing into it would introduce humidity.
It self-inflates when I put it on as long as
I don't pull the bag tight around the pot before sealing it with a
twist-tie. A bag that looks way too large for the pot is perfect. Some
put a wire cage inside the bag to keep it expanded.
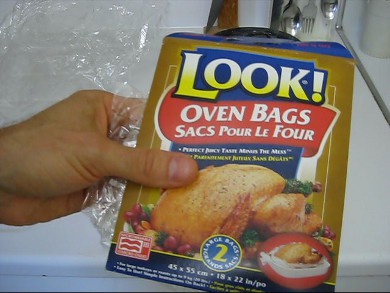
Oven bags can be found in many places where you buy groceries,
including places like Walmart. I found mine
where you find aluminium foil, plastic food wrap, baggies, ...
Reynolds is another manufacturer. Look for "oven bags".
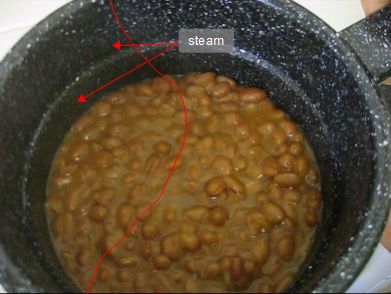
If you look closely at the photo below you can see the steam
coming off the finished beans.
How the car sunshade solar cooker was made
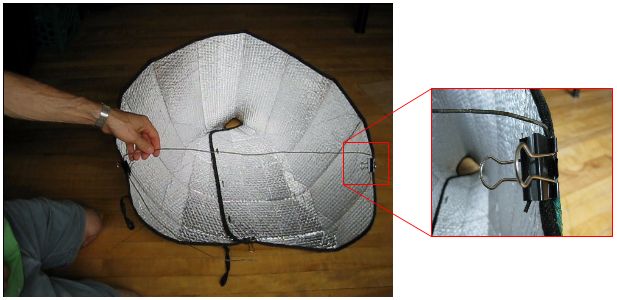
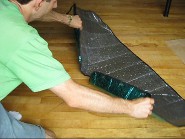
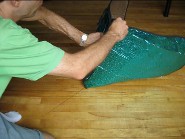
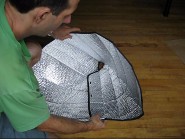
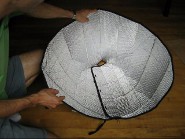
The easiest way to make one of these is to fold up the ends and
simply connect them together as shown below. In my case I'm connecting
them using a binder clip, a type of clip normally used for holding
papers together. A bobby pin, clothes pin, tape, velcro pieces sewn on,
or pretty much anything will do.
1. Fold the two ends.
 |
|
2. Bring them together.
 |
|
3. Attach them together.
 |
|
4. The finished result.
 |
|
To hold it open a specific amount the thing most often
done is to put some kind of rigid pole across the opening and attach
it at the two ends. In this case I'm using a piece of wire from
a metal clothes hanger and holding it in place using two clips.
Use your imagination.
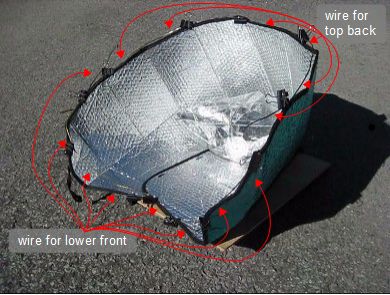
I got much fancier (along with getting better results) and used two
pieces of metal clothes hangers,
bent to the shape I needed and then held on with more clips (see
photo below.) This allowed me much better control of the overall
shape of the sunshade, including the insides, not just at the edges.
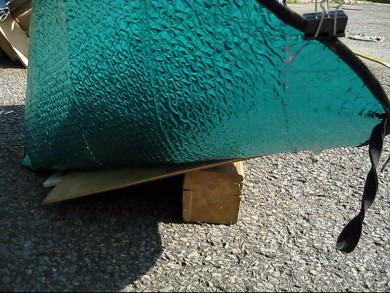
When in use, you point the solar cooker at the sun. If it's early
in the morning or late in the day then the sun is low in the sky.
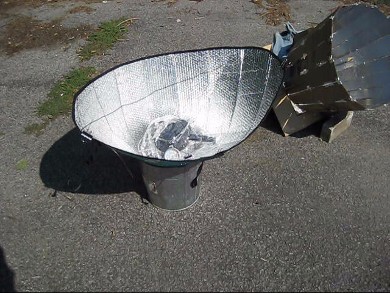
In that case you can just sit it flat. For when the sun is higher
you can sit it on a board propped up by some blocks or you can
just on sit it in a can, garbage pail or bucket.
My first time using this type of solar cooker didn't work well
and I got to only 170F (75C). That's because I optimized it
by opening it as widely as I could. With the wide opening the angles
inside the reflector didn't guide the sun to the pot much. That's the
one on the left below. I've seen other car sunshade solar
cookers that were larger and had smoother, better reflecting surfaces
and so would have created more heat with this same shape. So just
because mine didn't, that doesn't mean yours wouldn't.
To direct more sun to the pot at one time I used the two clothes
hanger wires with many clips as I already mentioned above and easily
got up to 200F (93C), shown below on the right.
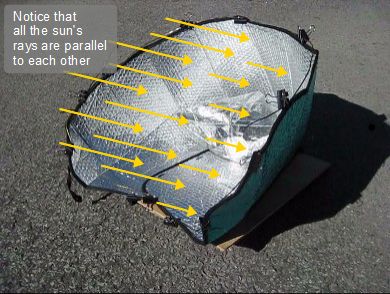
The basic idea is that when it's pointed at the sun, the sun's
rays come at it everywhere parallel to each other. So to optimize it,
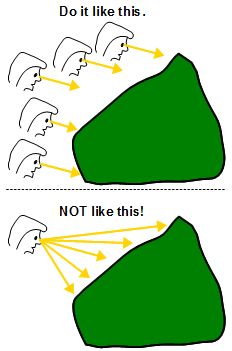
look at it from the sun's point of view. Face your solar cooker and
hold your eyes and head angle stiff while you move around
looking straight ahead.
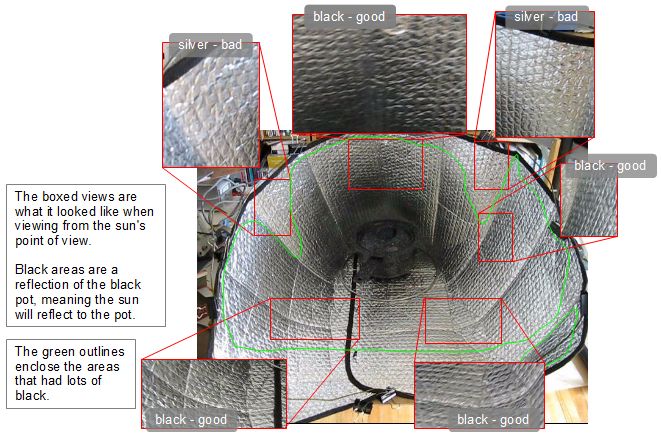
Ideally the sun would see the cooking pot everywhere in the reflector.
Since the pot is black, the sun should see black everywhere.
Below is another trick for doing this. It uses your distance from the
cooker to make your sightlines of the different parts of the reflector
more parallel to each other.
Distant viewing approximation trick
 |
|
Here are some of the views I saw when looking straight at the
reflector at different locations.
Doing the above is what got me to 200F (93C) in around 10 minutes
and kept is there for around 30 minutes of partial cloud.
Opening it wide for less heat and for doing less adjustments
As stated above, when I opened mine up wide it didn't reflect
as much sun to the pot as after I optimized it using the clothes
hanger wire and clips. In my case I had to do this because my
particular sunshade just didn't create enough heat when opened wide.
But if your sunshade does create enough heat when open wide then
you have a choice. You can either open wide and get enough heat
or optimize further and get more heat. But the other trade-off is
that with it open wide you won't have to adjust it to face the
sun as often as with it highly optimized for higher heat.
Basically if it's open wide then less of the reflecting surface
reflects sunlight to the pot at any time. But as the sun moves,
the surfaces that weren't reflecting will now reflect and the surfaces
that were reflecting no longer will. But
at least some surfaces will,
and so you'll still have some heating.
On the other hand, if it's highly optimized then either most of the
surface will be reflecting sunlight to the pot, or, when the sun
moves, very little will be reflecting to the pot. So you have to
frequently turn the cooker to follow the sun to keep up that
larger reflecting surface and high heat.
Videos for my car shade solar cooker
The following video shows the solar cooker, how to line it up with
the sun, and cooking some beans.
This next video shows a bunch of tips and tricks.


