DIY/homemade solar panel - simple one
I needed a small solar panel for a video I was making about voltage. All I had to do was power an LED so it needed to put out only a few volts and a little current.
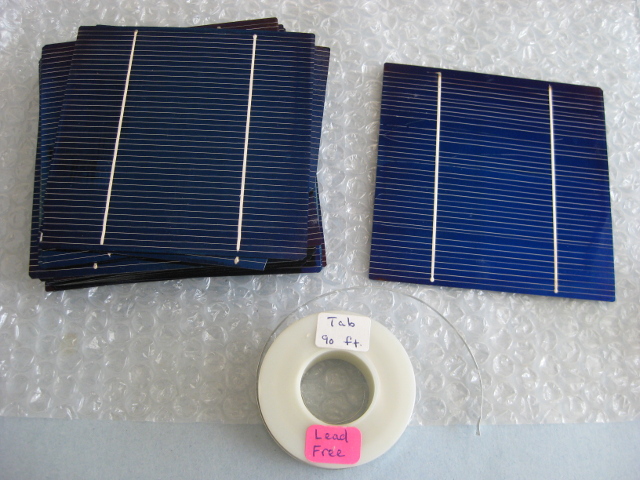
Luckily, I'd bought the bunch of solar cells shown below several years ago back when solar panel prices were high and doing so made sense, though I'd ended up using them only for experimenting over the years.
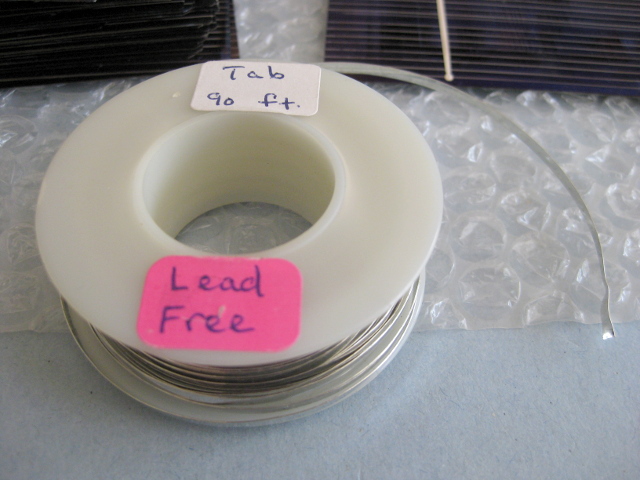
I'd also bought the roll of tabbing shown below for connecting the cells together. This tabbing is flattened copper coated with solder, which is why it is silver colored instead of copper colored.
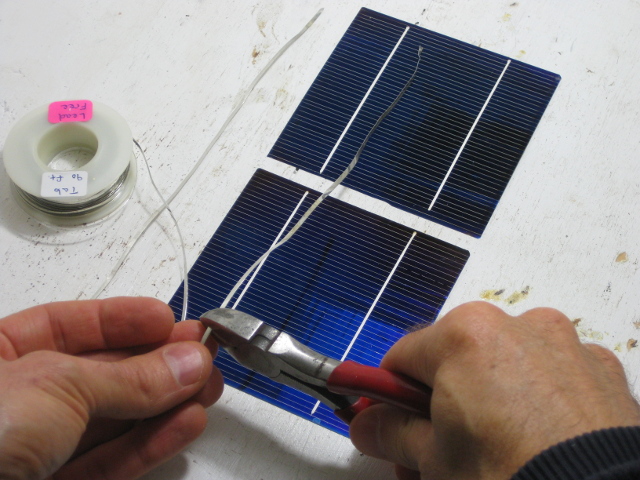
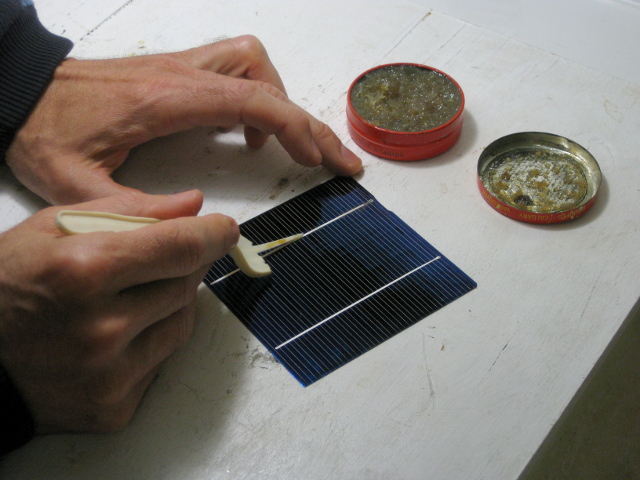
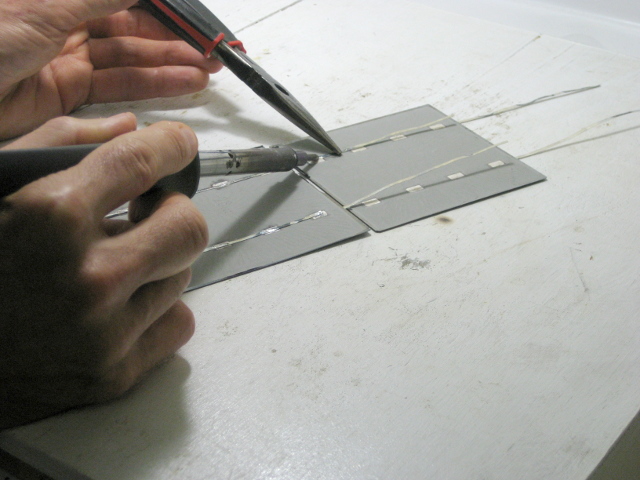
As shown below, the first step was to put two solar cells on the table, spaced apart the distance they would ultimately be and to cut strips of tabbing that spanned the two solar cells.
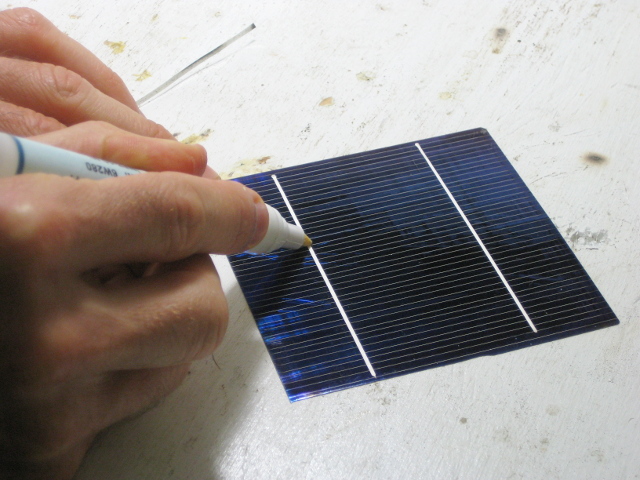
Then flux was put on the two wider whitish strips on the faces of the cells. Flux makes the soldering work better without having to apply too much heat. In the photo on the left below a "marker" containing flux, called a flux pen, is being used and on the right a flux paste is being applied from a container. Either approach works fine.
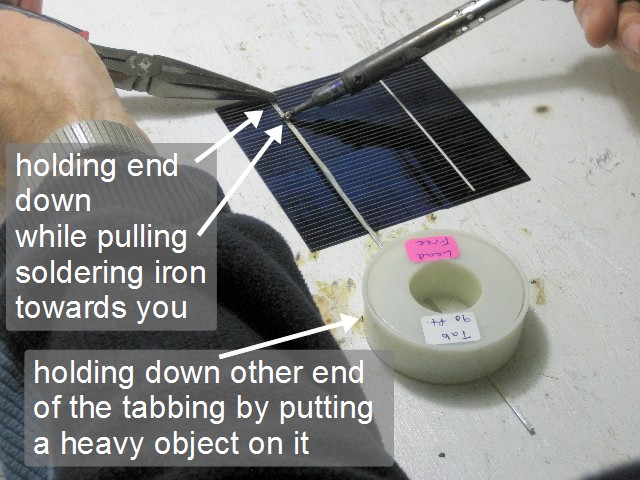
Then two tabs were soldered on, the 1st of which is being shown below. To do it well, the tab is put in place and held down with the heavy tabbing roll on one end and with a pliers on the other end. The tip of the soldering iron is then placed gently on the end near the pliers and light downward pressure is applied as the iron is moved toward the other end, making sure the solder that's on the tab melts and that the tab sticks to the cell before moving on.
The solar cell is very, very delicate so be careful not to break it. The soldering iron is using around 40 watts.
Repeat this with a 2nd tab and then for all the solar cells.
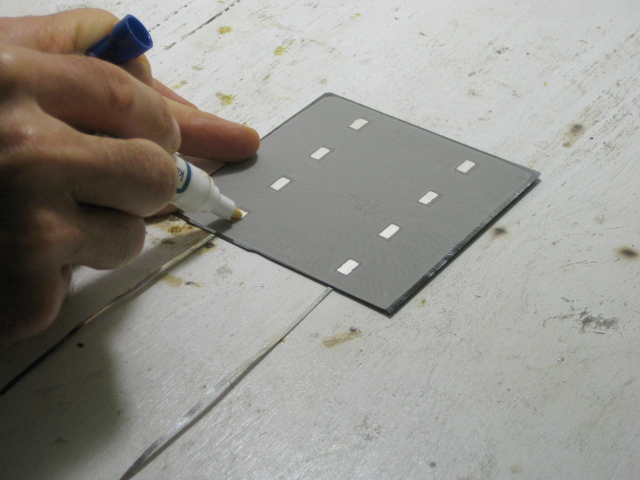
Next is to connect the cells together that will be connected one above the other. Flip over a cell and on the back you'll see two sets of four whitish rectangles (the number may vary depending on the manufacturer.) Put flux on them as shown below. Then lay another cell's tabs on top of those rectangles.
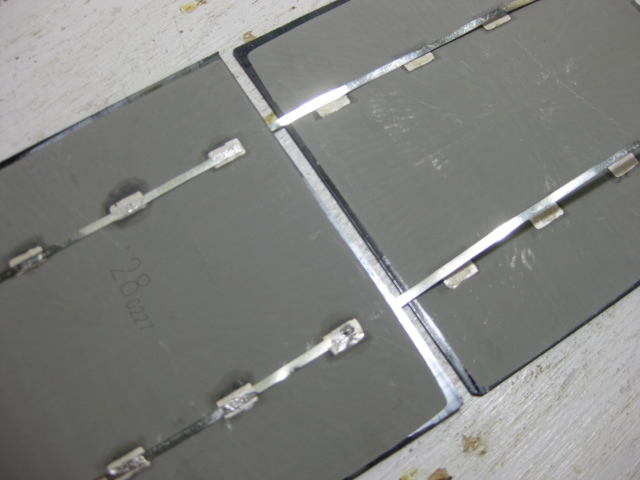
Then apply the soldering iron to the tabs where they overlap the rectangles to solder to them, as shown on the left below. At that point the two cells are connected in series, positive to negative.
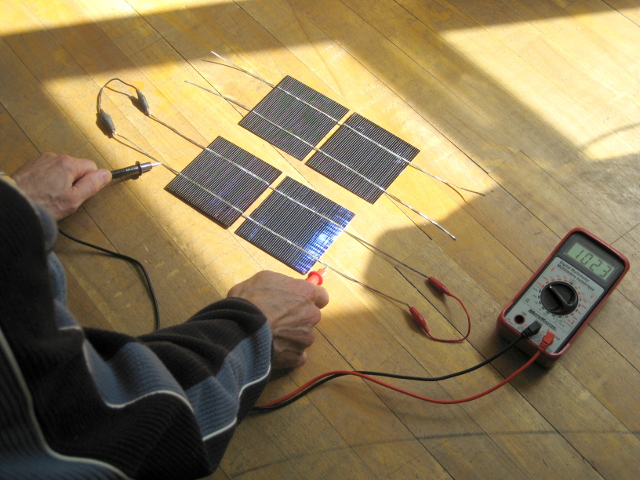
On the right below you can see me testing two connected cells, with another two beside them ready to be tested. I measure both the voltage and the current. Do this testing every time you connect one cell to another since you don't want to connect everything together only to discover later that there's a problem somewhere.
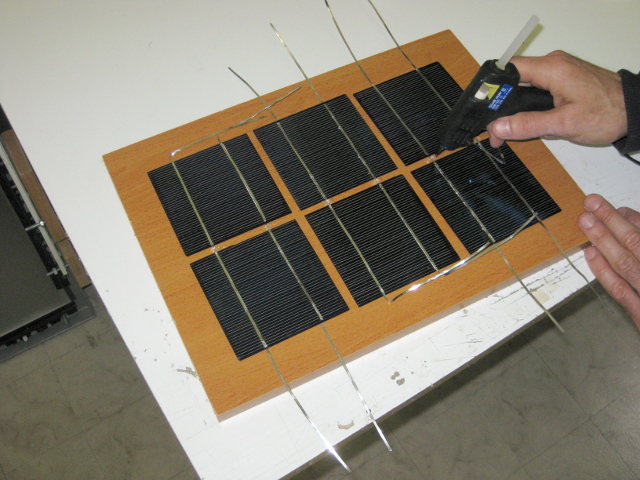
As shown on the left below, since this was for a simple solar panel I placed the solar cells on a solid piece of wood and hot glued them to the wood by applying the glue to the tabbing in between each set of adjacent cells.
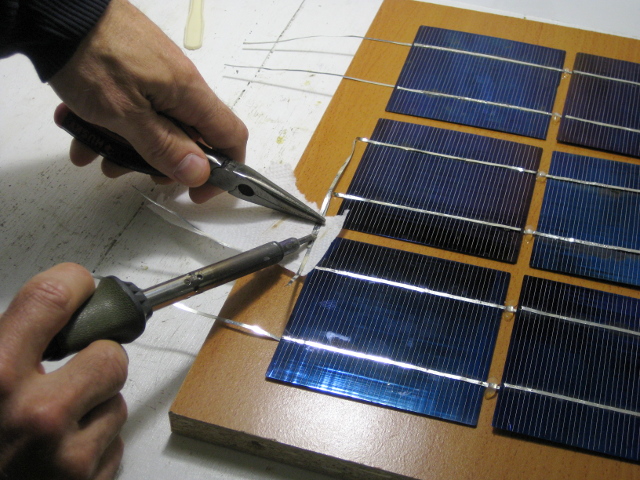
On the right I'm soldering the tabs of adjacent columns of cells together creating a serpentine type of connection, connecting them all in series.
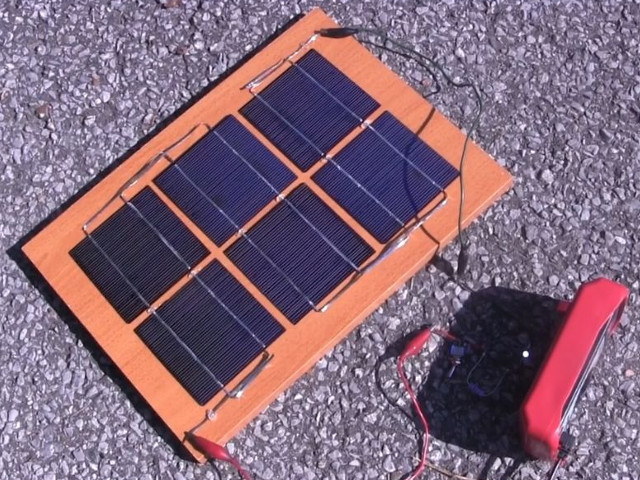
And below on is the end result being used outdoors to power an LED. You can see the serpentine path for the connections.
Measuring the solar panel's voltage and current output
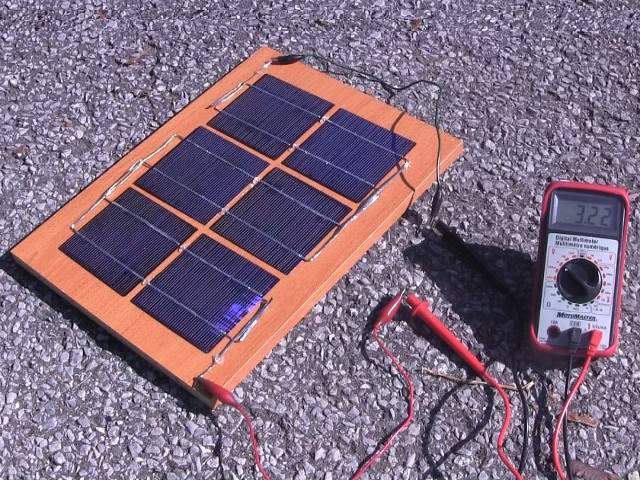
Below I'm measuring the output. Note that there's no load attached; the meter's red positive probe is connected directly to the solar panel's positive and the meter's black negative probe is connected to the negative. The positive is the connections on the back of the cells and the negative is the connections on the front of the cells.
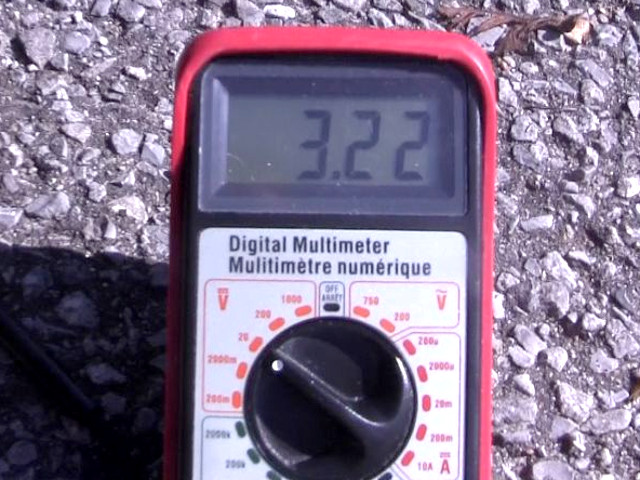
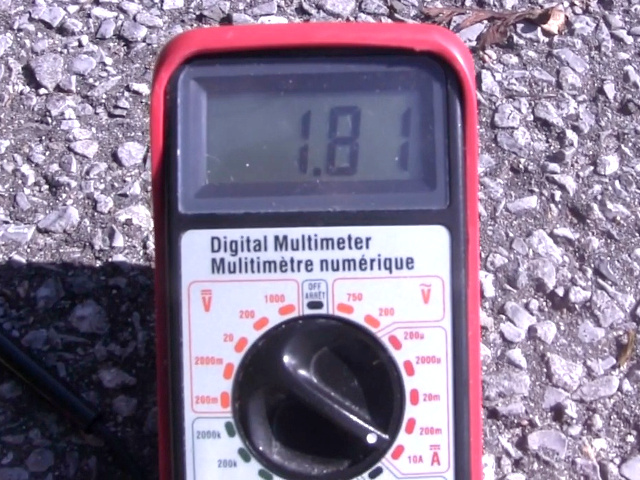
In the photos below that you can see the voltage in full sunlight with an outdoor temperature of around 26C/79F is 3.22 volts and the current is 1.81 amps. Since there is no load, these are called the open circuit voltage and short circuit current. On a commercially made solar panel these values are written on a label on the back of each panel.