How to repair/fix a broken solar panel
This is how Larry Coles repaired a solar panel whose glass had been shattered. The shattered glass rendered the panel no longer weatherproof so Larry used some UV resistant plastic to reseal it, details below.
Thanks to Larry for sharing his solution here. Larry is a professional photographer so be sure to visit his photography website, http://thephotoist.weebly.com.
I was in the right place at the right time a while back when an alt-energy company was receiving a shipment of solar panels. One of the panels had been broken in shipment. With a little fast negotiation, I wound up with a "FREE" haul-it-off panel. The panel was a big one 24 volt, 200 watts. It had sustained damage to the side of the panel, probably from a forklift, and it had shattered the glass but the cells were good.
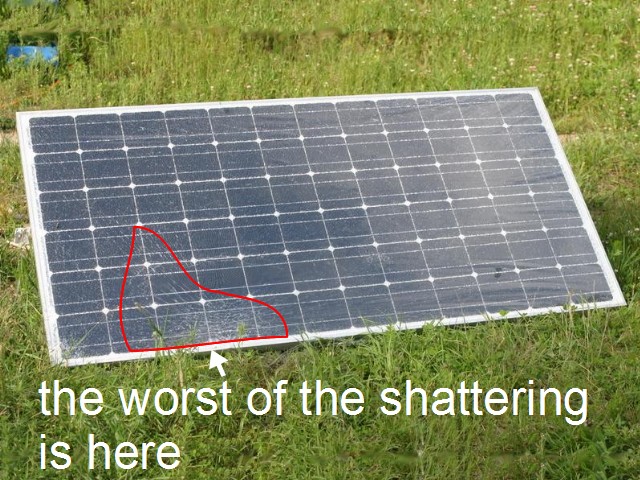
I brought it home, set it in the sun and with a volt meter and amp meter, I began to test it. Well it was down on watts a bit, but the voltage was fine. I tied it into my 24 volt system which was underpanelled, and began to appreciate the increased charge rate.
The downside was I didn't dare leave it in the weather, or night dew, so each evening, it and another panel of similar condition were carefully put away, or if weather threatened, and carefully set up again the next clear day. OK so how do I fix them so I can get extended use???
I went online and found a lot of people with the same problem, they broke a panel or whatever and were wanting to know what to do. In all the searching I found no answers except give up and replace.
So I started researching my options, I looked at glass for replacement, but the glass on the panel is bonded to the cells, so I would damage the solar cells if I tried to chip it away. Also, the panel bows out some as a result of the shattered glass spreading the surface area. I looked at plexiglass and its variations but with the same issue.
I finally got to thinking about the heavy gauge clear plastic used for sealing windows here in the cold climate. It has a good UV resistance, was a reasonable price, 48" wide, and by the foot in a roll. Cost was about a buck and half per linear foot. I purchased it at an ACE hardware store off a roll.
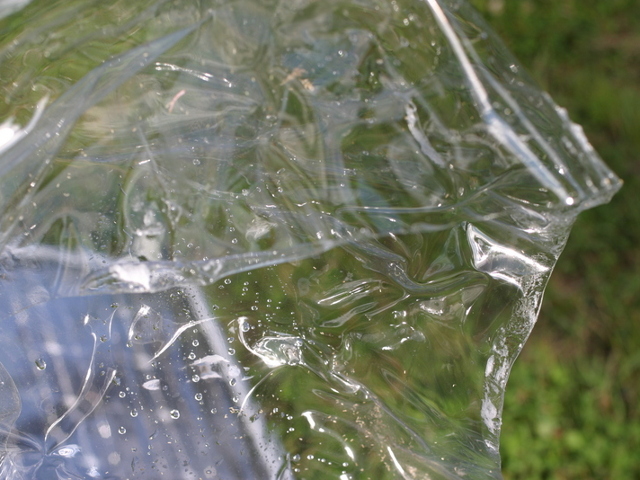
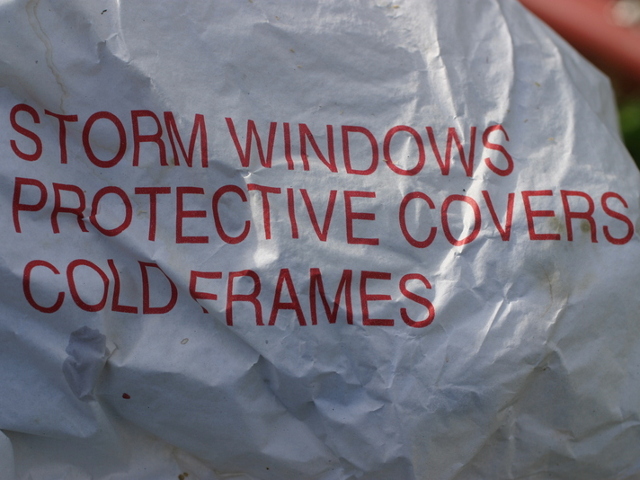

The next issue was how to seal it to the panel. I at first considered silicone rubber, or its variations but nope, the frames are brushed aluminum and the hardening chemicals in silicone rubber sealer will eat the metal. I finally was referred to a product called "Through the Roof" a clear waterproof sealant. One tube for about six dollars did two panels and I had sealant left over.

You will want to make sure your panel is dry, and you will need an assistant, and some large spring clamps would help. It's important to make sure there is no moisture in the panel when you seal it down, or the less the better. Do it on a low humidity day.
Lay the panel out flat, and lay a bead of sealant all around the frame. I applied the adhesive to the front edge of the panel frame. Then with your assistant take an oversized piece of the window plastic and carefully pull it tight as you lay it over the panel, and use those clamps (at least 6 or more depending on the size of the panel) to secure the plastic to the frame. I didn't think of that until the deed was done, and the plastic wasn't as tight as I had hoped... these clamps are available at dollar stores, hardware and building supply centers. I used a razor blade knife to trim after it had all dried.
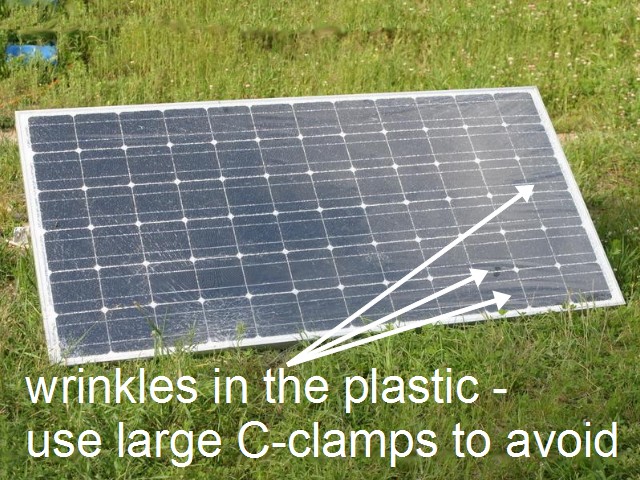
As you can see I did get some wrinkles in the plastic, after gluing down the plastic I realized how important some large spring claps are to do it right. Until the adhesive has completely set up, the plastic kept wanting to shift to release the tension I wanted on the plastic. I later saw at Home Depot that the big spring clamps were 99 cents each. They would really make a difference in how good the repair is.
I now have two panels that I wouldn't have had if I accepted the advice on the web, so enjoy the added power.
