One day, while filming something outdoors, one of the bottom
legs of my camera tripod fell out of the corresponding middle leg.
This happened in a gravel and brush area and I couldn't find all the
parts - or at least I couldn't put back together what I did find.
Rather than wastefully throw it away and buy a new one, I decided
to repair it.
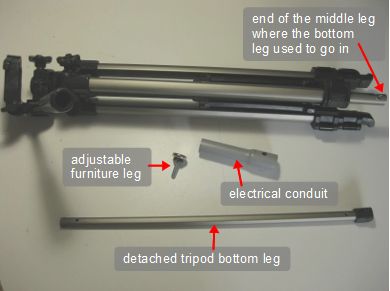
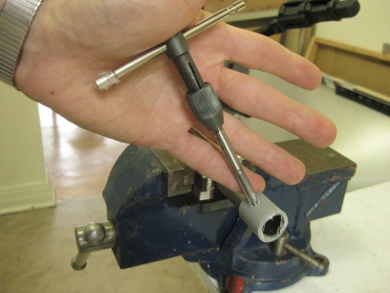
The photo on the left below shows the tripod and detached bottom
leg along with the two parts I used to fix it: a short piece of
plastic electrical conduit and an adjustable furniture leg, both
of which I already had. I needed the conduit because I needed
something thick for screwing the furniture leg into securely.
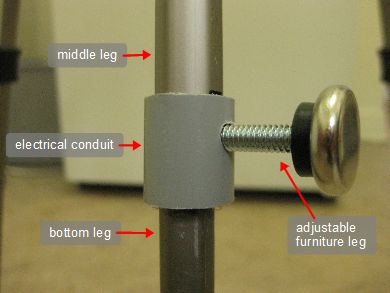
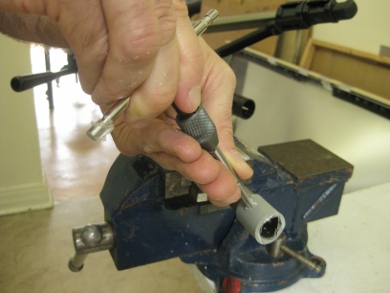
The photo on the right shows the finished result with the conduit
fitting snuggly onto the end of the middle leg, the bottom leg
inside the middle leg and the furniture leg holding the bottom leg
in place by pressing firmly against it.
The parts.
 |
|
The finished result.
 |
|
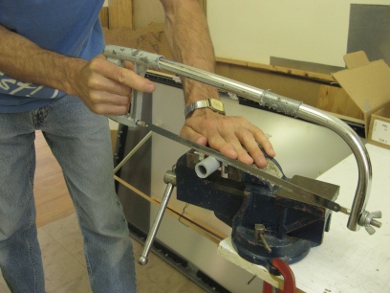
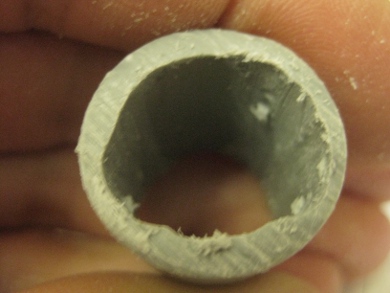
I first cut off a more-or-less randomly selected length of the conduit
using my hacksaw. In the photo on the right below you can see that
the round hole in the conduit is too small to fit over the tripod's
middle leg and was the wrong shape. This was on purpose. I wanted it to
go on with a tight fit.
Cutting off a piece of conduit.
 |
|
Round hole for an odd shaped leg.
 |
|
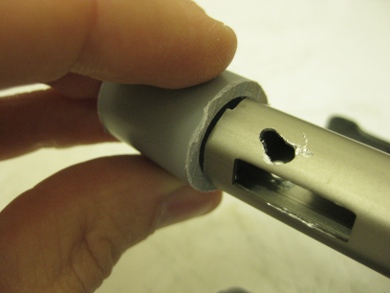
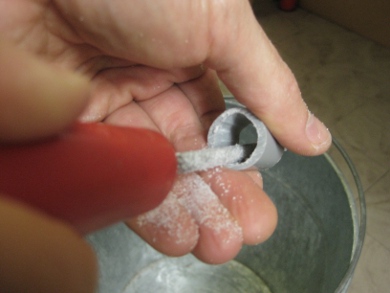
So I got out a round file and started enlarging the hole in the
right places so that it would be a tight fit. The photo on the
right shows the result.
Reshaping the hole using a round file.
 |
|
The new hole.
 |
|
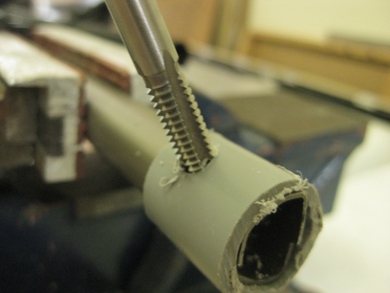
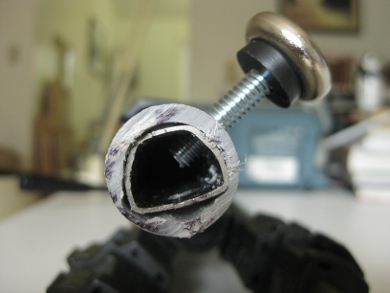
I next needed to make a hole in the side of the conduit that I could
screw the adjustable furniture leg through. This meant I needed to
make a hole and that I needed to make screw threads in that hole.
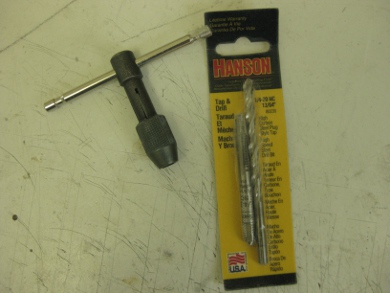
To do that I needed a tap and drill set
(see photo on left below.) Luckily the furniture leg was 1/4" and
20 threads to the inch, a very, very common size and I already had
just the set for it, one that came with a 13/64" drill bit and a
1/4"-20 tap.
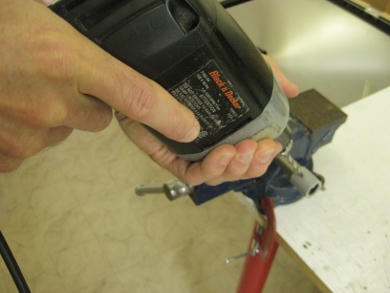
I started by drilling the hole.
T wrench (on left) Tap and drill set (in package, on right).
 |
|
Drilling the hole.
 |
|
Next, to make the threads I needed a T wrench, which I already had
(see photo on left above and photos below.) I inserted the tap
into the wrench and proceeded to make the threads.
The tap in the hole, ready to make threads.
 |
|
Making the threads.
 |
|
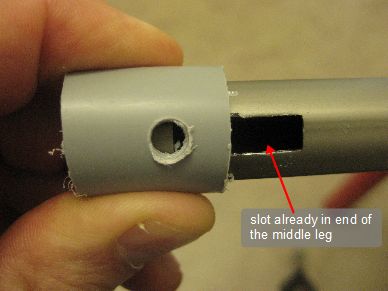
In deciding where to drill the hole, I knew there was already a
hole in the form of a slot in the middle leg that I could take
advantage of. The photo on the right shows me sliding the conduit
over the middle leg and how the hole I made lines up with the slot
in the leg. Having this slot there already was important because
in a previous so-so attempt to make a repair I found out that
this tripod's legs were a hard metal and that my drill bits are
a bit worn out. Having an existing hole was useful.
Close-up of the tap in the hole.
 |
|
Sliding the conduit onto the middle leg.
 |
|
In the photo on the left below I've screwed the furniture leg
in a bunch so you can see it inside the middle leg. It's the end
of this furniture leg that will press against the tripod's bottom leg
and hold it in place.
Looking up the interior of the middle leg.
 |
|
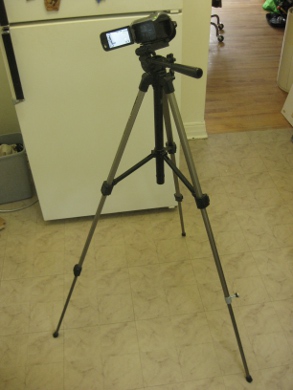
And below is the finished result, which works great!
Bottom leg firmly in place inside the middle leg.
 |
|
A working tripod again!
 |
|

