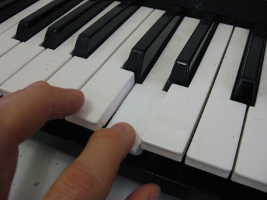
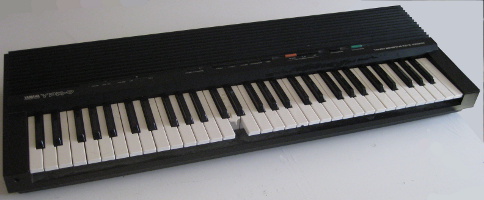
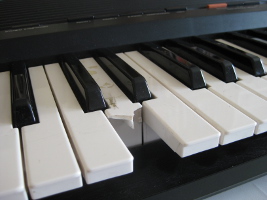
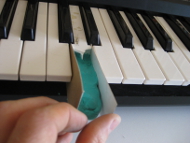
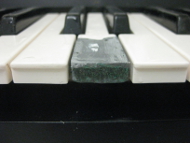
I bought this keyboard at a garage/yard sale for $25, mainly because of the broken key which you can see below. I finally got around to fixing it so that it's halfway decent looking as you can see in the "after" photo below.
|
|
|
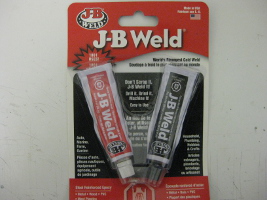
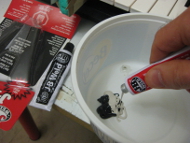
I decided an easy way to fix it would be to make a mold in-place and pour in J-B Weld, which is basically an epoxy with metal particles in it. You can get it at most hardware stores. Many other epoxies would have done as well, but it's what I had on hand and I'd been wanting to play with making stuff from it for a while.
|
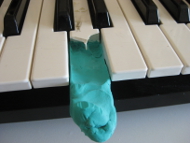
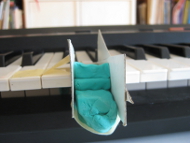
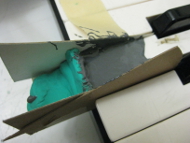
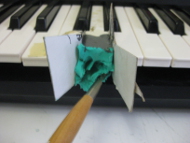
For the mold I started by laying some plasticine in between the keys to either side and making a base at the right height. I then put pieces of cardboard on either side for the walls of the mold. The keys have a lip at their front so I added more plasticine in the shape of that lip and to act as the front of the mold.
|
|
|
|
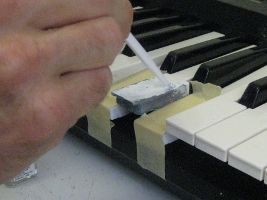
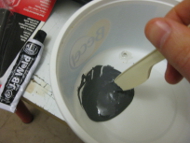
The J-B Weld is a two part epoxy requiring equal amounts of each. I mixed what seemed like enough in a plastic bowl, scooped some up on a disposable plastic knife and let it drip into the mold. I also used the knife to push the J-B Weld into the spots at the back of the mold.
|
|
|

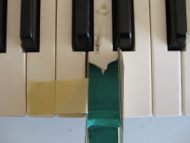
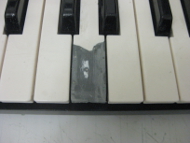
I let it sit overnight. The next day I scraped away the plasticine and removed the cardboard. I then spent a while scraping at it with an x-actor knife and sanding it with cardboard to get the desired shape.
|
|
|

|
|
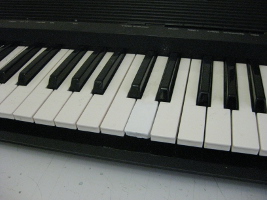
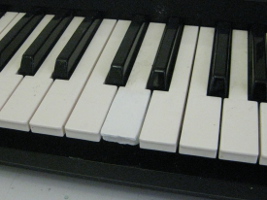
I then painted it with some model paint from a local hobby store. It took around 7 or 8 coats to get it thoroughly white. The end result looks pretty good and playing it, I can't even tell the key's been repaired.
|
|
|