3D printed magnetic holder for helping hands
This is a 3D printable helping hands magnetic attachment I came up with for attaching a helping hand to a vice, or other metal object which a magnet will stick to.
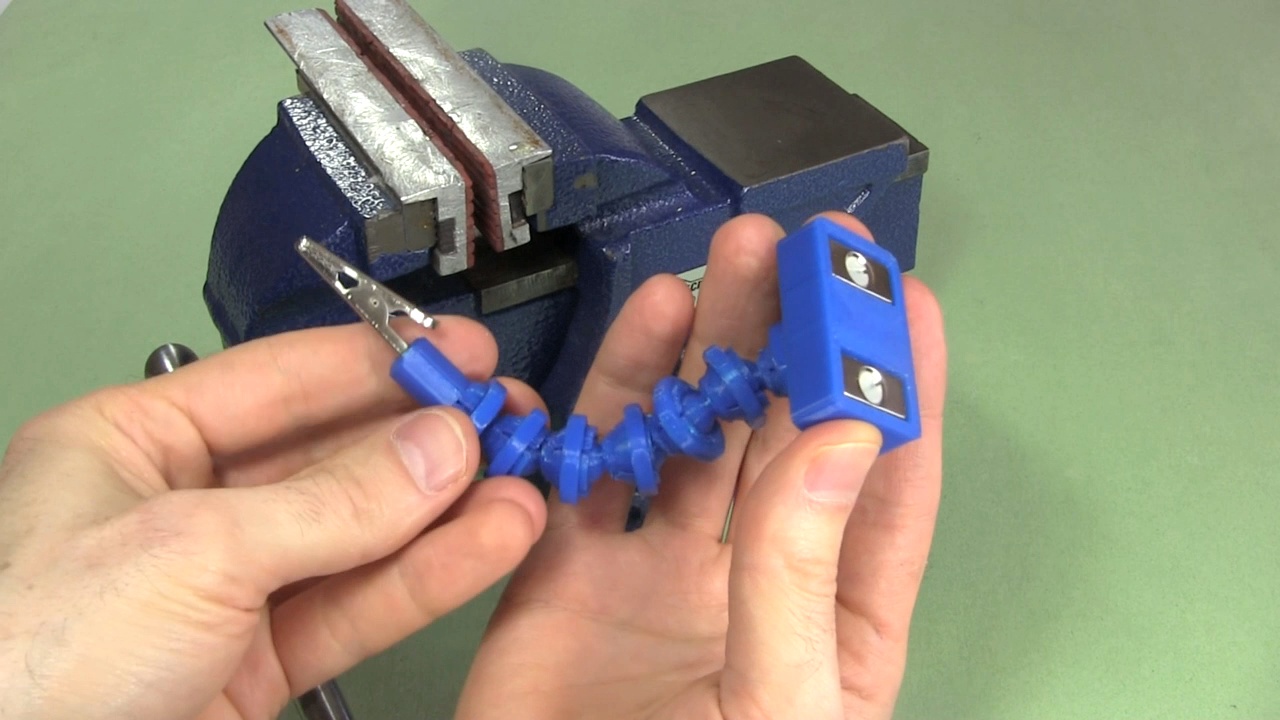
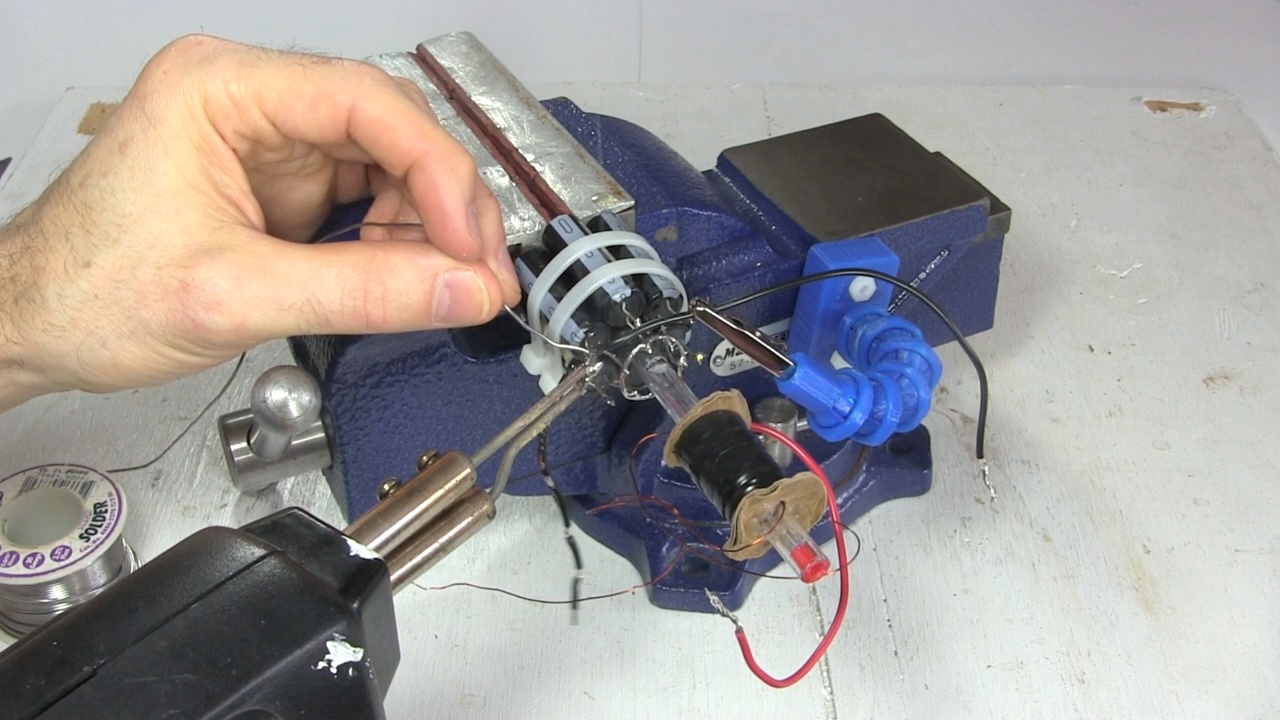
For those who don't know, helping hands are flexible arms, usually with alligator clips on them. They're most often used to hold things while soldering electronics, though they can hold other small things too. They're often used as standalone things but I like holding big things with my vice and using helping hands in conjunction with that.

How to make the magnetic holder
I found helping hands on Thingiverse, made by user alexrich82. The joints are ball and socket joints and I find that over time, if printed in PLA at least (I haven't tried ABS), they tend to get loose. But used with the magnetic holder, the length is usually shorter and that doesn't matter as much.
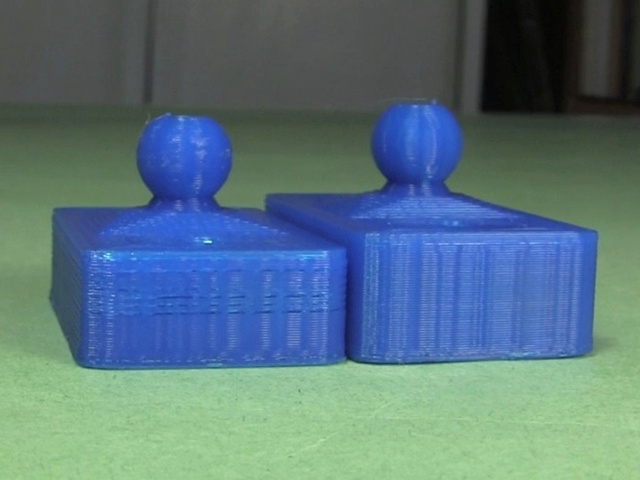
The files for printing the magnetic holder which I designed can be downloaded from here on Thingiverse.
Download and print as many of alexrich82's parts as you want and then download and print my magnetic holder. I printed mine using my Creality CR-10 3D printer which I talk about here.
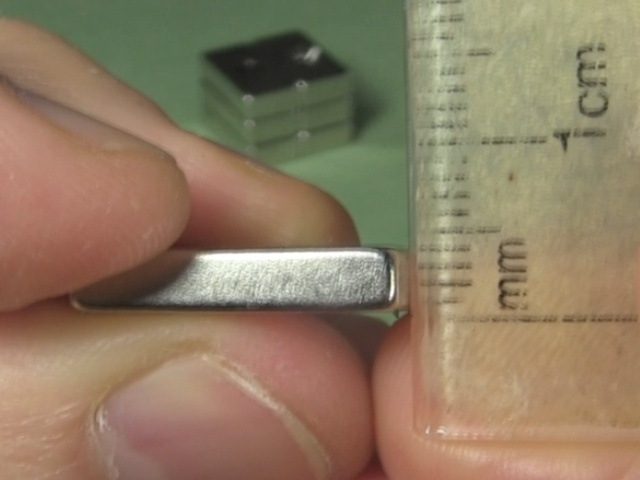
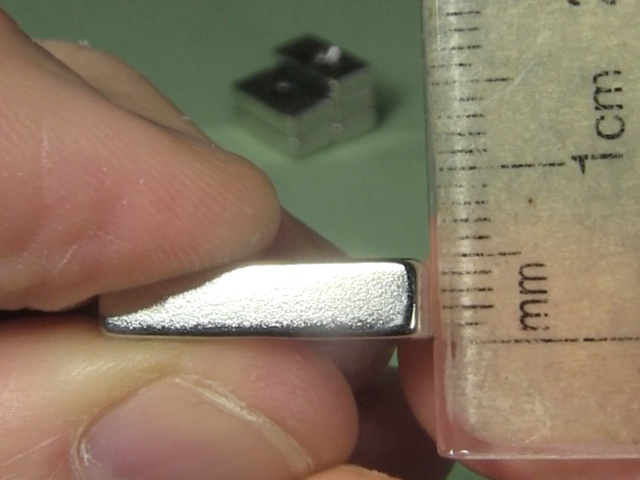
You'll also need four magnets. I bought mine from ebay.com. Search for "20 x 10 x 4mm neodymium magnets". Or you can go to this specific seller which I last used but seller's come and go, so the link may not always work. You should buy a few extra since they break easily if they slam into something, easy to do if you aren't careful when handling them. Once they're in the magnetic holder then there's no issue.
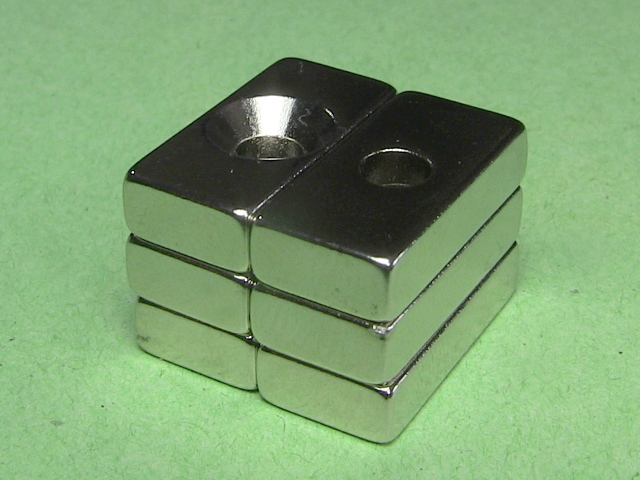
Warning, the first time I bought them, the ones I received were 20 x 10 x 4mm but the second time I bought them, the ones I received were 20 x 10 x 5mm. So on the Thingiverse page, I've provided 3D printing files for both magnet sizes.
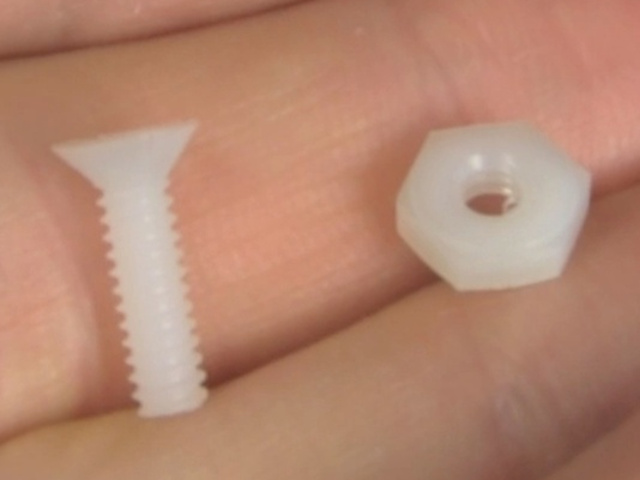
The other thing you'll need are some machine screws and nuts for bolting the magnets to the magnetic holder. I used nylon ones from the miscellaneous bins in the hardware section at Home Depot. They're #6-32 x 3/8 inch Phillips-Slotted Oval-Head Machine Screws. You can use metal ones instead, but due to the fragility of the magnets, I prefer nylon.
However, an excellent suggestion made by a commenter to the video below was that if you use a metal machine screw, you could fashion a makeshift washer by putting electrical tape between the screw head and the magnet. It's also possible that the 3D printed plastic is soft enough to act as a compressible washer where the magnet sits in the magnetic holder hole due to the unevenness of the printing there.
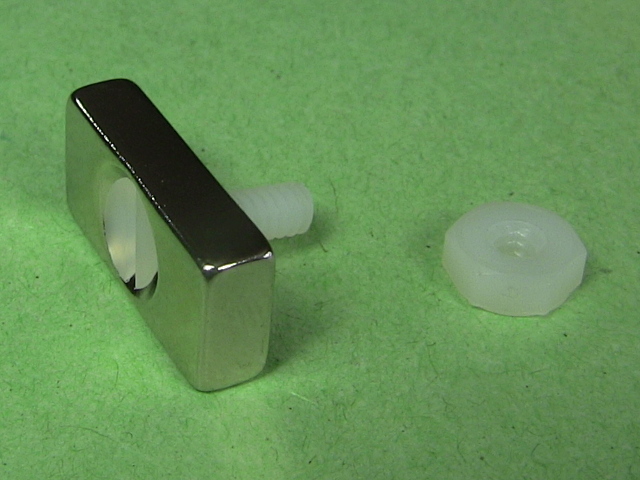
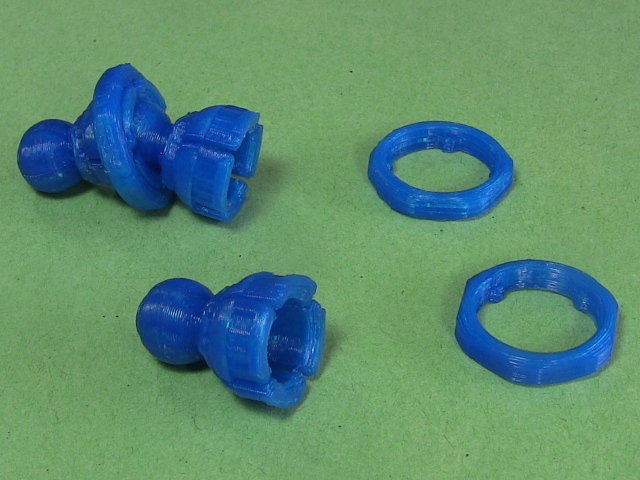
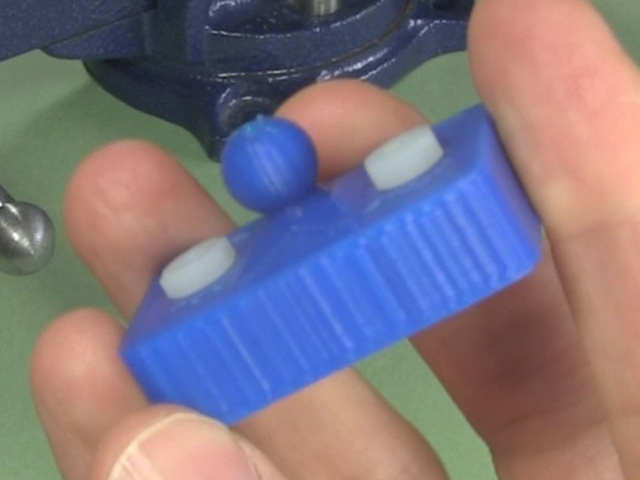
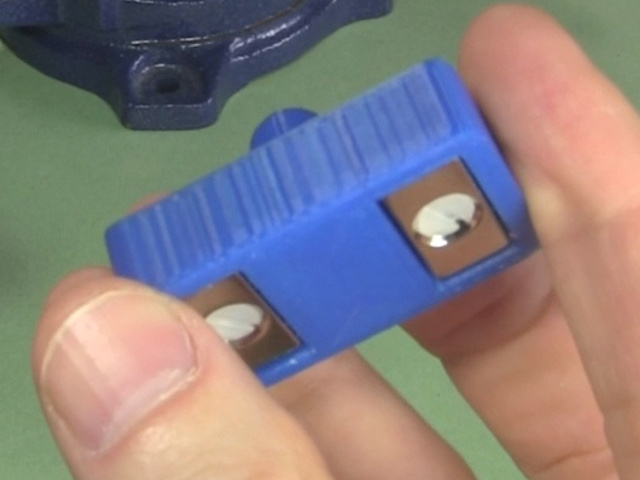
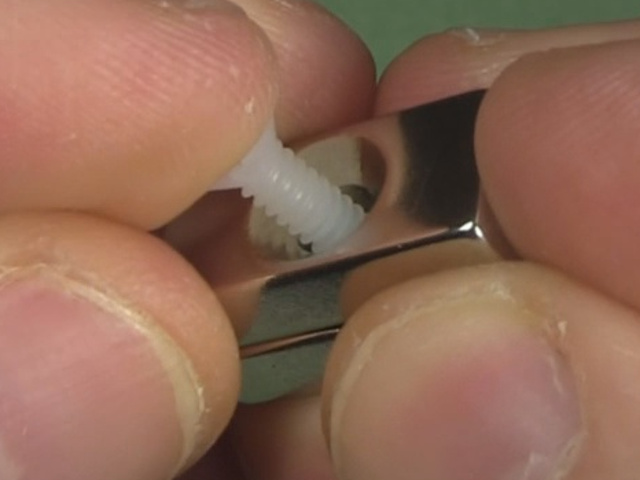
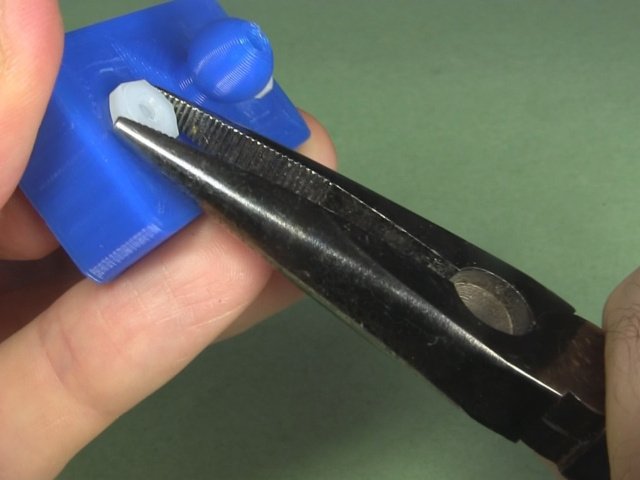
To assemble, simply put two magnets in one hole and bolt them in. I keep a fingernail in the screw's slot while tightening the nut with pliers.
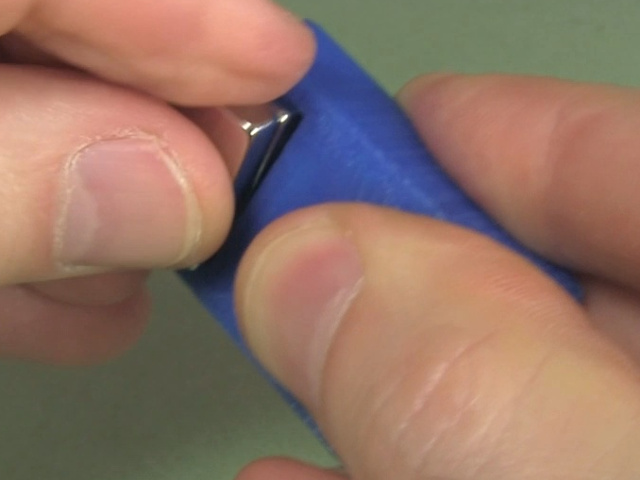
When doing the second set to of magnets, cover the first set with your thumb. The reason for covering the first set of magnets with your thumb is in case you let go the other second set, you don't want them attracting to and slamming into the first set and potentially breaking one.
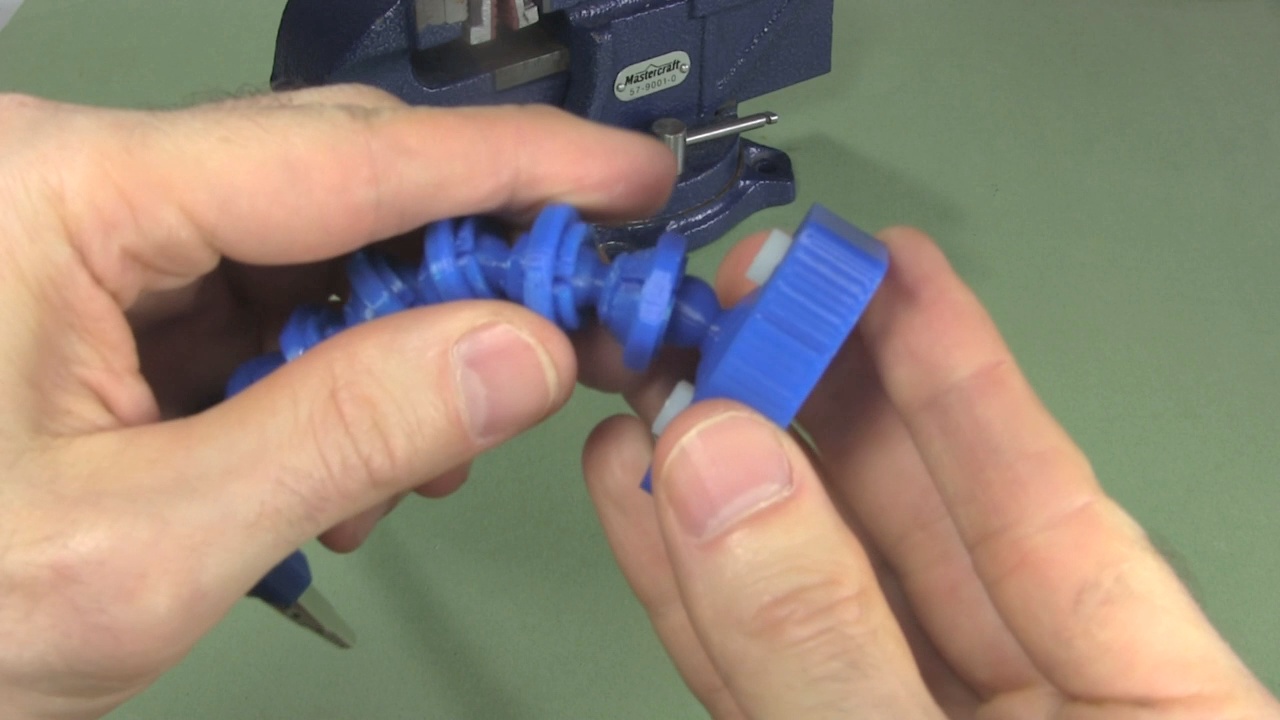
Then snap the magnetic holder's ball into a socket of the helping hands. You may have to twist the socket's tightening ring to the loose position to make it easy to push the ball into the socket.
Video - 3D Printed Helping Hands Magnetic Holder
Here's a video about the magnetic hold and helping hands showing how to make it and showing it in use.
