How to make Rochelle salt piezoelectric crystal
Ingredients for Rochelle salt crystals
The ingredients that have worked for me for making Rochelle salt crystals are:
- 500 grams (1 lb) of baking soda (sodium bicarbonate,
NaHCO3),
available in the baking or spice sections of grocery stores - 200 grams (7 oz) of cream of tartar (potassium bitartrate,
KHC4H4O6),
available in the spice section of grocery stores - 250 milliliters (1 cup) of distilled water,
available in grocery or drug stores (pharmacies), often used for cleaning contact lenses
While baking soda is pretty cheap, $1.50 for a 500 gram box, cream of tartar is expensive, $5.00 for a 67 gram container. If you find much cheaper cream of tartar than it's probably not potassium bitartrate. Instead it's a mix of calcium sulfate (Plaster of Paris), monocalcium phosphate, fumaric acid and corn starch which will not work.


Turning the baking soda into washing soda (sodium carbonate)
The first thing to do is turn the baking soda into washing soda, or to put it another way, to turn the sodium bicarbonate into sodium carbonate. Another name for sodium bicarbonate is sodium hydrogen carbonate and these steps will remove the hydrogen by heating it.
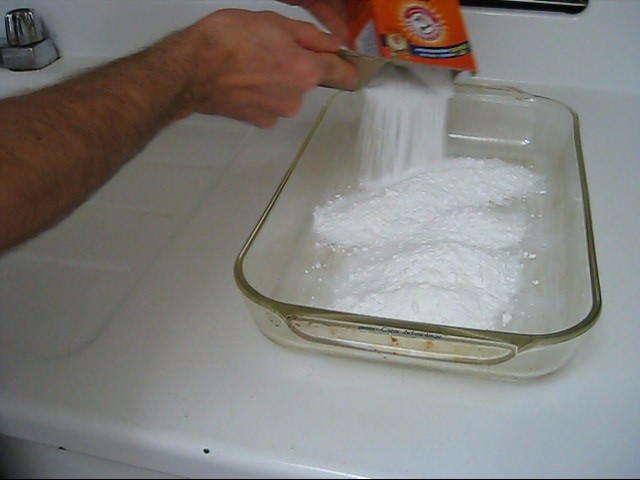
Step 1. As shown in the photo below, put the 500 grams of baking soda in a Pyrex container. I used a lasagna pan. Spread it out.
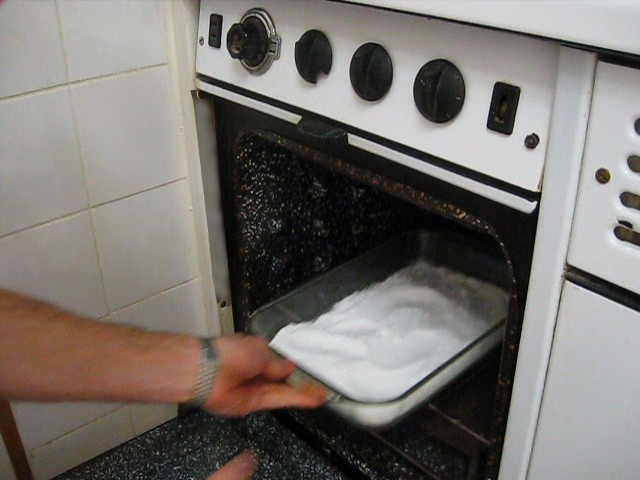
Step 2. Heat in an oven at around 150F (65C) for 1 hour.
Step 3. Change the temperature to 250F (120C) and leave for 1 hour.
Step 4. Change the temperature to 350F (175C) and leave for 1 hour.
Step 5. Change the temperature to 450F (230C) and leave for 1 hour.
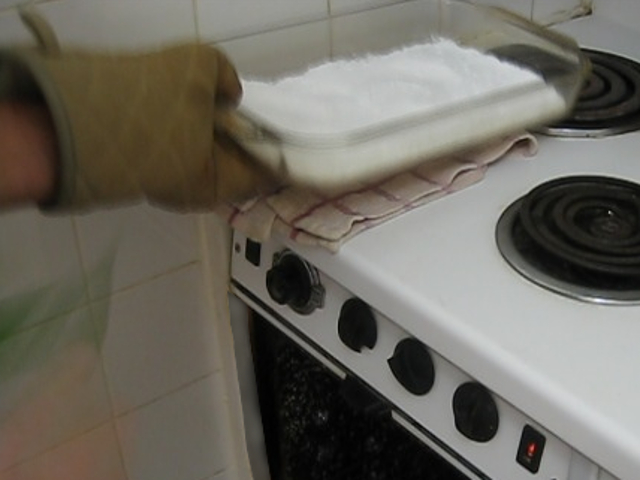
Step 6. Remove from the oven and let it cool to room temperature.
Step 7. You now have washing soda, sodium carbonate. Put it in a sealed container until you need it. In my case I usually use it right away.
WARNING - The following is just an idea. I haven't tried it myself but if you do, let me know how it works out by emailing me at the address given at the bottom of this page.
As stated above, heating the sodium bicarbonate to get sodium carbonate removes hydrogen from it. More precisely though, some of the carbon and oxygen is removed too. The formula is:
2NaHCO3 => Na2CO3 + CO2 + H2O
which means carbon dioxide (CO2) and water (H2O) molecules are the biproduct. With them removed, it loses 37% of its mass. So instead of doing steps 1 through 5 above, try the following.
Step 1. Put the container with a cloth under it on a scale and weigh them. You'll see why the cloth is needed below.
Step 2. Put the 500 grams of baking soda into the container. Weigh the combined cloth, container and baking soda.
Step 3. Subtract the weight of the cloth and container (gotten in step 1) from the weight of the cloth, container and baking soda combined (gotten in step 2). The result is the weight of just the baking soda.
Step 4. Heat it in the oven for one hour at 392F (200C).
Step 5. Remove from the oven and weigh the cloth, container and baking soda combined. Subtract the original weight of the baking soda (gotten in step 2). That gives the new weight of the baking soda, with some atoms removed. If it's 37% less then go to step 6. If it's not yet 37% less, then repeat steps 4 and 5. The purpose of the cloth was to keep the hot container from contacting the surface of the scale, in case that would be a problem.
Step 6. Remove from the oven and let it cool to room temperature.
Step 7. You now have washing soda, sodium carbonate. Put it in a sealed container until you need it. In my case I usually use it right away.
Turn the ingredients into Rochelle salt
Next we turn the potassium bitartrate (cream of tartar) and the sodium carbonate into potassium sodium tartrate (Rochelle salt, NaKC4H4O6).
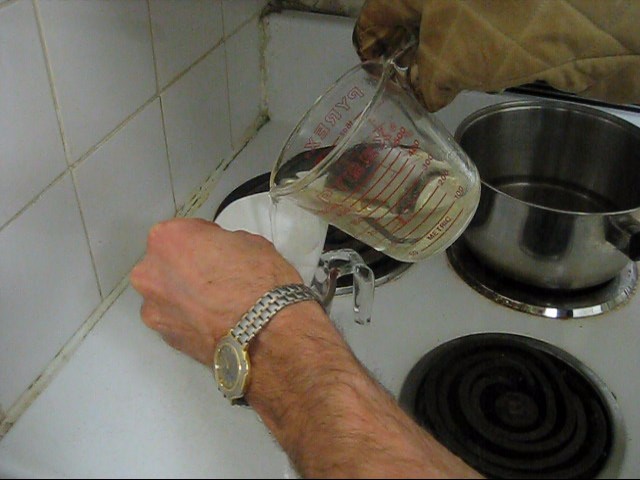
Step 1. As shown in the photo below, put at most 200 grams (7 oz) of cream of tartar into 250 milliliter (one cup) of water. Stir it so that the cream of tartar particles are suspended in the water, i.e. not settled in the bottom.
The container should be able to hold at least 500 milliliters (two cups.) The reason for this is that when you put the sodium carbonate in the water in step 4 below, the solution will bubble up and you need room for it to do so without overflowing. If you're using different quantities than I'm using here, oversize your container appropriately.
I find a Pyrex measuring cup perfect for this, though I've also used a beaker in the past. You'll be heating this container so don't use plastic. I use distilled water so that there aren't the additional minerals or chemicals that you'd get in tap water but I haven't heard of anyone else doing this.
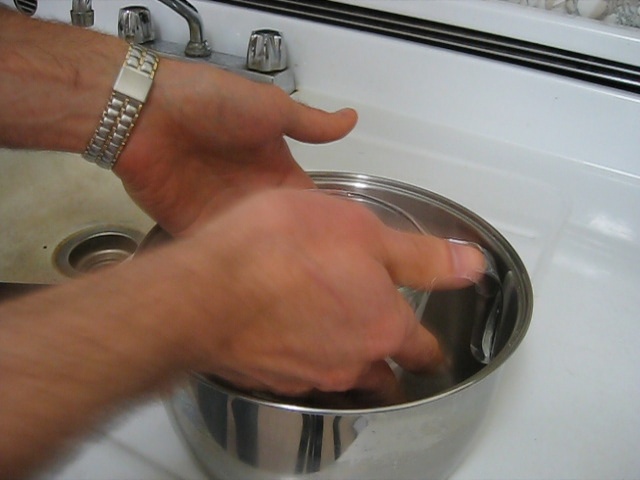
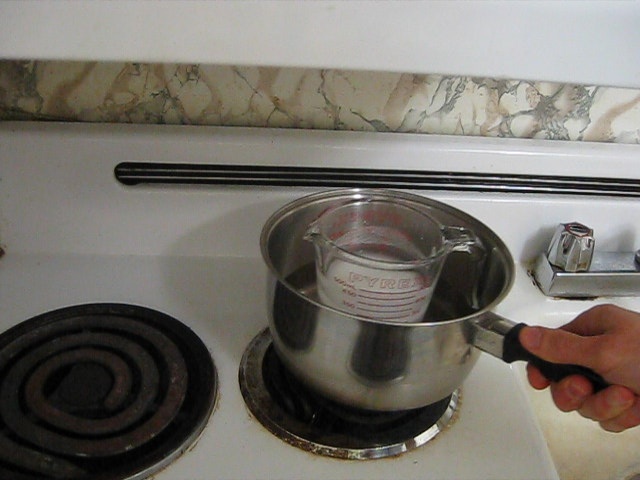
Step 2. Get a saucepan that is larger than the container from step 1 and put the container into it. Put water in the saucepan. Around 1 cm (half and inch) works for me.
Step 3. Put the whole thing on a stove and heat it until the water in the saucepan is just simmering.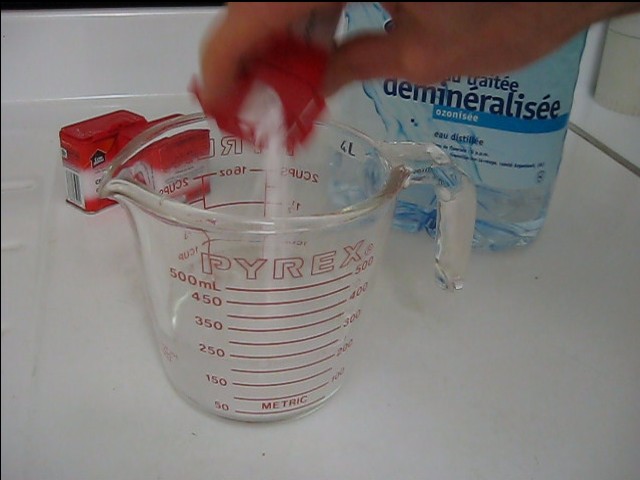
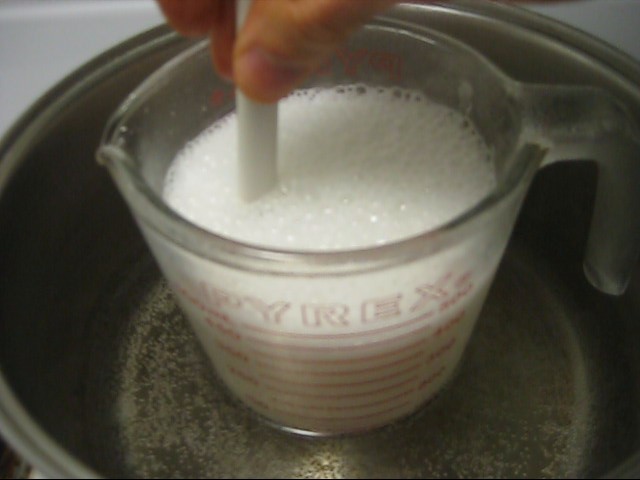
Step 4. Put about a half teaspoon (2.5 ml) of sodium carbonate in the inner container and stir (see photos below.) It will bubble up. Stir it until it doesn't bubble anymore or at least has settled down to its original level. Before doing this the first time, the cream of tartar has probably settled on the bottom of the container so give it a stir before putting in your first half teaspoon of sodium carbonate.
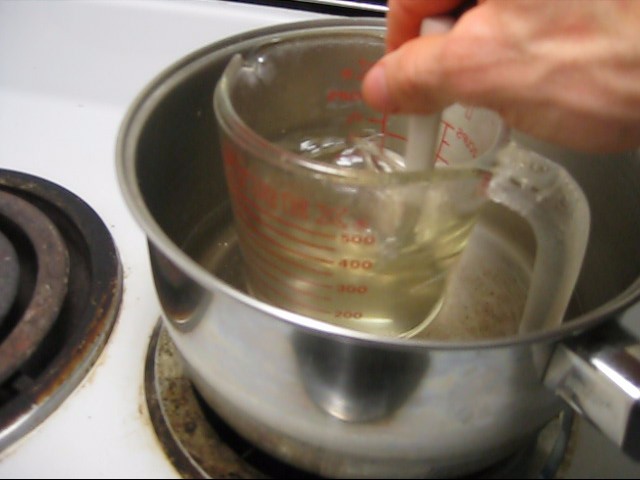
Step 5. Put more sodium carbonate and stir again. Repeat this step until you put some in and it doesn't bubble. This repetitive cycle has taken me as long as 50 minutes, so be patient. During the last few times the solution will be clear with a yellowish tint. You might be fooled by stirring it a bit and nothing happening. Stir it vigorously for a minute anyway to be sure it's ready. I've found it may still bubble but just takes longer to do so.

Step 6. As shown in the photo below, get a second container and a coffee filter. Pour the hot solution in the container from the steps above, through the coffee filter into the second container. This will take a while so be patient.
The key word in the above paragraph is "hot". One time, my filtering was taking a while because I spilled some unfiltered solution into the destination container and had to start over again. All this time, the solution was cooling so I actually got crystals forming inside the filter, slowing the filtering down further. If this happens, heat the solution again. You could also try changing the filter if you are almost finished but if you have a lot left, you'll only end up wasting solution by having it crystalize in the new filter. An alternative is to leave the solution on the stove on the lowest setting while doing this step.
Step 7. Once it's all in the second container you'll next heat the filtered solution again, evaporating away some of the water until you have less than you started with. The purpose of this is to concentrate the solution. This means it will have to be in a container with measuring marks on it. I have my second container be a second Pyrex measuring cup but if your second container doesn't have measuring marks on it then simply clean the first container and put the filtered solution back into it.
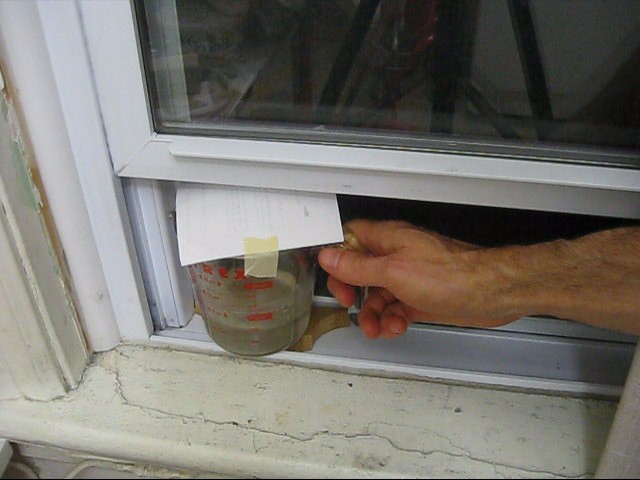
Step 8. Next, put the solution in a cool place and leave it there for several days. I used a window sill in the fall, so it was cooler than room temperature. I found it crystalized faster on days when it was cool (5C/40F - 15C/60F outdoors.) Some people put it in a fridge. I also put a cover over it so that no dirt or dust fell in.
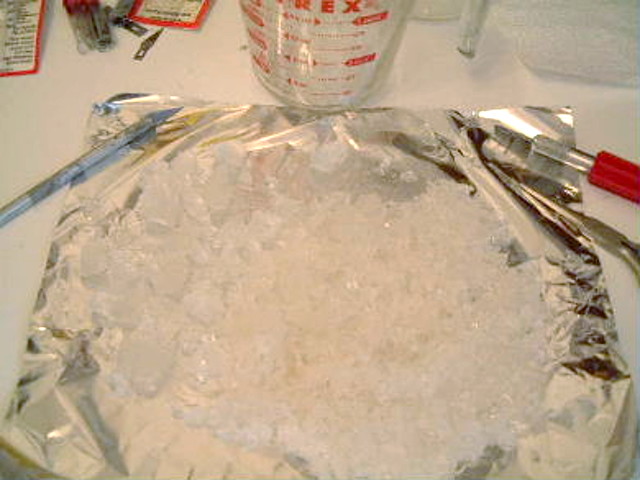
Step 9. The batch below I took out of the container after 20 days.
Making a larger crystal using a smaller seed crystal
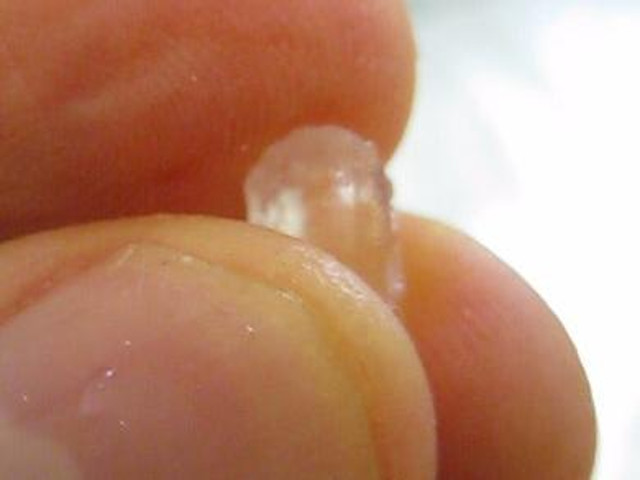
For most people, the crystals resulting from the above steps are big enough. With luck you can make crystals as large as 3/8" (1 centimeter) long though it's possible they'll be smaller.

But before you can do that you need to pick a seed crystal. It should be clear and well shaped but if you're doing this because you want a piezoelectric crystal then you'll also have to test your seed crystal to make sure it works. See my page on how to test rochelle salt crystals for more about this.
Testing the crystal's piezoelectricity
Video - How to make a Rochelle salt crystal
One of the times I went through this process I decided to make a step-by-step video of it. Enjoy!
