Construction of Full Cylinder, Dual Dielectric e-field Thruster 1 - Inner electrode endcap

Prev - Construction page 1, 2, 3, 4 - Next

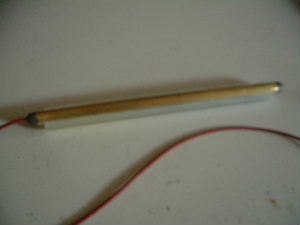
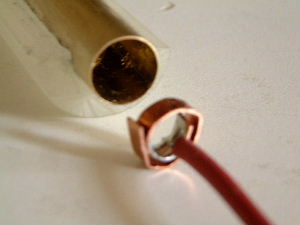
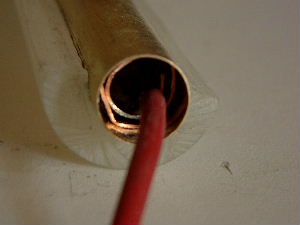
October 12 - 13, 2003 - Construction of rounded inner electrode ends

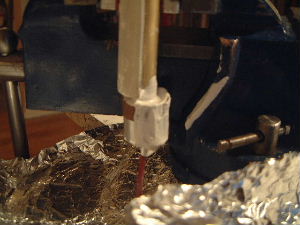
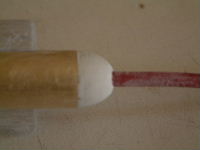
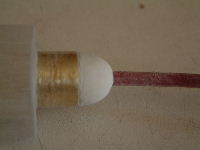
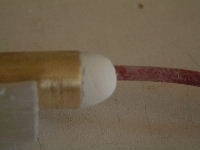
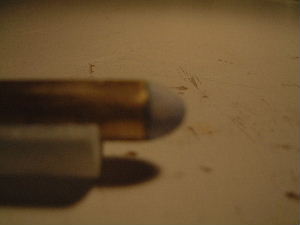
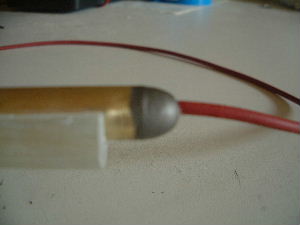
I had to make the rounded ends for the inner electrode tube. For this I decided to try making the ends out of plaster and painting them with nickel paint. Note that one of the ends has the wire going through it that leads to the power supply.

For the end with the wire, I needed to make sure that the wire would keep good conducting contact with the brass tube so I made a "tensioned spring".
Tensioned spring for electrical contact with inner
      electrode for the electric field thruster.
The spring and wire in place.
The tensioned spring in place for electrical contact with 
      inner electrode for the electric field thruster.
The cardboard bucket for pouring the plaster into.
The cardboard bucket mold for pouring the plaster onto the
      end of the inner electrode for the electric field thruster.
Longer view.
Longer view of the cardboard bucket mold for pouring the 
      plaster onto the end of the inner electrode for the 
      electric field thruster
The plaster has been poured.
The plaster poured into the cardboard bucket mold.
The carved endcap.
The carved endcap for the inner electrode.
Another view.
Another view of the carved endcap for the inner electrode.
And another.
Another view of the carved endcap for the inner electrode.

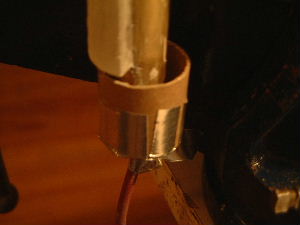
October 14-15, 2003 - Construction of endcap that doesn't have wire

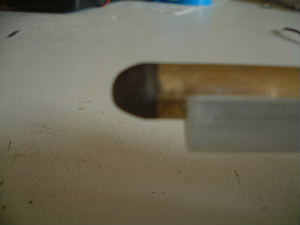
This end was harder to do than the other end. The reason was that I no longer had a tube with two ends open. Instead I had a tube with only one end open. When I put the tube end down into the small bucket as shown above, the air inside the tube has nowhere to go. As a result, the trapped air pressure prevents much plaster from entering the tube. It is the plaster inside the tube that is supposed to hold the endcap firmly to the tube. So two attempts failed (the endcaps would just fall off) until I realized that this was the problem.

To solve it I first poured some plaster into the tube and then put the tube into the bucket as in the above pictures. The end result is in the picture below.

The finished plaster on the other end of the inner electrode.

October 16, 2003 - Painted the endcaps

I painted the encaps with the same nickel paint as used for the outer electrode.

Endcap with wire.
Painted endcap with wire for inner electrode.
Other endcap.
The other endcap of the inner electrode painted.
The finished inner electrode with endcaps and epoxy.
The finished inner electrode with endcaps and epoxy for
      the electric field thruster.

Prev - Construction page 1, 2, 3, 4 - Next

rimstar.org
Contact:
Liked this? Share it with: