Electrets - Rosin from a Rosin Bag, Carnuaba Wax, Beeswax 1
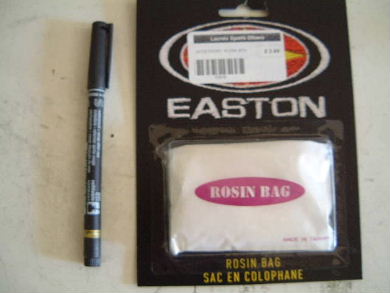
This electret was made of a 75mm diameter mix of rosin from a rosin bag (28.6 grams), carnauba wax (38.2 grams) and beeswax (1.4 grams). I'm not sure of the exact ingredients of this rosin. A rosin bag is used by baseball pitchers, golfers, ... To soak up moisture and add friction to their hands they carry around a rosin bag. Just touching it puts a generous amount of rosin dust on your hand. Since it was white and it was rosin, I figured I'd try it though I was aware that water white rosin (which was not available) is best. The top electrode was 50mm so the effective area should be around that. This electret was made using the technique outlined on the main electret page.
Making the Electret
I turned on the stove to MED at 11:47am thought with this one I had to do a lot of messing around with the temperature. While initially melting, it bubbled and crackled a lot. I made a mistake by putting the white fine powder rosin on the bottom to start. I could never get it to mix properly. I finally turned off the heat at 12:23pm with the wax temperature around 100C. While cooling, little bubbles would burst to the surface frequently and in different spots as if something at the bottom was creating a gas which had to rise. Initially I had trouble getting the power supply to stay at 6kV as there was some hissing. I had to raise the top electrode to be able to get it to hold at 6kV. While the electret was still cooling, the voltage kept going up slowly so I kept turning it back down to 6kV. At 1:05pm I turned off the power supply. The bottom of the aluminium bowl was a little warm. I couldn't easily dettach the top electrode so I left it attached and wrapped up the electret.
Result - Testing the electrets
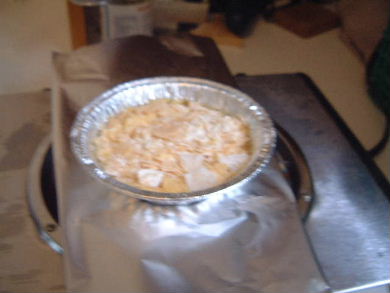
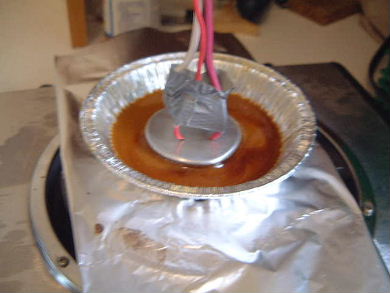
The resulting electret wasn't very homogeneous, as you can see from the following photo. I consisted of three sections: a dark brown section just under where the positive electrode was placed, a medium brown section surrounding that, and a light brown section as the bottom.

I first tested it a few months after making it, as you're supposed to. I don't recall how I tested it but the results were that it didn't work. This can happen since there is a polarity reversal process that goes on and if you test during that reversal process you'll find no charge. I was just unlucky and happened to test while the reversal was still happening and mistakenly thought it didn't work. Six years later I tested it again with my homemade electroscope. This time it worked, the leafs of the electroscope separated but only for the bottom, the light brown section. The top dark brown section and the medium brown sections gave no deflection of the electroscope leafs. Unfortunately I didn't take photos and am unable to get it to work anymore.
See the testing section of my main electret page for more testing details, including how to test for the polarity reversal.
