Curie temperature motor
This motor uses just nichrome wire, a magnet, a propane torch and the curie temperature of the nichrome wire to turn.
The curie temperature is the temperature at which a ferromagnetic material will lose its magnetizability. Below that temperature it will be attracted to a magnetic, at and above that temperature it will no longer be attracted. This was illustrated very well in this curie temperature experiment.
How to make the curie temperature motor
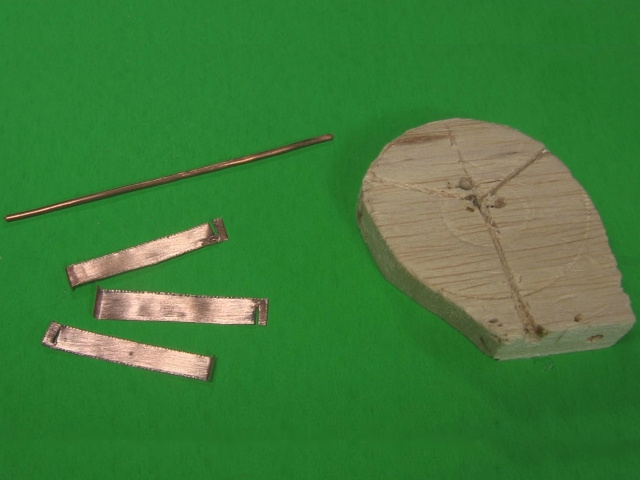
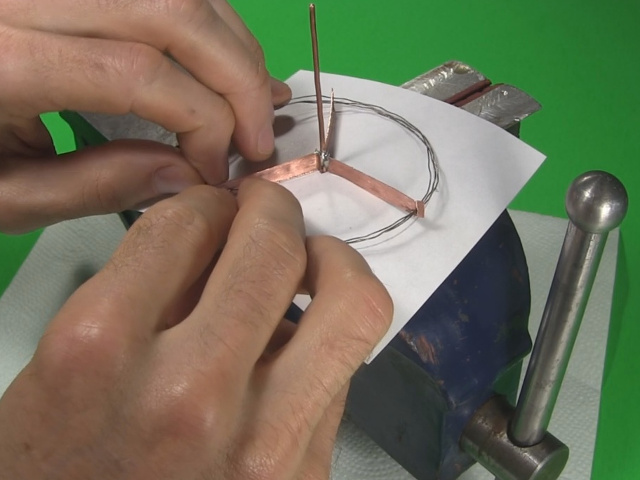
The first step is to make the rotor's support structure. Use a nonferromagnetic material, such as copper or brass. If the material isn't attracted by a magnet then it's nonferromagnetic. I found some thick copper wire, around 14 gauge. This can be gotten from cables for household wiring or from elecrical stores. I also cut some strips of copper from a sheet which you can get from a hobby store, art store or scrap metal yard. The copper strips have a small slot near one end which the wire will go into.
I also drilled a hole into a piece of balsa wood and cut three slots into it. Its purpose is to hold the parts in place while they're soldered together.
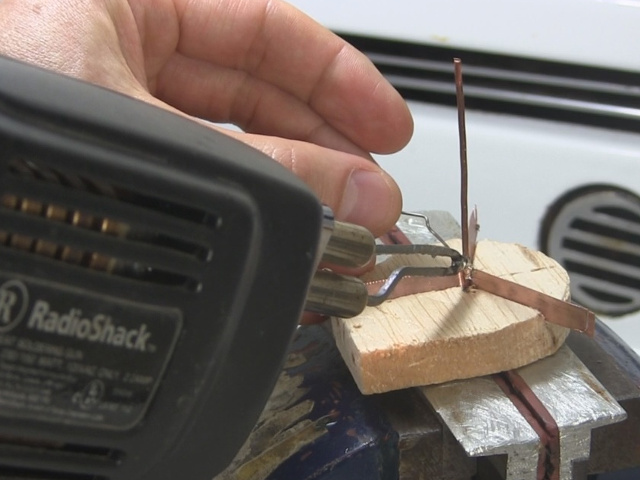
Below you can see the resulting support structure.
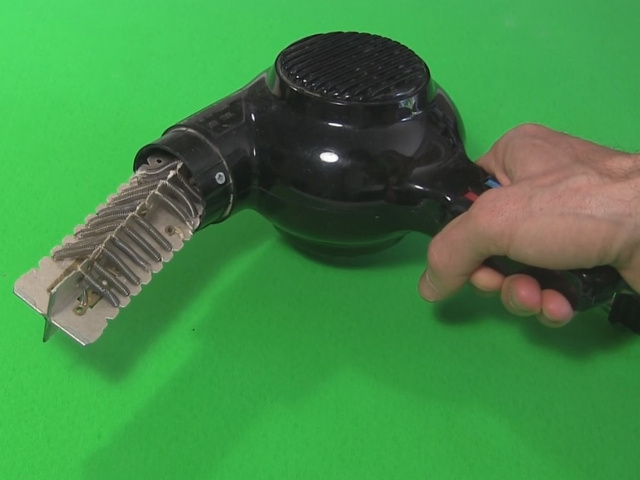
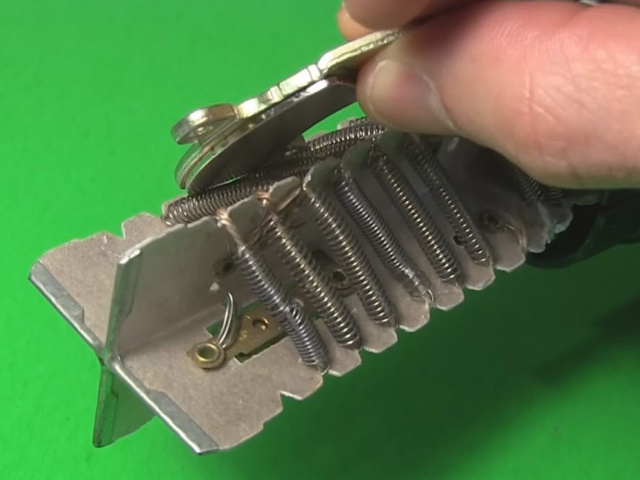
Next you need a ferromagnetic wire. Nichrome wire is ferromagnetic and I found it in an old hair dryer. Nichrome is 80% nickel and 20% chromium. You can test if it's ferromagnetic my seeing it it's attracted by a magnet.
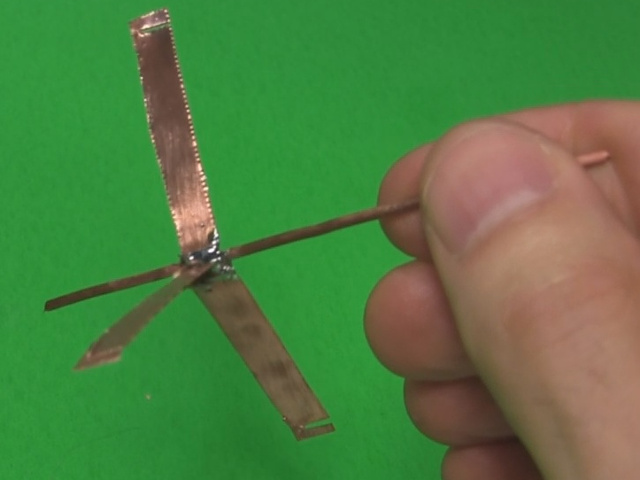
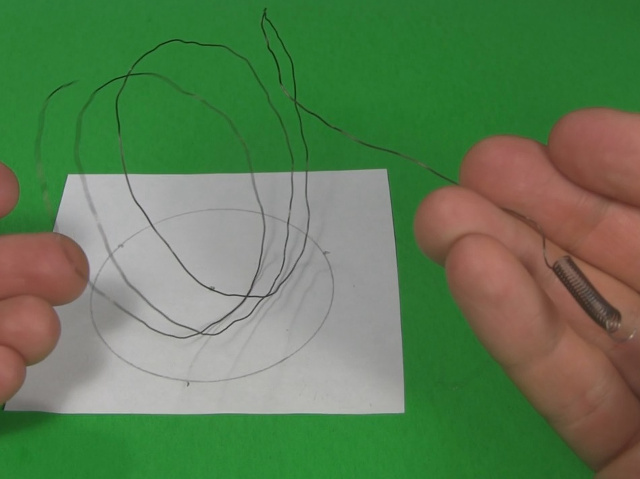
I drew out a template on paper by making a hole in the center and drawing a circle around it. The circle is the size of the loop that the wire will form. I took enough enough wire from the hair dryer to make three loops.
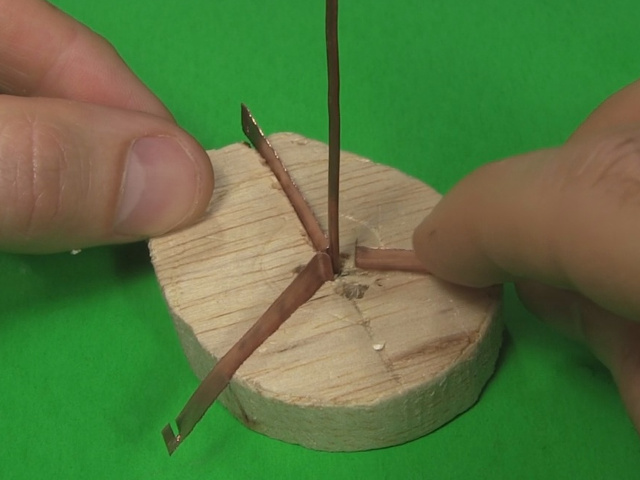
I then put the tube of the support structure through the hole in the paper template and looped the wire such that it went in the slots in the copper strips and followed the shape of the circle drawn on the paper.
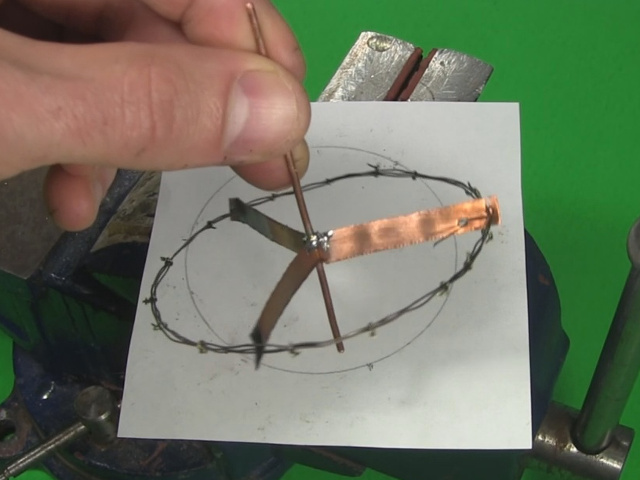
To keep the loops tight together I cut short lengths of thin copper wire and tied them around the loops.
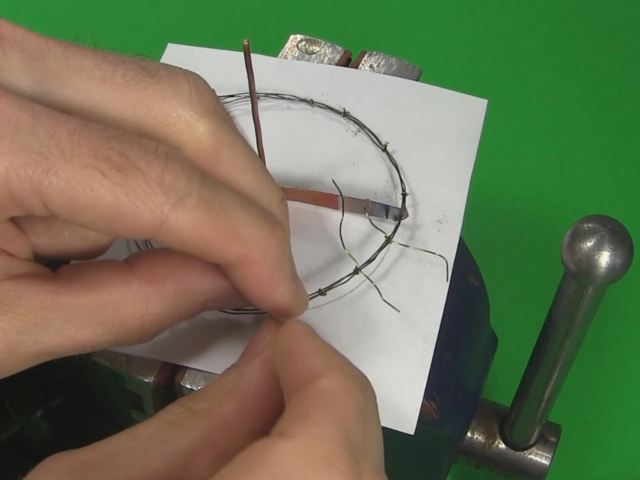
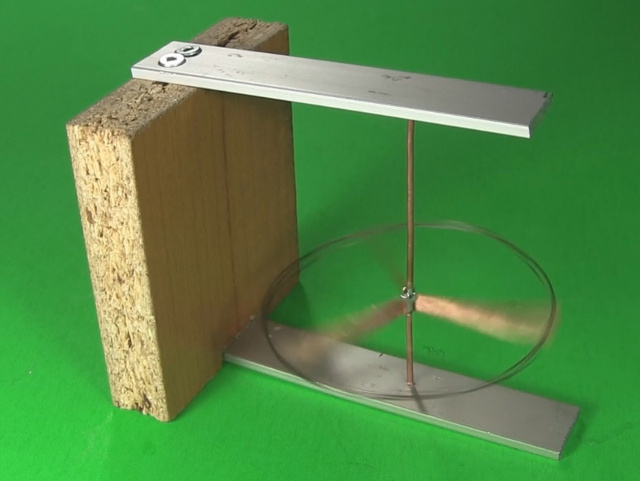
Below is the finished rotor.
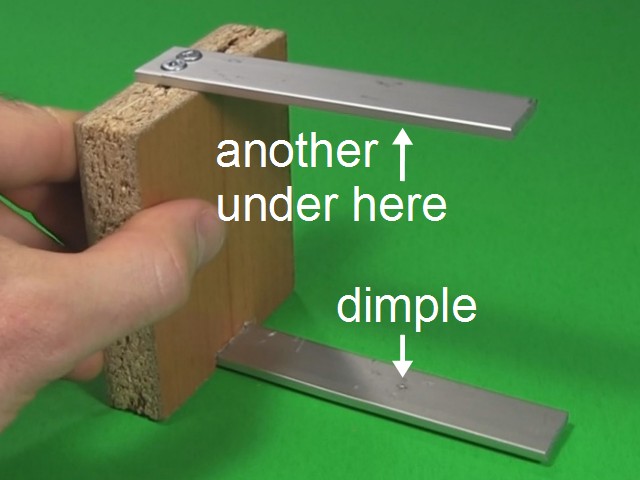
The stator, the stationary part, is simply some scrap wood with two scrap pieces of aluminum bar originally from Home Depot. I used a hammer and nail to make dimples, small indents, in each piece of aluminum bar for the rotor to sit in. Below, you can see the rotor in the stator. I used sand paper to form the ends of the thick copper wire into points so they'd sit in the dimples and allow the rotor to rotate freely. Note also that the whole thing was sized such that the rotor could stand in the stator without falling over, while not being so tight that it couldn't rotate.
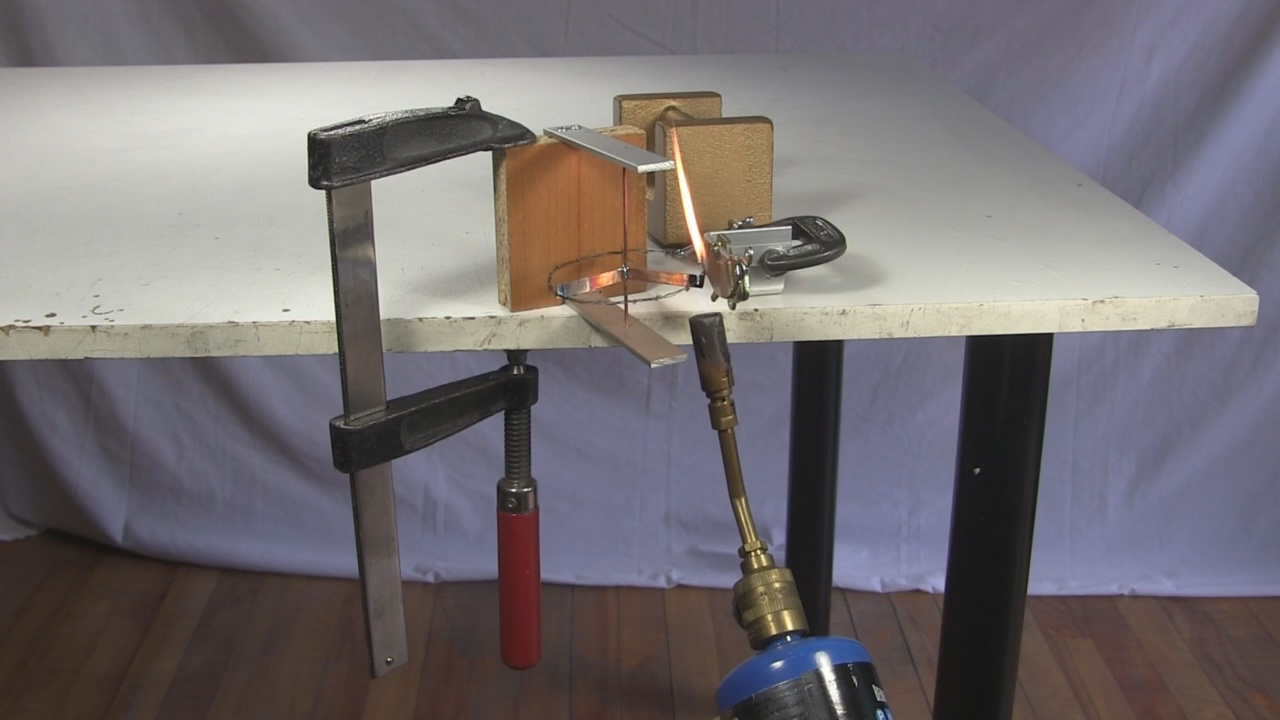
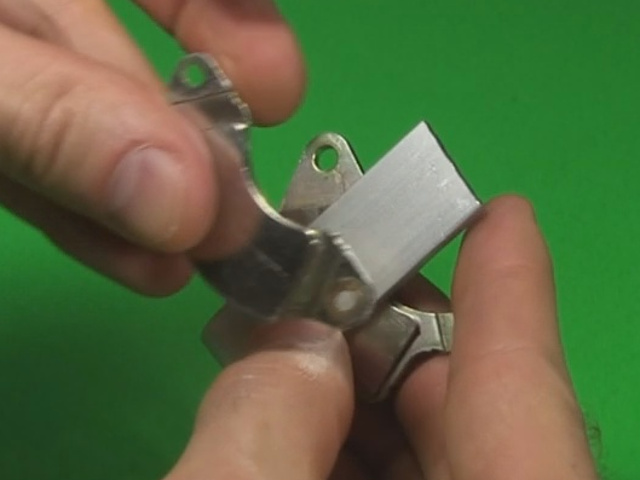
Next came making a structure that could hold some magnets in place. My magnets are two neodymium magnets from hard drive motors but any strong magnets will do. By putting one on each side of a scrap L-shaped aluminum bar they attracted each other firmly enough to stay on the bar.
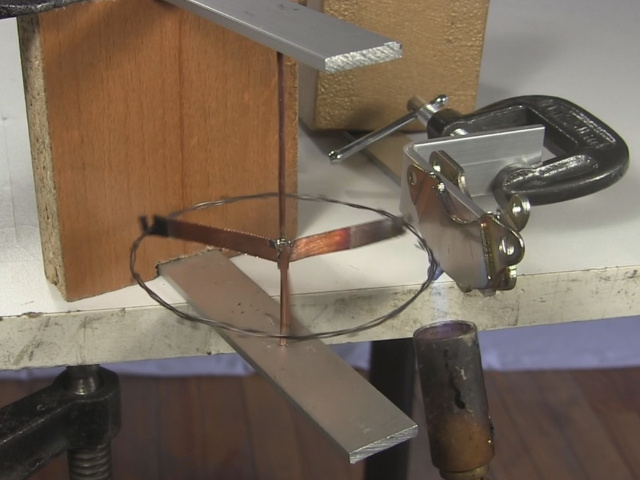
I then sat the L-shaped bar with the magnets near a table's edge and attached a clamp to add some weight and make it stay where I put it. I sat the stator with the rotor hanging over the table's edge too so that I could apply heat from below using a propane torch.
Heat is applied to the nichrome wire just to one side of where the wire is closest to the magnets. It then rotates.
Video - Curie Temperature/Point Rotor - How it's Made/How it Works
The following video shows the making of this curie temperature motor, gives and explanation of how it works, and demonstrates it in action.
