DIY gauss meter with a digital display
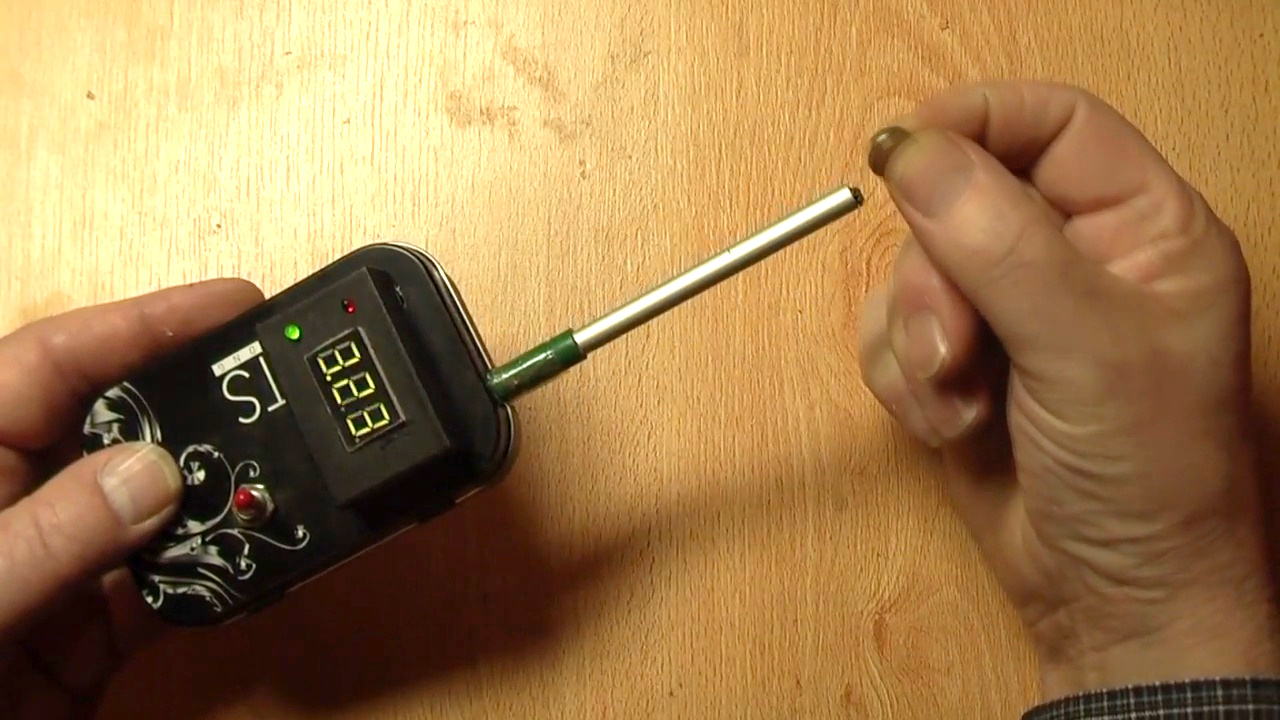
LabdeSyn has put together a gauss meter for detecting magnetic fields and indicating the polarity of the field. It also has a digital display that shows the relative flux density. The schematic and details for making your own are below.
While it displays a relative value and not the actual value in gauss, the details for converting to gauss and to tesla are below and a nice project would be to add the necessary electronics to display those values. Let us know if you do that and we may put up a page about it. EDIT: And someone did just that! You can see the enhanced version here along with the ability to measure multiple ranges.
The following is LabdeSyn's detailed write-up. Our thanks to him for sharing this with us.
Everyone likes magnets. Playing with the invisible magic force of permanent magnets is for all ages.
Tinkering with coils, relays and many other magnetic devices needs sometimes a measuring tool for magnet field density and North and South Pole detection.
With a gauss meter you can measure a magnetic field. Gauss and tesla are different units for the 'magnetic flux density' or 'magnetic induction'.
This project shows a simple, sensitive and reliable meter with a North-South Pole display. In a shop you pay around 120 dollar for a good gauss meter. The few components for this project cost about 10 dollars.
I am really surprised with the performance of this device. Anyone can build this instrument, a handy tool for your home makerspace. Watch the video to see how it works.
Features:
- High sensitivity ~3 mV/G
- Digital display voltmeter
- North-South Pole indicator LED
- Detachable aluminium sensor probe
- Simple design, easy to build
- Cheap, about 10 dollar components
The circuit
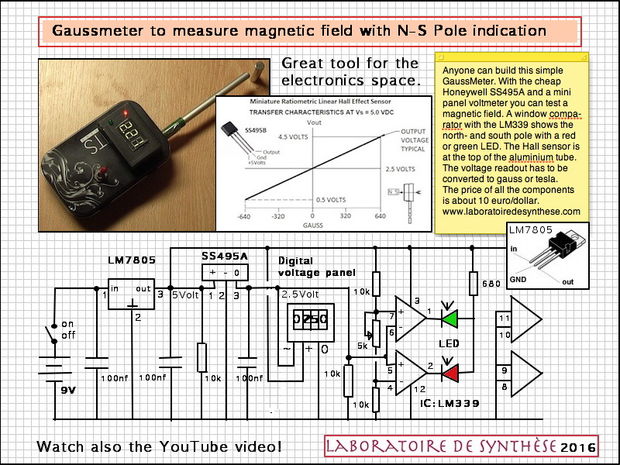

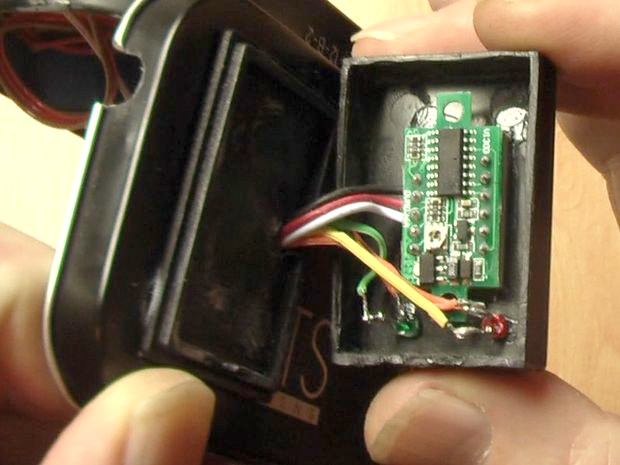
The circuit is built on a small piece of PCB.
Only four main components are there:
- voltage regulator (LM7805),
- Ratiometric Linear Hall Effect Sensor (SS495A from Honeywell),
- mini digital voltmeter
- window comparator (LM339).
The device is powered by a 9V battery. A voltage stabilizer makes 5V for the Hall sensor. The output of the Hall sensor is connected to the digital voltmeter and a window comparator. This last circuit is built around 2 of the 4 gates of the LM339, to switch the N or S pole LED on/off. There is only one setpoint for the LED senitivity between the North (red LED) and the South (green LED).
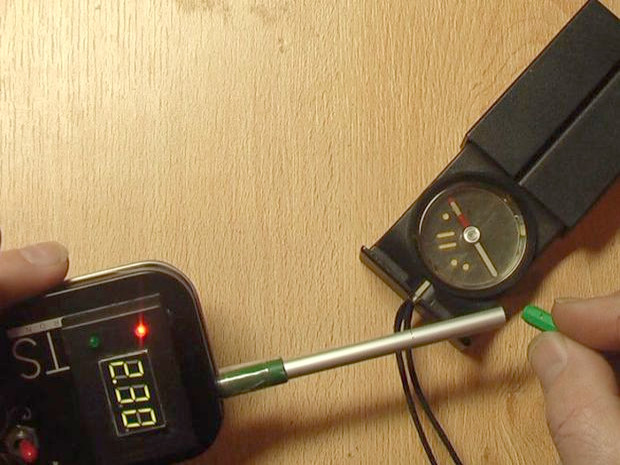
The only thing to do, is to make a table with the conversion numbers between voltage and the gauss or tesla units. The voltmeter shows normally 2.5V (the zero point). With a higher density of the North pole, the volt meter goes from 2.5V to 0V, and for the South pole from 2.5V to 5V. Conversion rate is: 1V is 1300 gauss and 1 gauss = 0.0001 tesla or 1 tesla = 10,000 gauss. OK!
Conclusion
Making a sensitive, reliable and cheap gauss meter is an easy job. When all components are connected in the right way, the meter is working just fine. There's only one potentiometer there to trim the N/S LED sensitivity.
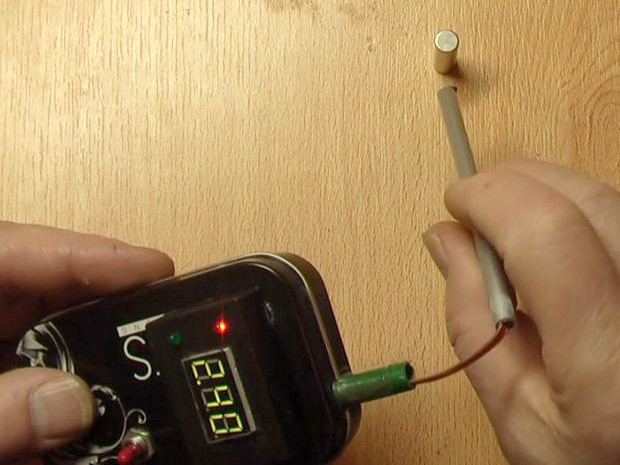
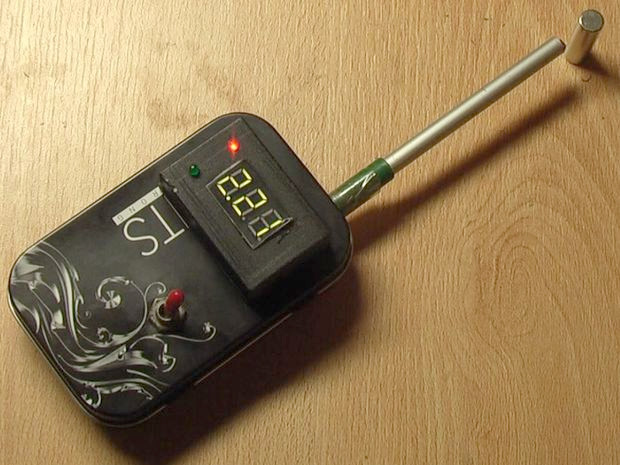
Making a nice housing is up to you. I chose a metal mint box and I put the voltmeter in a small plastic display box on top. The N/S pole LED's are also inside the display box. The sensor is on top of a small aluminium tube, this to have a distance from the iron box. Avoid iron near the Hall sensor, since it can affect the measurement.
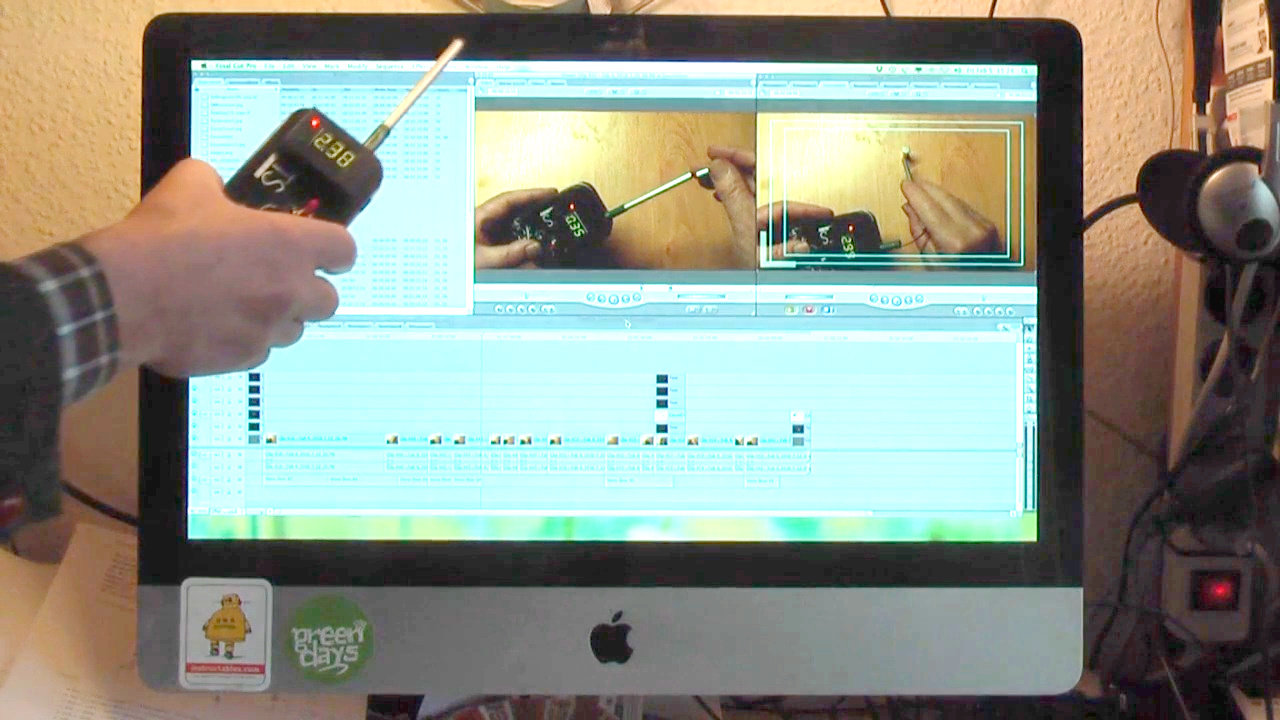
When I did a check around the screen of my iMac, I found 22 magnetic fields. Time for iron shielding?
|
Do you have a project you'd like to share on rimstar.org too? You're more than welcome to. Click here for details. |
|

