How to make a pinhole camera using a poster board
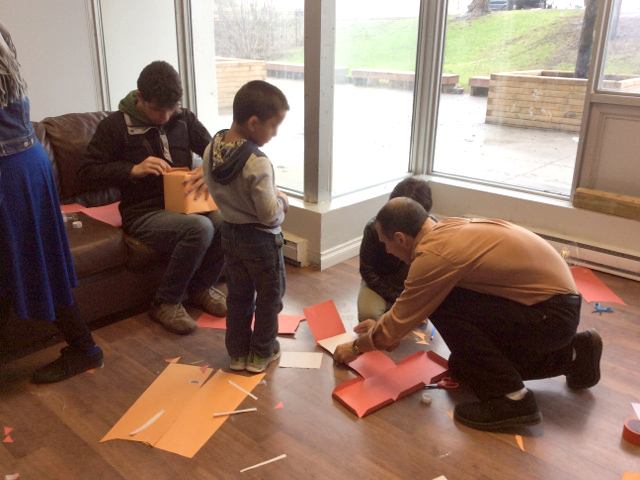
Here's how to make a pinhole camera from a single sheet of poster board. I came up with it in order to teach a bunch of kids how to make a pinhole camera and how they work, so I needed materials which would be inexpensive and which I could find in abundance.
The need for it arose when I was asked to help teach 50 kids (8-15 years old) about pinhole cameras. With that many, using shoe boxes was out of the question. And it had to be cheap. So I came up with a design where each pinhole camera could be made out of a single $1 poster board, and it would be easy for the kids to cut them and tape them together. But I had to draw them ahead of time. And so I made a handy template which allowed me to quickly trace onto the poster board what needed to be cut out. I've made the template available for free download using links given below where I talk about making a lot of pinhole cameras.
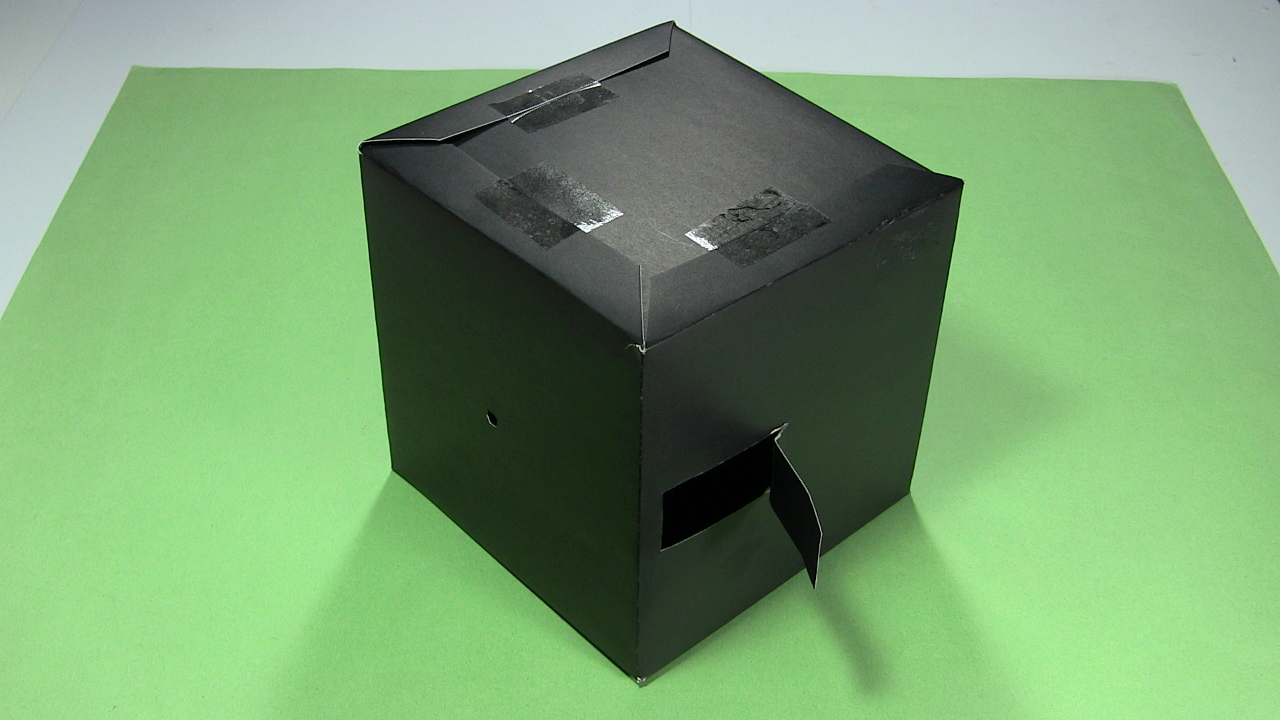
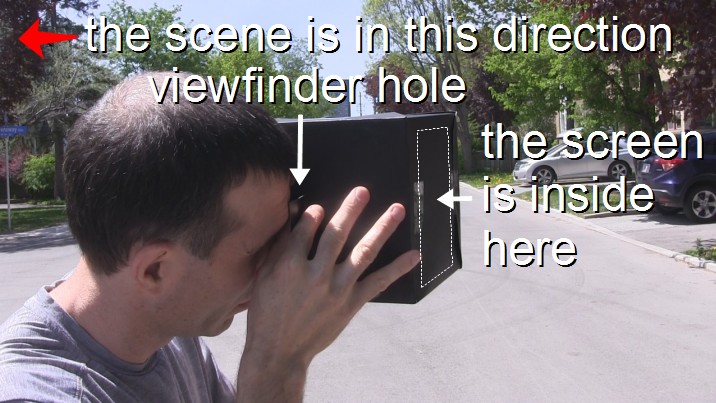
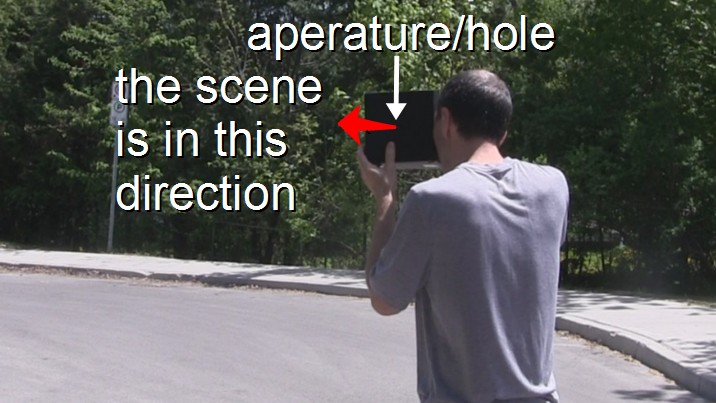
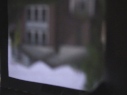
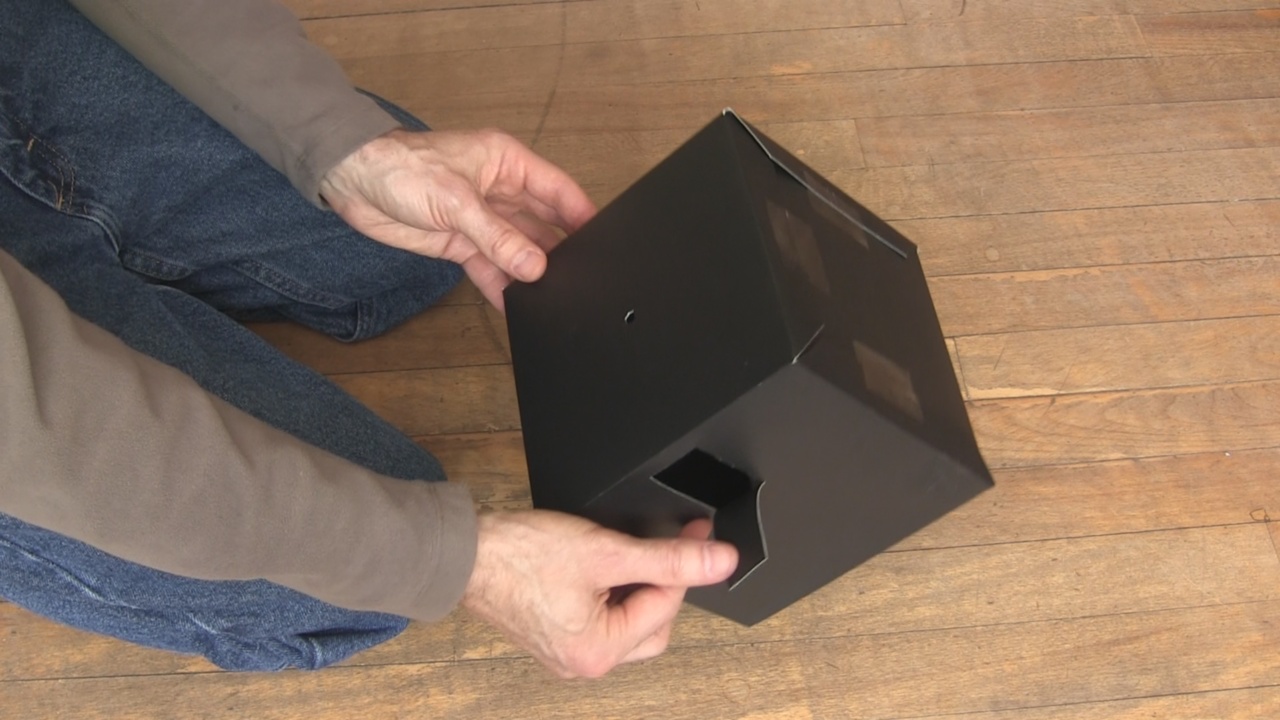
A pinhole camera is a box with a small hole in one side (called an aperature). Light enters the hole and appears on a screen inside (a sheet of white paper taped inside), opposite to the side with the hole. A bigger hole in the side acts as a viewfinder so that you can look at the screen.
Below is what it looks like on the screen inside. Notice that the image is upside down.
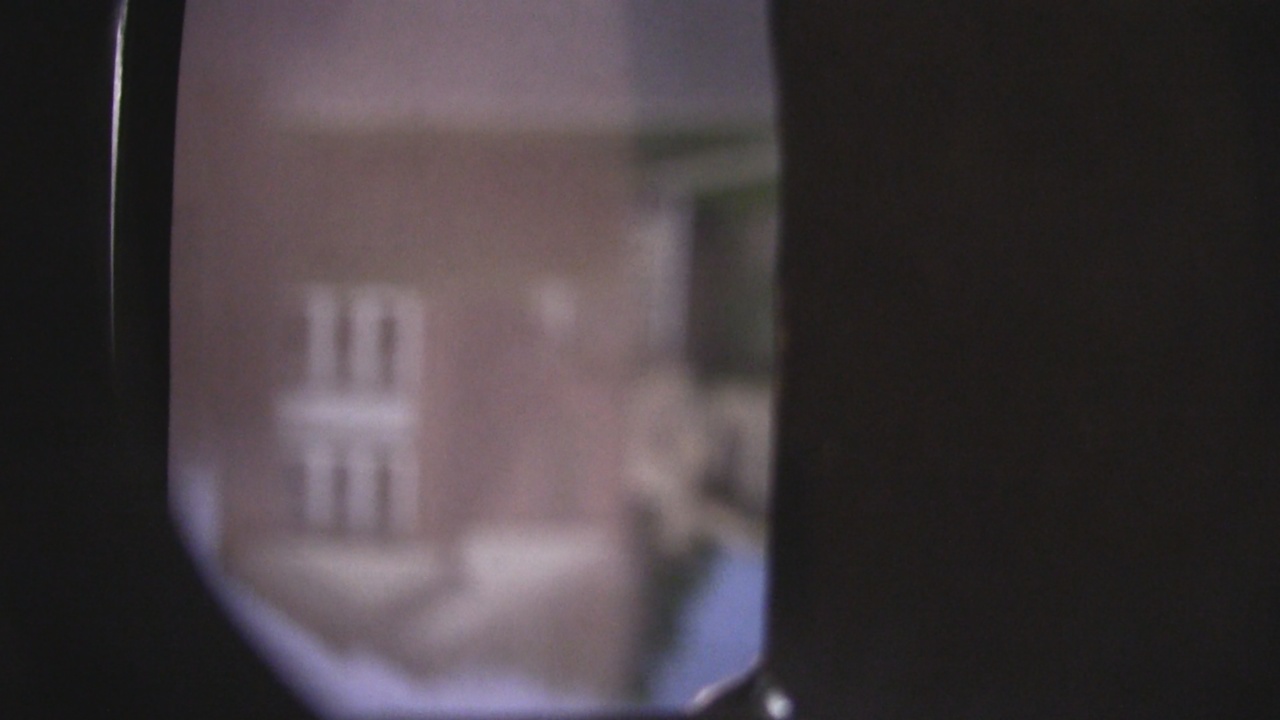
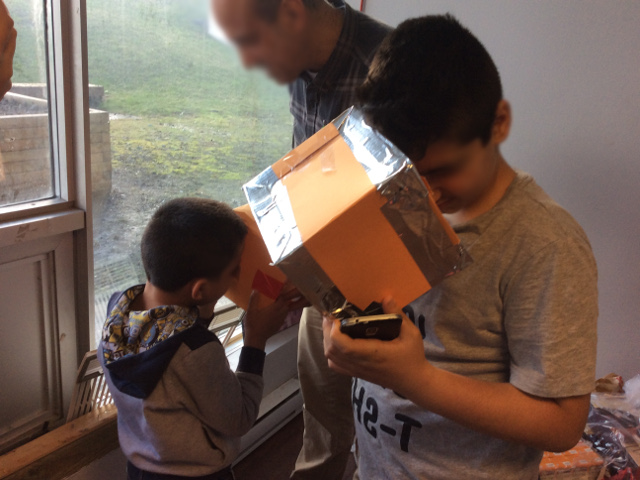
The scene does need to be well lit. But even looking out a window on a cloudy day will show something. The room itself has to be sunlit in order to show up. But you can see lights without hurting your eyes.
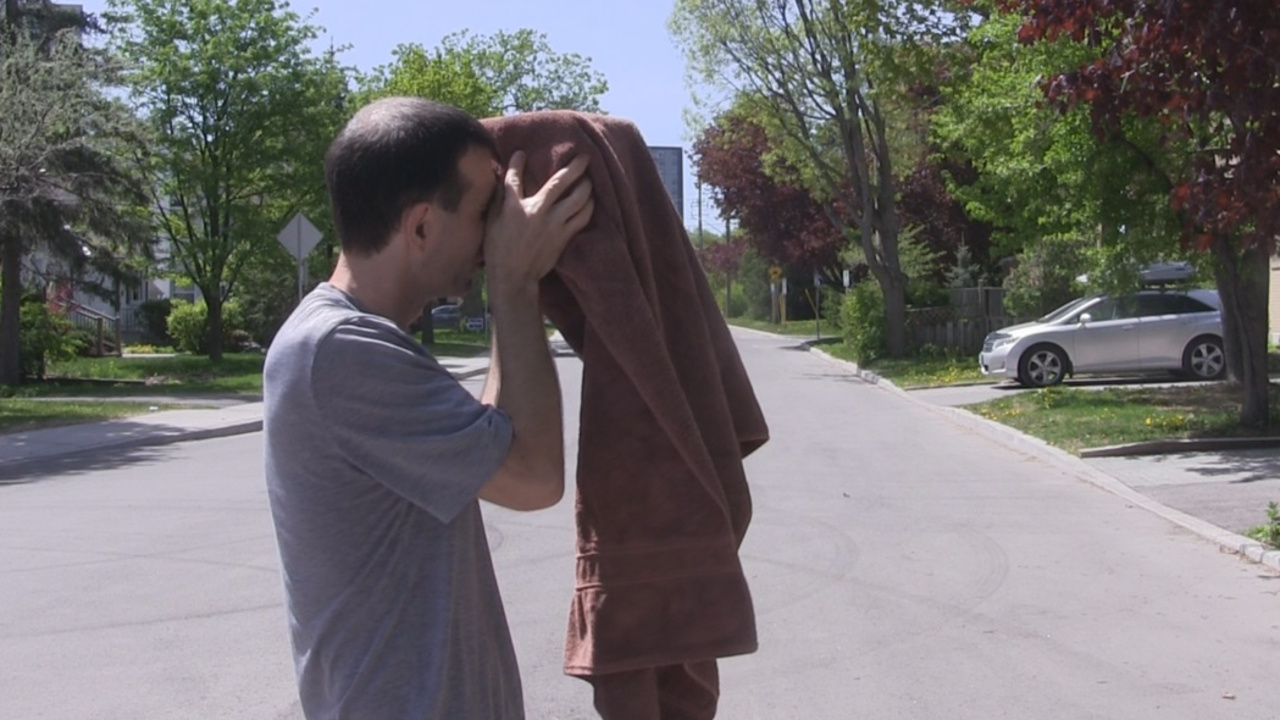
Note that if the image is bright inside but the features are too washed out then that could be because a lot of light is entering through the cardboard itself. To fix this you can to cover the camera with something opaque. I found that black poster board works the best by far and I didn't need to do anything to take the above image.
But if you do have this problem, a quick trick is to cover it in a towel (see photos below), like the photographers of old did when they used a black sheet. Another approach is to cover it in duct tape. But that can add significantly to the price if you're making a lot of them. A single role of duct tape covers only about a dozen cameras. You can also tape on more layers of cardboard.
How to make a pinhole camera using a poster board
Poster board is available at art stores and stores with an art or school supply section like Walmart. Most dollar stores and discount stores also have them and they cost only around $1 dollar (US) each.
Ideally the poster board should be 21 7/8" x 28", and the one I'd developed this with was. However, I later bought some more and they were 21 7/8" x 27 3/4", so 1/4" shorter on the long side. I show below how I handled that in case it happens to you too.
Making a lot of pinhole cameras
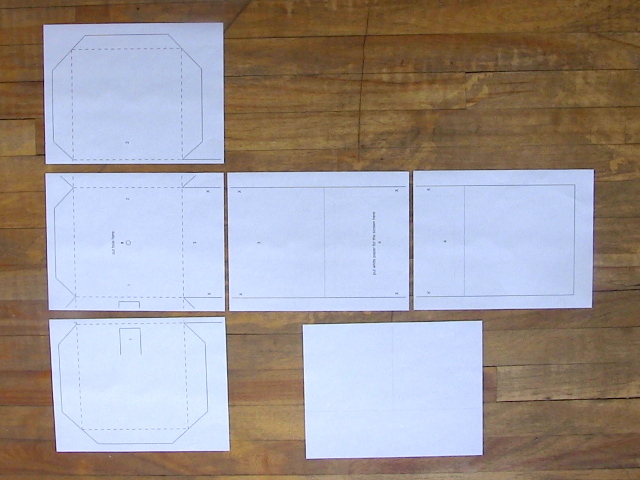
You can use the above dimensions and the instructions below, or if you're making many of these, for a class or workshop for example, then you might want to download the template below. You would then print it out onto Letter sized sheets of paper (8.5" x 11"), cut them out, tape them together, and then trace the resulting template out onto many poster boards.
The template is downloadable by clicking on two of the links for printable pdf files below. There are also additional instructions which you'll need for cutting out and taping together the template. Those instructions are also in a pdf file you can download using a link below.
IMPORTANT: The template is designed for Letter sized paper (8.5" x 11"). It's also designed for poster board that is 21 7/8" x 28" (it can be smaller by a quarter inch in either dimension). This poster board is available in art stores, discount and dollar stores, Walmart, Staples, and most stores that have a school or art supply section.
Drawing, cutting, and putting on the screen
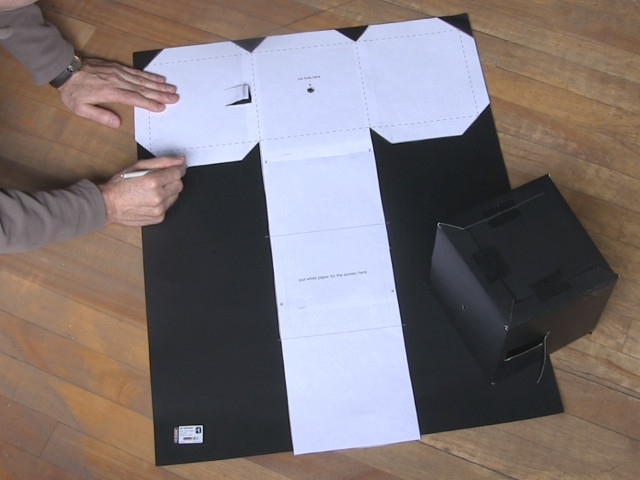
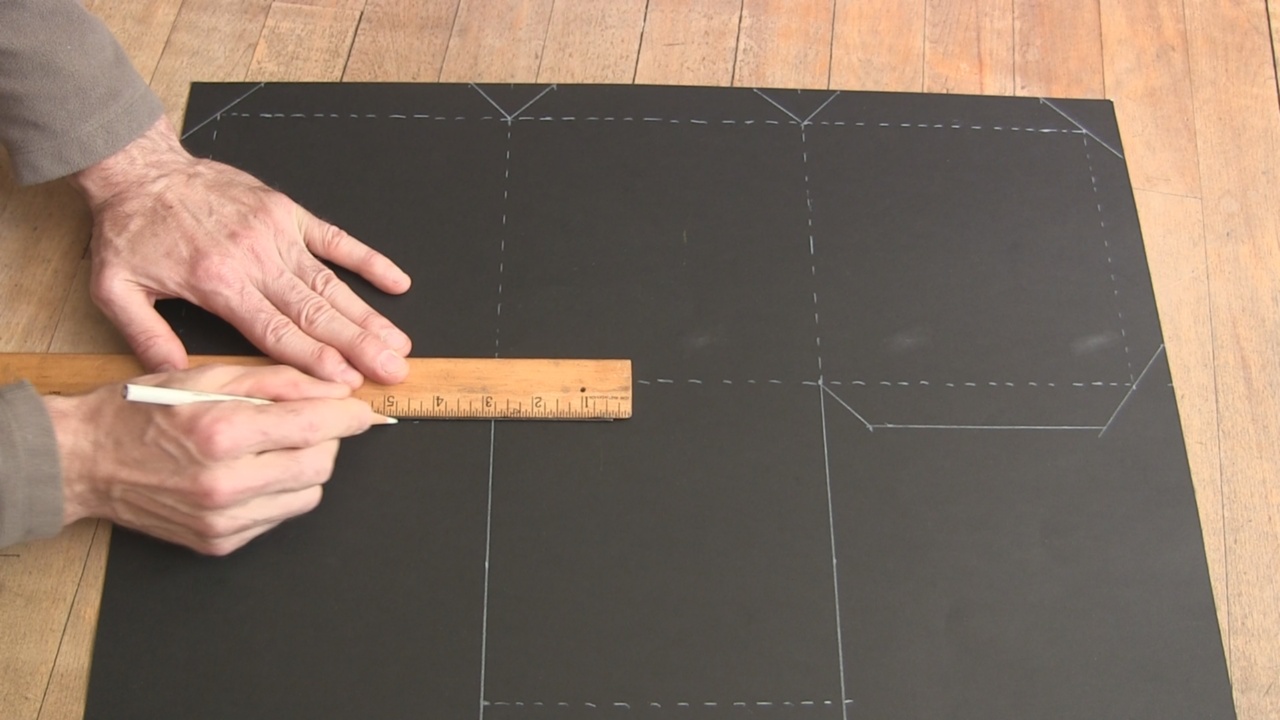
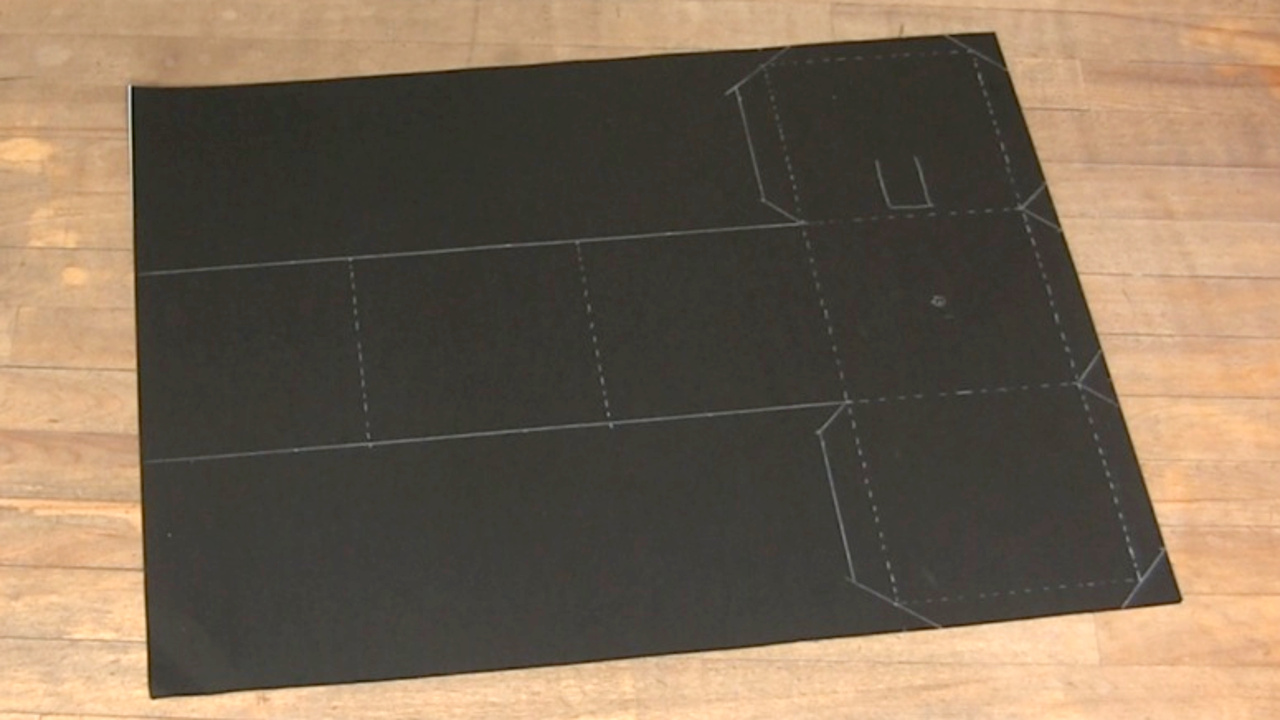
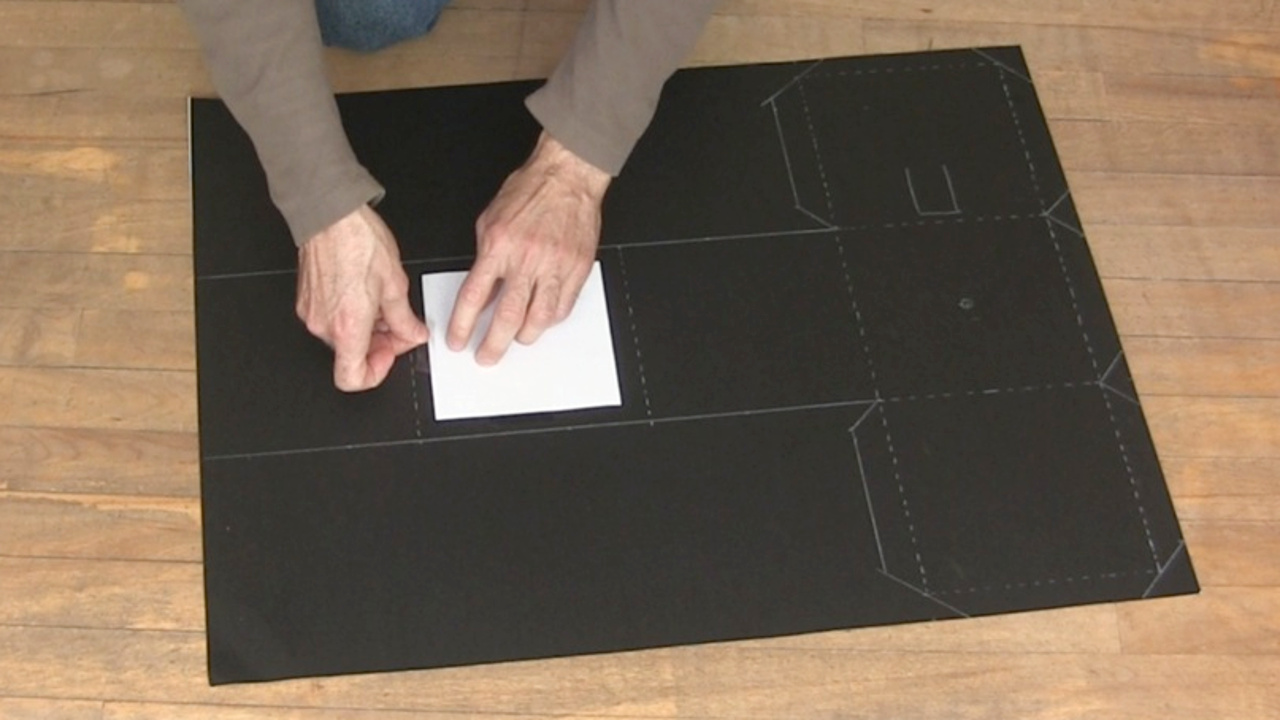
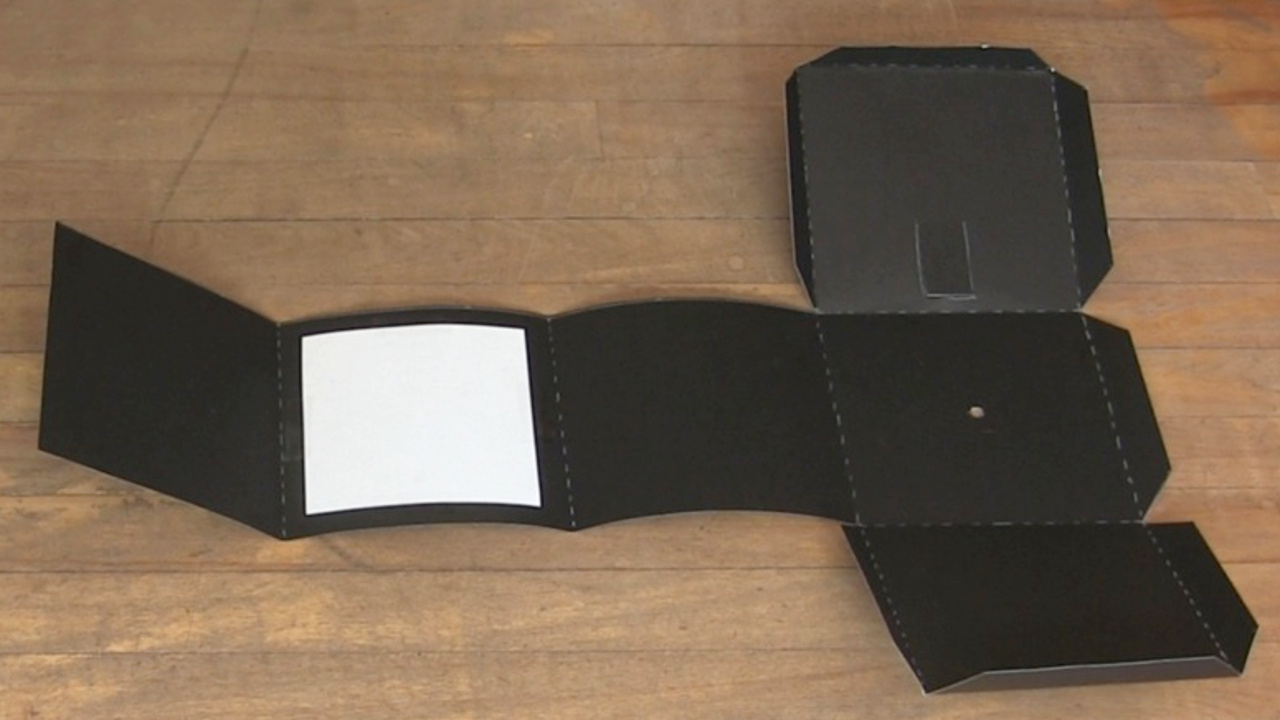
As shown below, use the diagram above to draw out the pinhole camera onto the poster board. Draw both the solid lines and the dashed lines. The solid lines are where you'll be cutting and the dashed lines are where you'll fold. Notice that I'm using a white pencil crayon so that the lines show up well. A normal black pencil will also work.
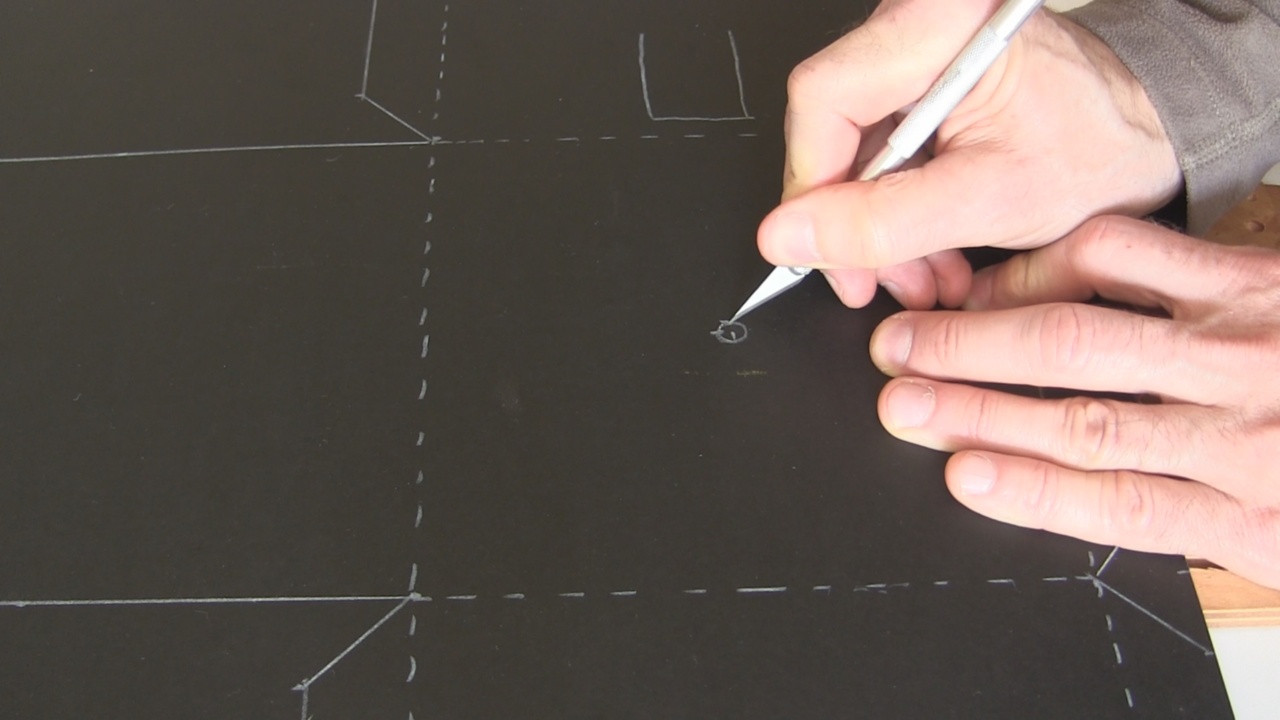
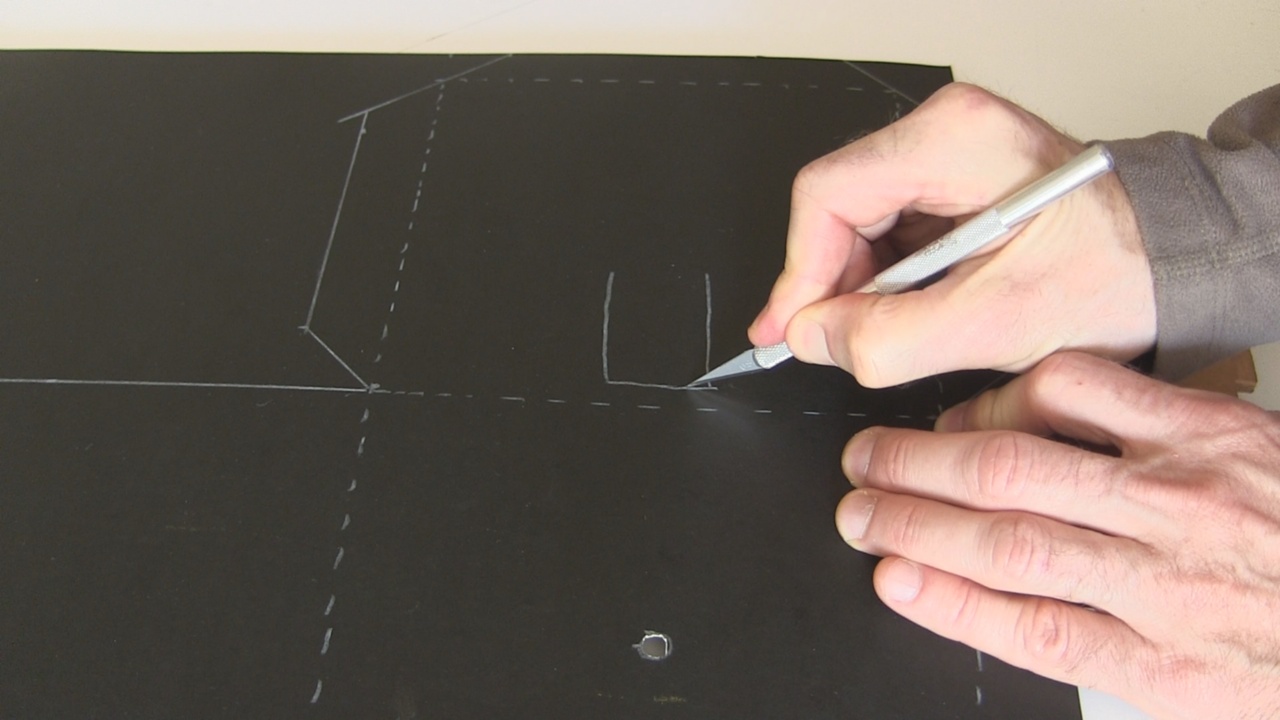
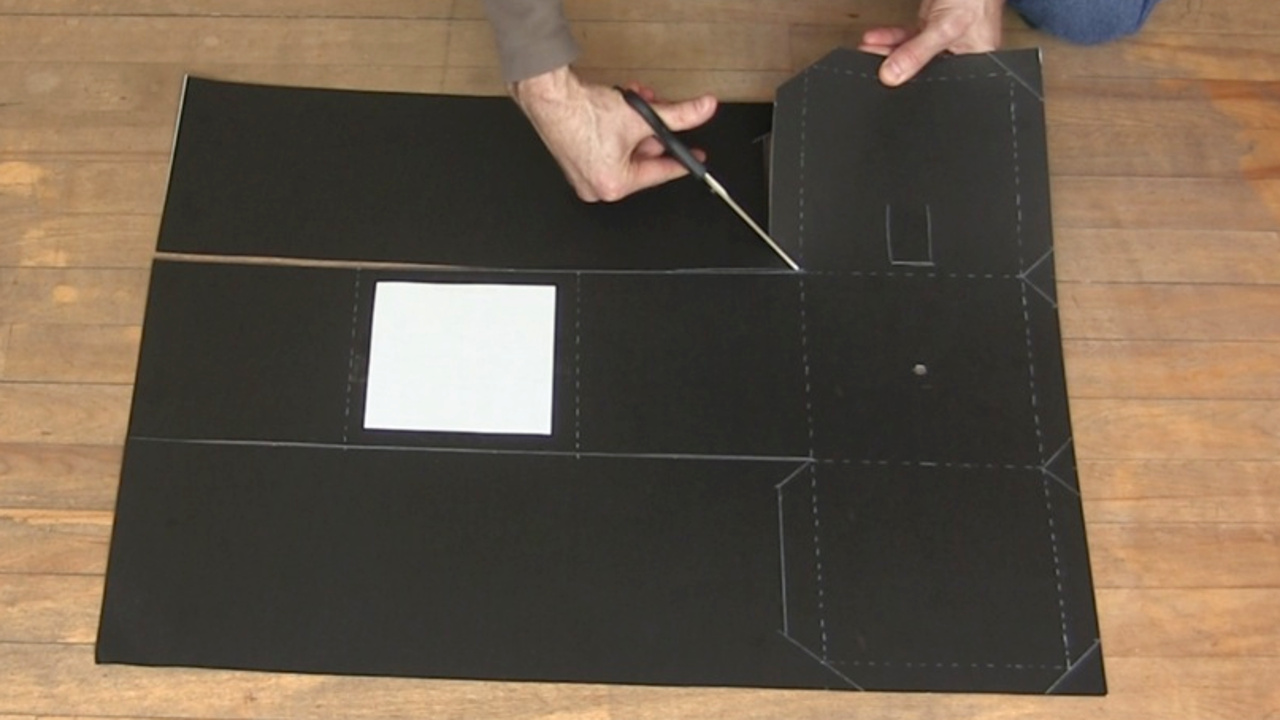
Cut out the round hole for the aperature, and cut out the three sides of the viewfinder (see the diagram above). I use a knife and so it's probably best if an adult does this.
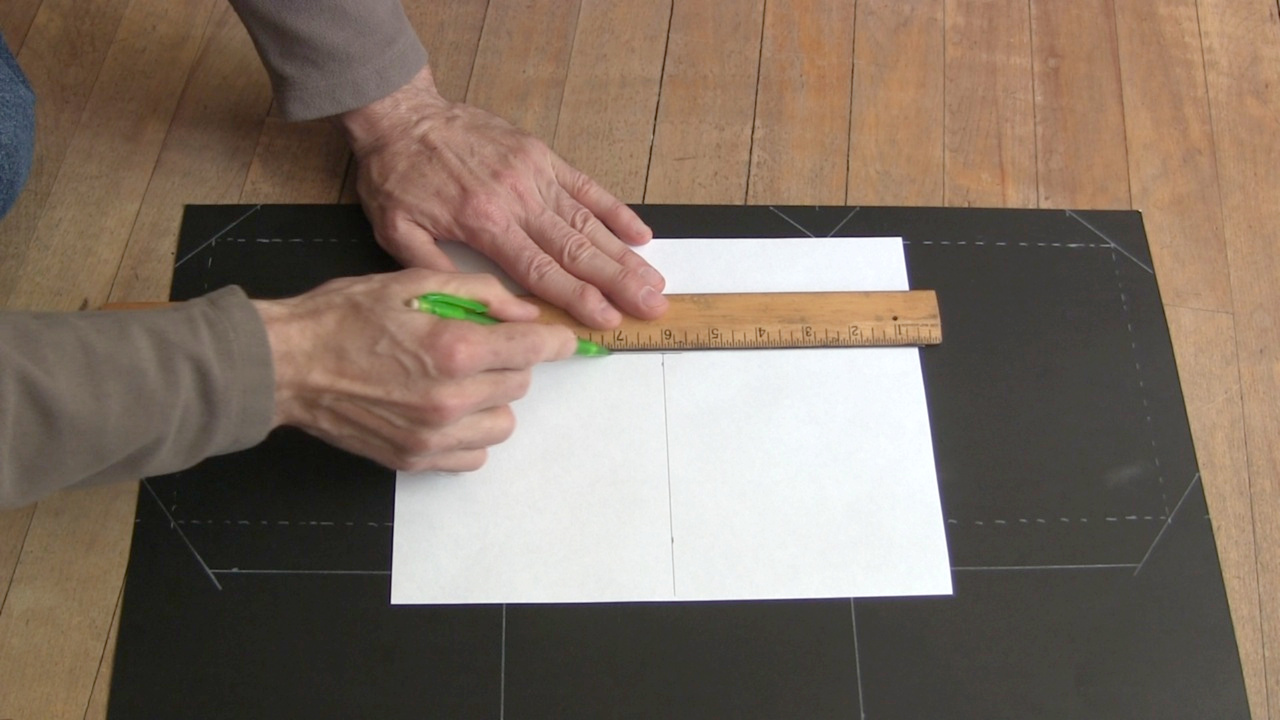
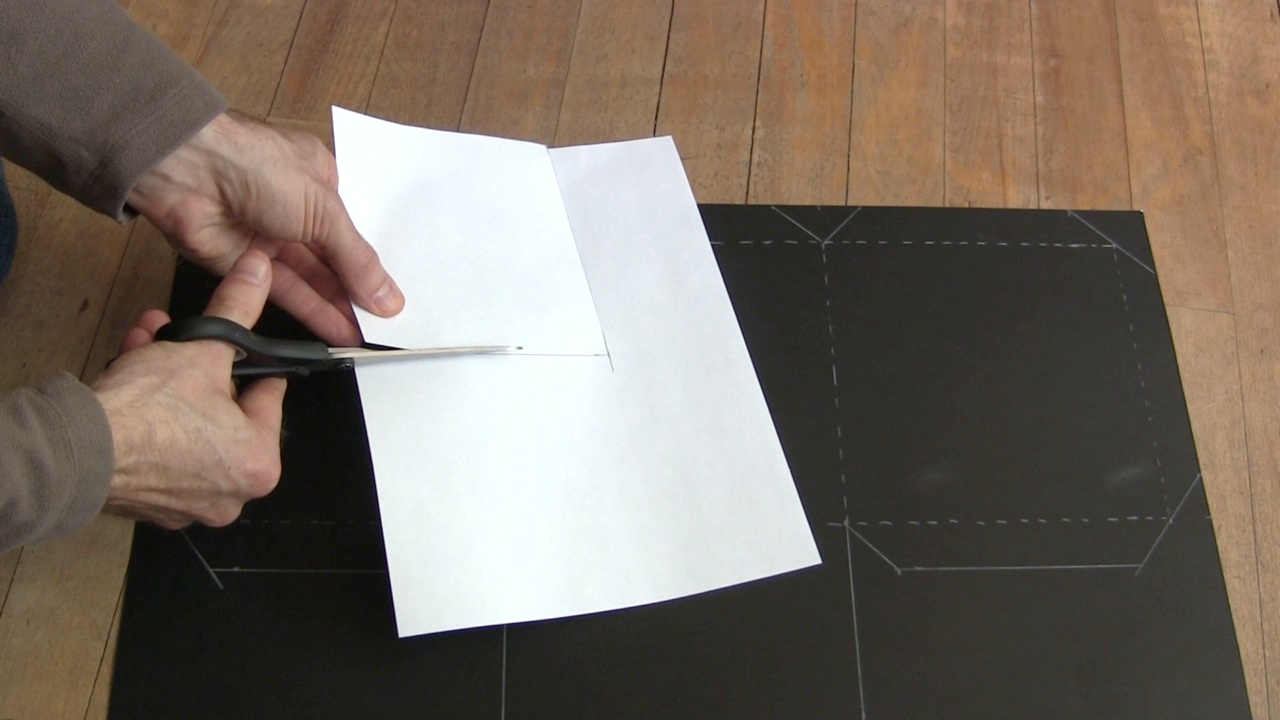
Prepare a sheet of white paper for the screen which sits inside the camera on the wall opposite the aperature/hole. Tape it as shown in the diagram. Size it such that it fits on that wall with room around the edges for tape. In my case, since I would be making so many of these, I wanted to make good use of each sheet of paper. The paper was 11" long and so I divided that by two to get 5.5" and make maximum use of the paper. A 5.5"x5.5" square works nicely on the 6 3/4" x 6 3/4" wall (171.5mm x 171.5mm).
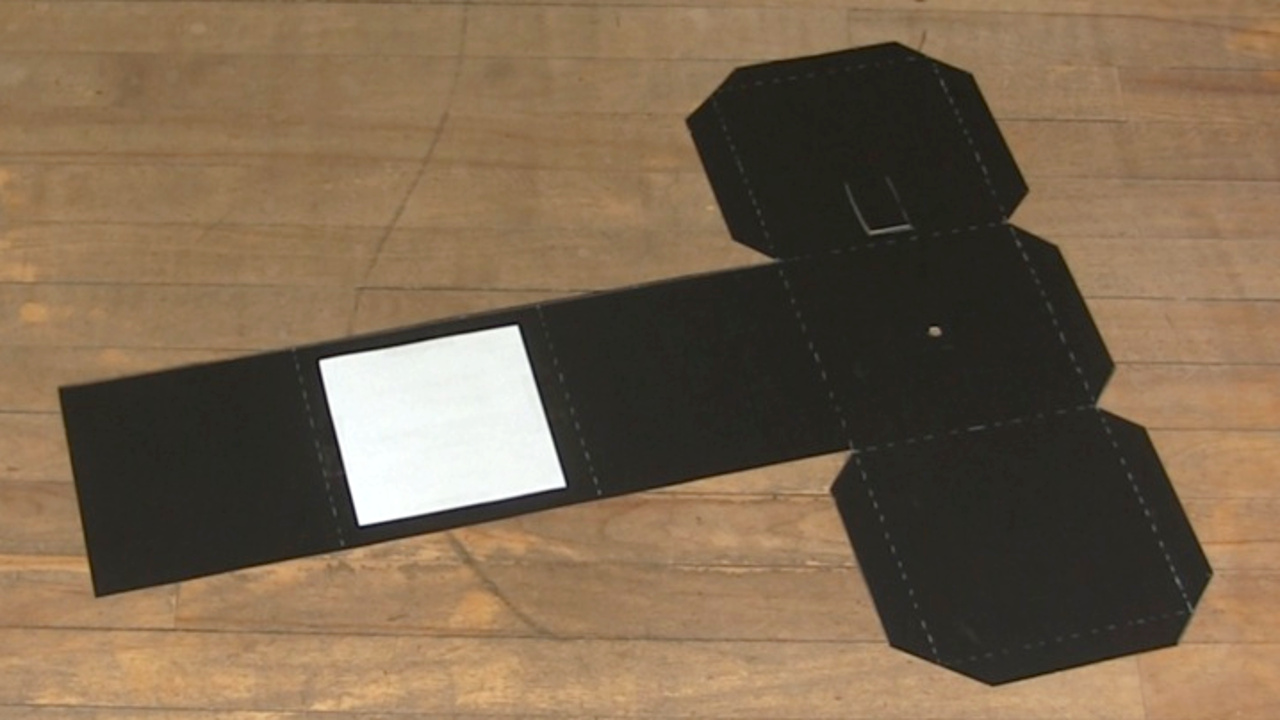
Cut the pinhole camera from the poster board by cutting along all the solid lines.
Folding and taping
There are some tricks to folding and taping it which work well.
First, fold wherever there's a dotted line. As shown below, all folds are in the same direction, so if the poster board is laying flat on a surface, fold everything upward. Fold well such that the section you've folded is bent all the way over flat onto the adjacent section. Press along the fold with your finger. It'll of course unfold somewhat but at least it'll be easier to put together later.
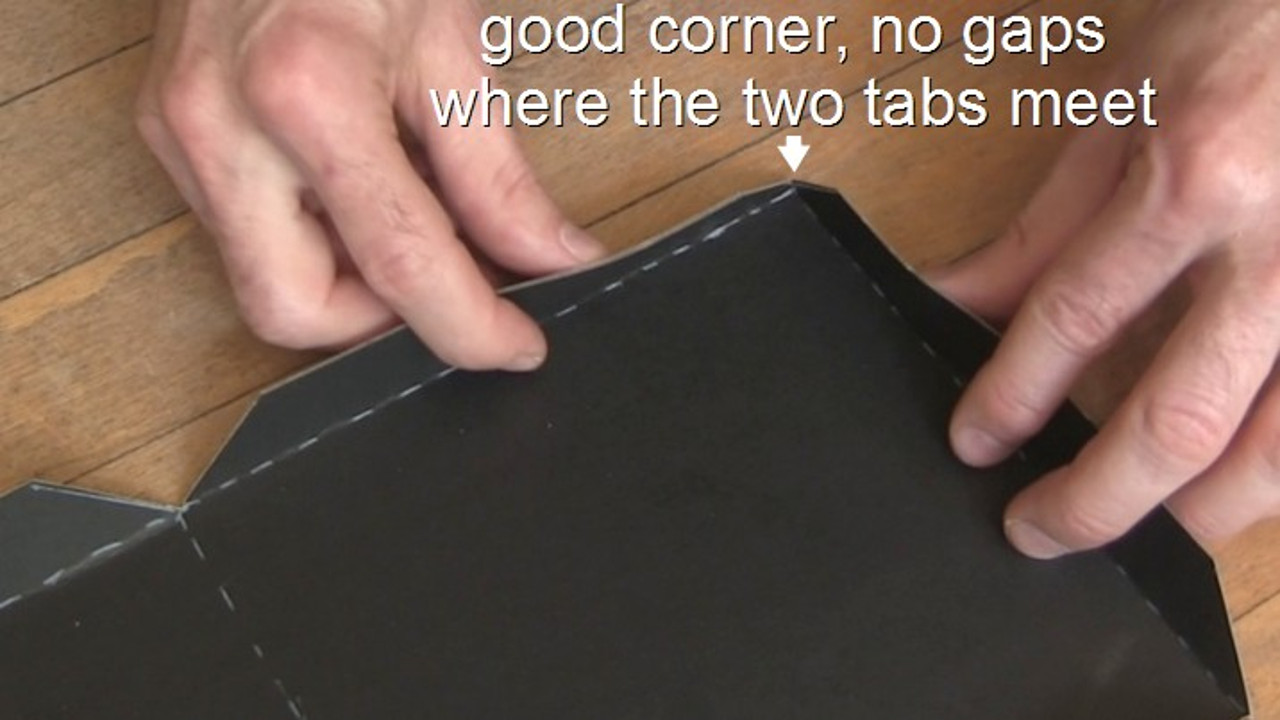
Also, when folding the tabs, try to fold them such that no light will leak in at the corners, as illustrated below.
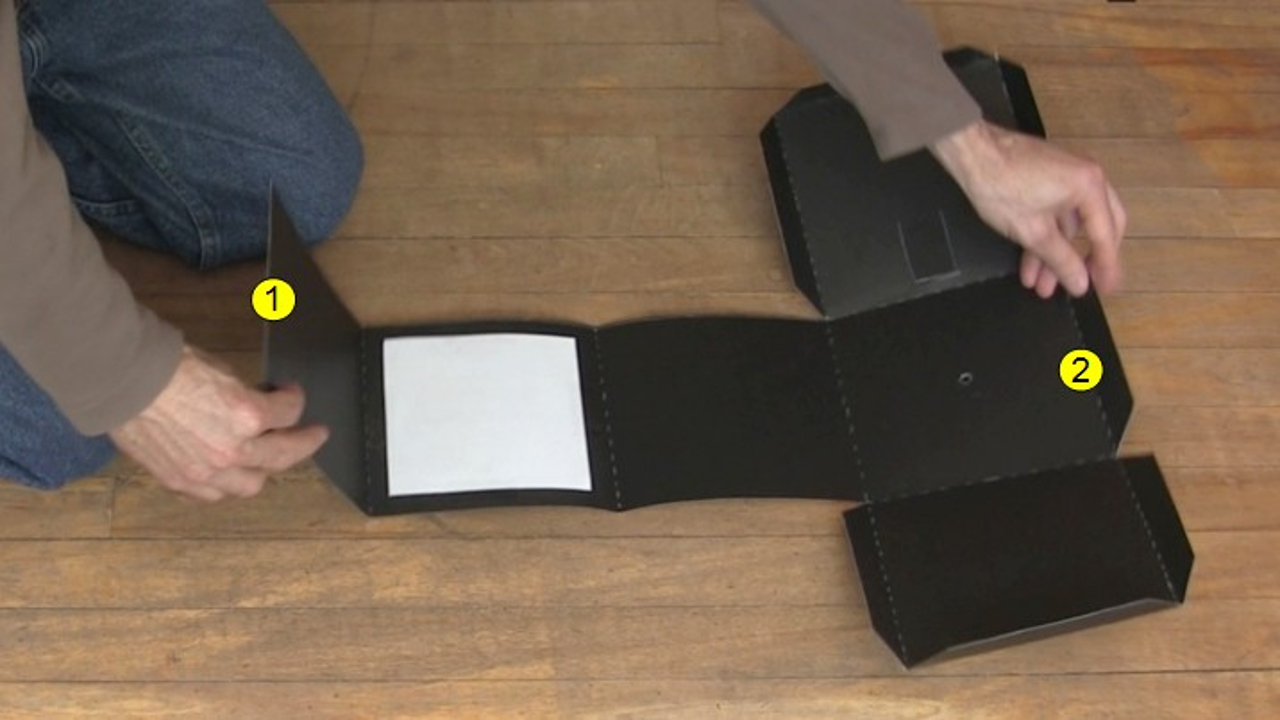
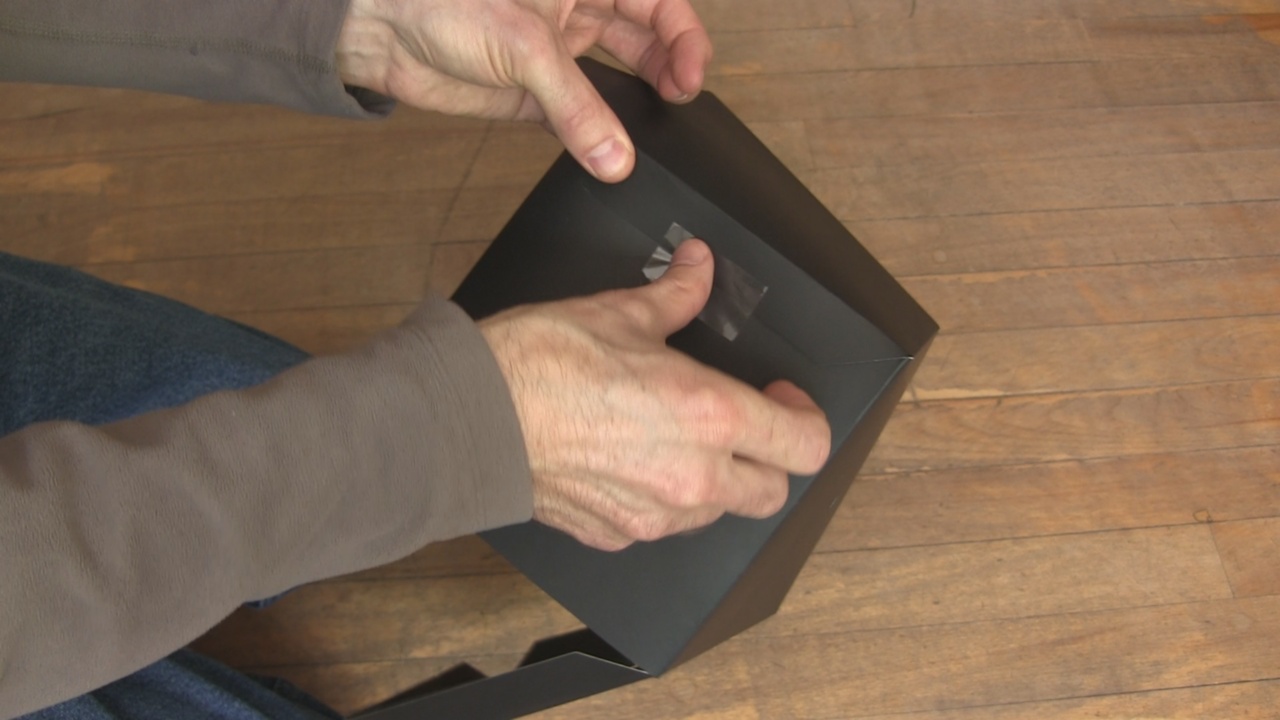
Then take the edge labeled (1) in the photo below and bring it to the edge labeled (2) (they're also labeled in the above diagram). Tape the tab such that it'll be on the outside of the pinhole camera.
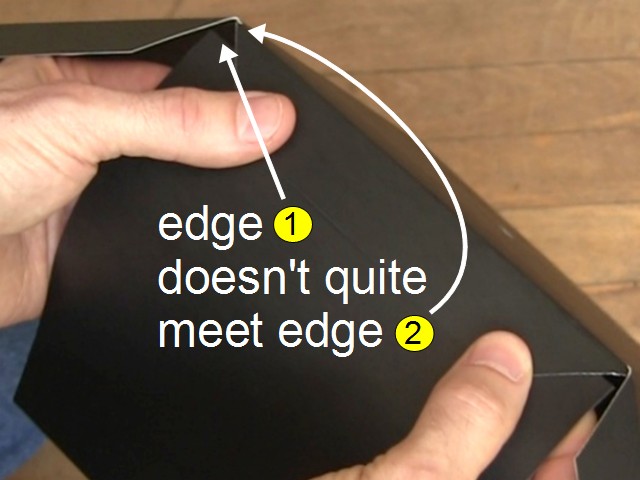
What if your poster board is the wrong size
As I said above, ideally the poster board should be 21 7/8" x 28", and the one I'd developed this with was. However, I later bought some more and they were 21 7/8" x 27 3/4", so 1/4" shorter on the long side.
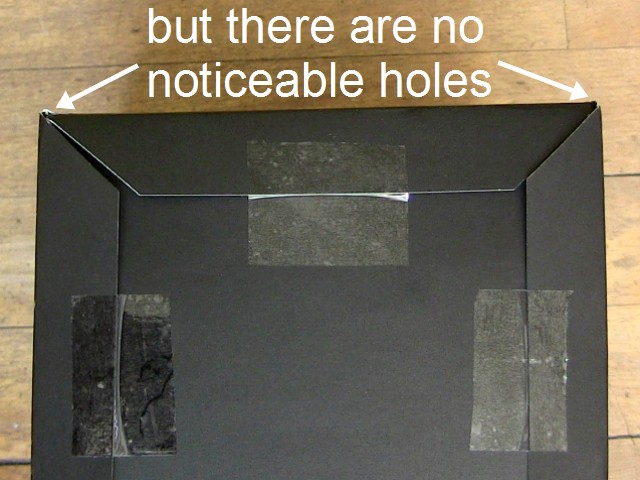
The way I handle it is to not have edge (1) meet right up with edge (2). As the photo below shows, I instead leave edge (1) 1/4" short of meeting edge (2). With the way the tabs meet at the corners at that edge, any holes are covered up by the tabs.
If there are any gaping holes left then you can just put an opaque tape over them anyway so being careful like this may be overkill.
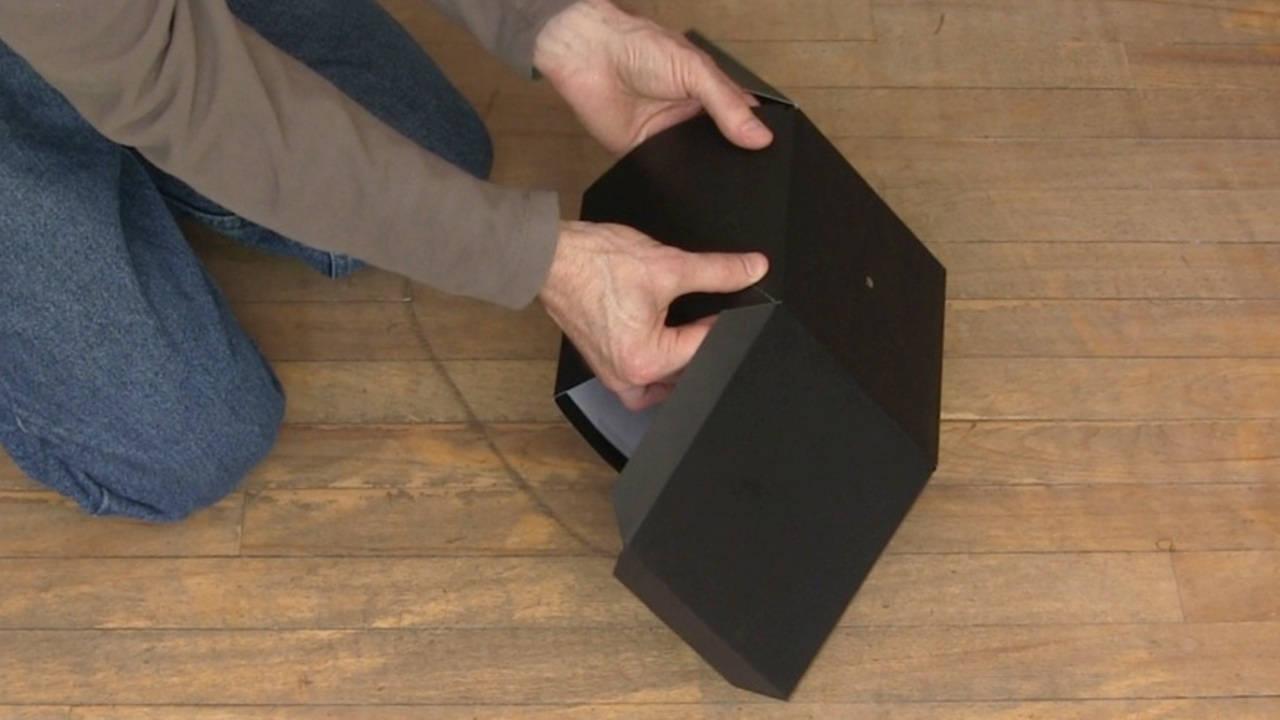
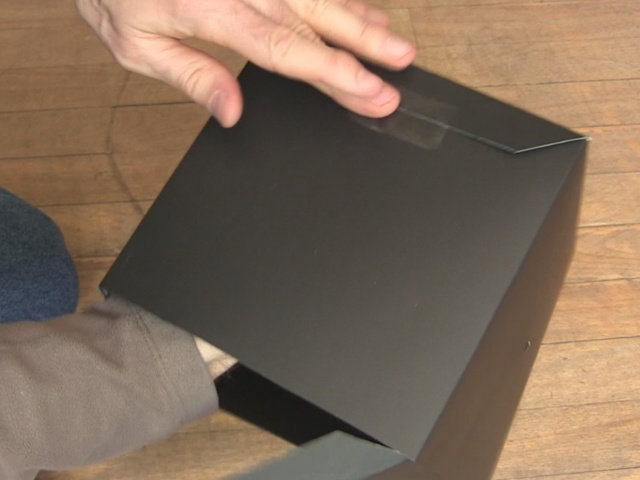
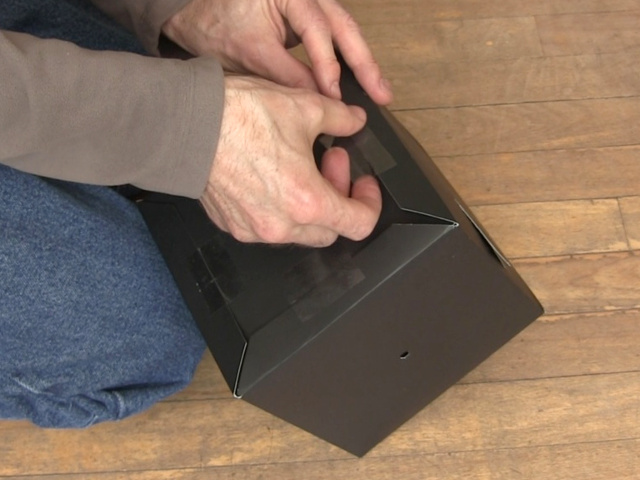
Then tape all three tabs of one of the two sides. Since the remaining side is still completely open, you'll be able to get one hand inside in order to apply pressure from the inside while you put the tape with the other hand.
Taping the second side in place is trickier since you can no longer get your hand inside. In that case, for each of the three tabs, first put the tape on the tab, then lower the tab such that the tape is against the corresponding side, and gently brush your finger against the tape to make it stick to that side. If you instead press hard, that would just make the poster board move away.
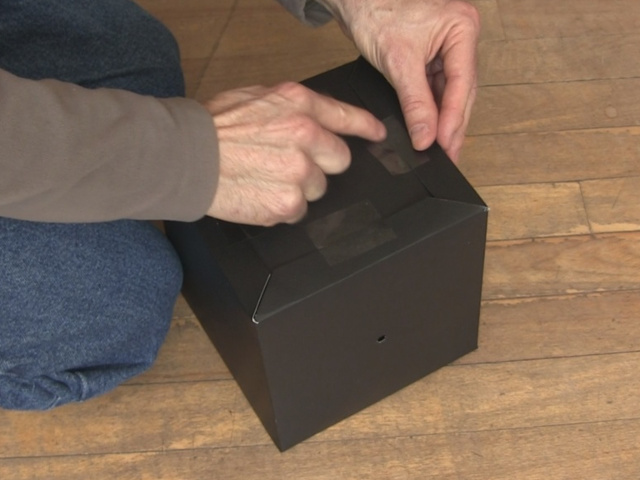
And with that, your poster board pinhole camera is finished!
Video - How to Make Pinhole Camera with Poster Board
Here's a video showing how to make this pinhole camera along with how to do focusing, how to look at the sun, and other demonstrations.
