A pinhole camera is an easy to make thing for looking at the sun,
or for general fun experimenting with optics. If you really want
to go all out, you can even use it to take photographs by inserting
undeveloped film inside, but I didn't use it for that.
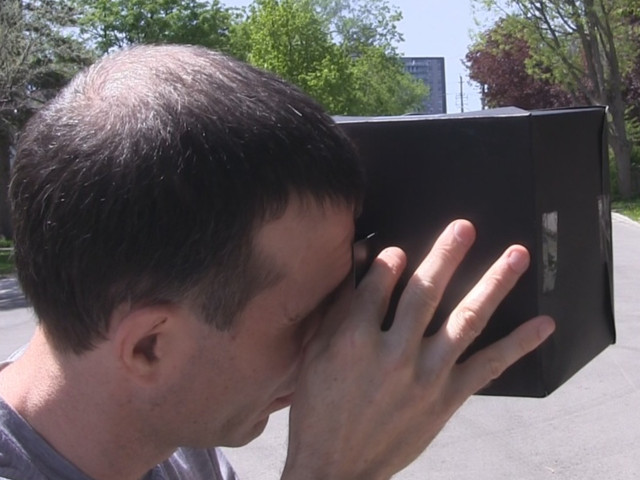
Below you can see me using it to view the sun, followed by the image
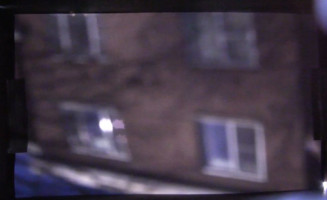
of the sun and also an image of a building. The image is upside down
since it appears that way in the pinhole camera.
Using the pinhole camera.
 |
|
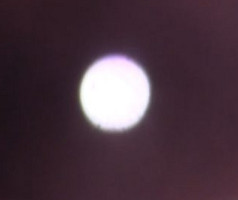
The sun.
 |
|
A building - appears upside down.
 |
|
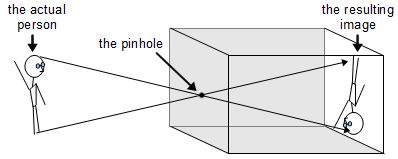
The diagram below shows why the image in the pinhole camera is upside
down. The light rays can only travel through the small pinhole.
If you follow the ray from the person's head to the hole and then
continue following it through the hole, you see that the ray strikes
the bottom of the image inside the camera's box. Similarly the ray
from the person's feet ends up at the top of the image. The same
happens for rays on the left and right. Notice that the raised arm
has changed sides, though it's still the person's right arm in
both cases.
Why the pinhole camera's image is upside down.
 |
|
How to make a pinhole camera
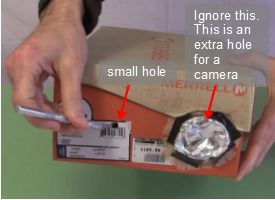
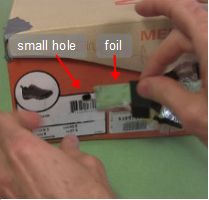
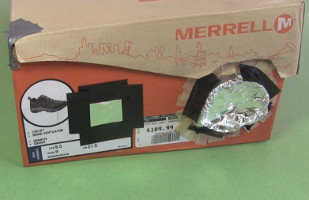
As shown below, the first step is to get a box. I used a shoebox.
Cut a small hole in one end. Make it as round as possible.
In the photo on the right below you can see that I've cut a second, much
bigger hole for putting a camera so I could film the image for the making
of the video below. When it's not in use I
keep it covered with aluminum foil since that does a good job of
blocking light from entering.
The box.
 |
|
The small hole.
 |
|
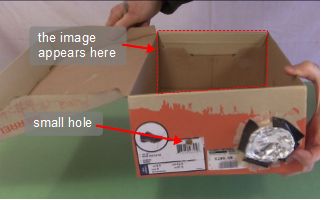
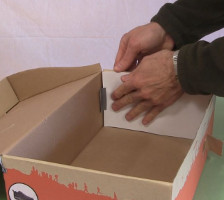
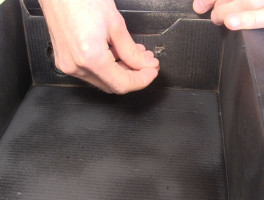
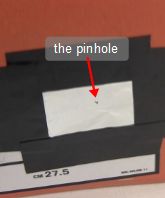
Below you can see where the small hole is that the light from the
image will enter in through, and the area where the image will
appear. For viewing the image yourself you can cut a hole in the
side, as shown in the photo on the right. I've cut a three sided hole
so that I have a sort of flap that can be opened or closed. The photo
at the top of this page shows me looking into this hole.
Where the image will appear.
 |
|
The side viewing hole.
 |
|
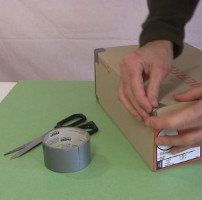
Next, tape up any holes in the box that let light in (see leftmost
photo below.) The only place
light should be entering is the small hole you'd cut yourself and any
viewing hole.
If the area the image will appear on in the box isn't flat and
featureless then you can put a sheet of white paper there for the image
to appear on, as shown in the middle photo below.
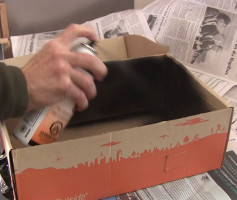
Then, as shown on the right below, paint the rest of the inside of the
box with flat black paint or cover it with a black, non-shiny fabric
like felt for example. This is optional but will make a difference.
Covering holes with tape.
 |
|
Making a good image area.
 |
|
Painting the inside black.
 |
|
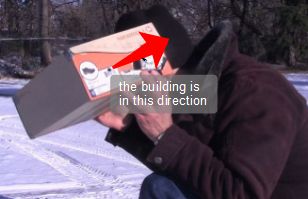
At this point you have a small hole for letting the image in, but
one that's big enough to let a lot of light in so that you can actually
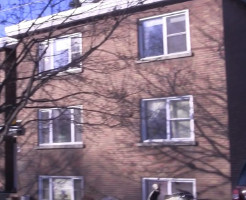
see things like buildings, as shown below. It helps if whatever you're
viewing is well lit, as it is in this case with sunlight. For
comparison I've included a photo of what it looks like to the naked eye.
Notice again that it appears upside down. The diagram above illustrates
why this happens.
Viewing image of the building.
 |
|
As seen by the naked eye.
 |
|
As seen in the pinhole camera.
|
|
Modifications for viewing the sun with the pinhole camera
But the smaller the hole you use to let light in, the better the image
will appear. Also, the rounder the hole and the thinner the material
that the hole is made in, the better the image will appear. However,
there won't be enough light to make objects out except the sun itself.
But at least you get a good image of the sun this way.
Note that if you are putting film in the pinhole camera then you can
leave the film exposed to the light for some number of seconds to collect
more light over time. In that case you could capture objects, like
buildings, on the film.
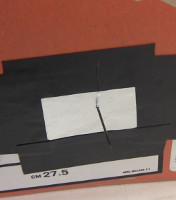
So below you can see that I tape a piece of aluminum foil over the
small hole and then pierce it using a pin, hence the name
"pinhole camera". I push the pin through from the inside since
I can still see the small hole from there.
Putting foil over the small hole.
 |
|
The foil taped over the small hole.
 |
|
Pushing the pin through.
 |
|
The pin sticking through.
 |
|
The resulting pinhole.
 |
|
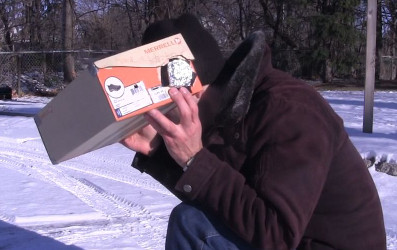
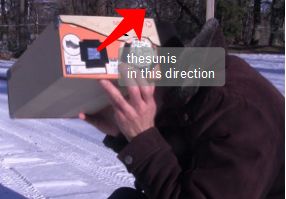
Below you can see me using it again, but this time notice that the
image is entering through the new pinhole. You can see what the sun
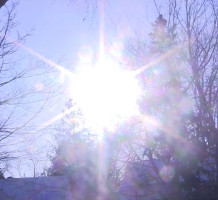
looks like with a normal camera (never look at the sun directly), and
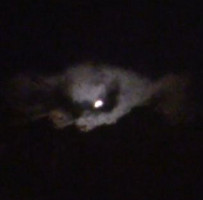
then what it looks like in the pinhole camera. Also shown is a neat
image of what it looks like when the sun is partially hidden by a cloud.
Using the pinhole.
 |
|
The sun using a normal camera.
 |
|
The sun in the pinhole camera.
|
|
The sun through clouds.
 |
|
The following is my video showing step-by-step how to make a
pinhole camera, along with demonstrations of it in use, including
the resulting images.