Crystal radios
Crystal radios get their power from the radio signal themselves. There's no need to supply batteries or plug into a wall socket. I originally got into them to see how much power they could produce as part of my interest in non-conventional energy though I quickly abandoned that effort due to the low power output. But I kept playing with them anyway since I got such a buzz from hearing them working.
If you're looking to add an amplifier then see this page about how to make an amplifier that plays on a loud speaker and this one for a single transistor crystal radio amplifier that amplifies sound to the earpiece.
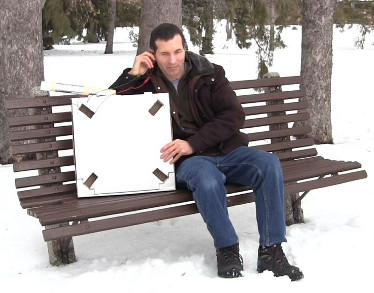
The photo on the left below is the first one I made following plans from a book. The one on the right is a portable loop antenna crystal radio I made in an extra large pizza box (click on the link for details.)
If you're having trouble getting your crystal radio to work then see this page with tips and tricks for getting your crystal radio to work.
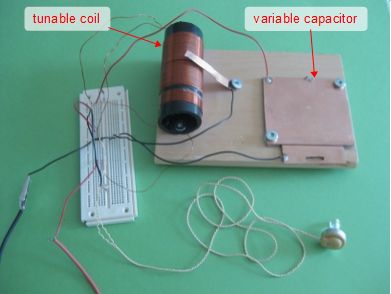
Notice that the parts are almost all homemade. The only parts not homemade are the germanium diode and the crystal earpiece or crystal earphone. I have made by own crystal earpieces and you can see much more about crystal earpieces, bought and homemade, here. The wire coil is wrapped around a piece of ABS pipe and is tuned by sliding a piece of copper along it. The variable capacitor is simply made of pieces of copper cladding.
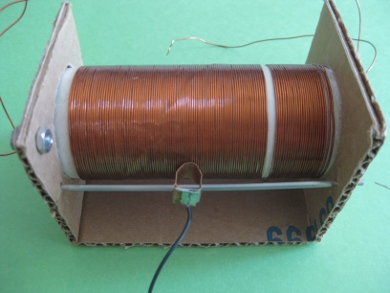
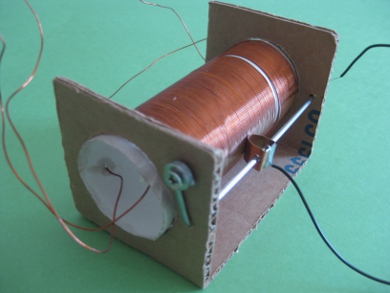
I then played with another way of doing the coil that was more compact (see photos below.) This was while I was still trying to test the energy output and was planning on making a bunch of them, hence the attempt at compactness.
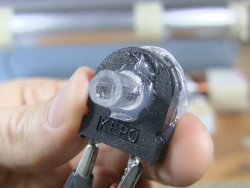
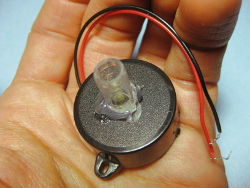
I also made my own crystal earpieces as shown below. For more on this see my page all about crystal earpieces.
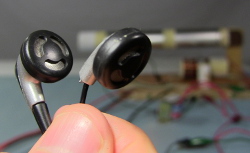
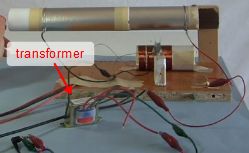
It's also possible to use earbuds/iPhone earpods with a crystal radio by adding a transformer. See my page detailing how to use a transformer to get earbuds/earpods to work.
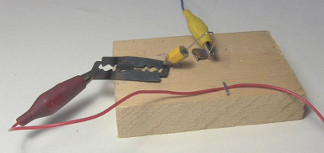
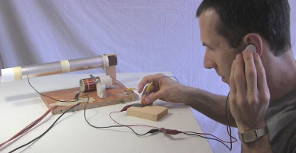
It's also possible, though difficult, to make your own homemade diode using a razor blade and a pencil as shown in the photos below. See my page giving step-by-step instructions and a video for how to make a razor blade diode.
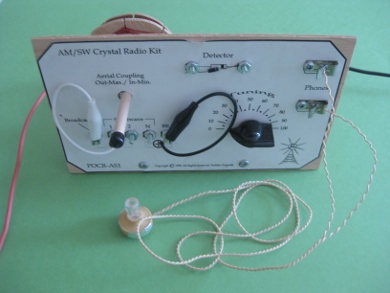
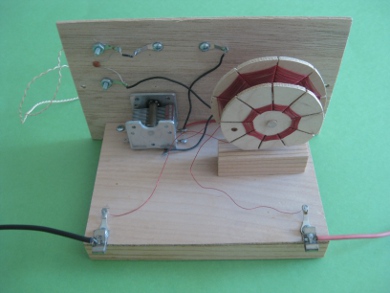
I also purchased the one in the photos below just so I could try one that someone else had made. Notice in the back view the use of spider-web coils instead of the usual cylindrical ones. This one is also able to tune in shortwave radio as well as the usual AM band.
And then I made the very simple one shown below from even more available parts around the house, in order to encourage others to have fun too. The coil was wrapped around a cylinder from a toilet paper roll and the capacitor was aluminum foil wrapped around a cylinder from a paper towel roll.
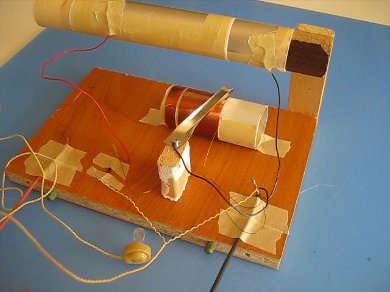
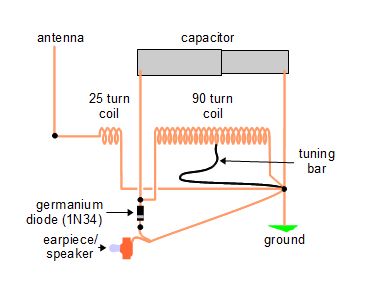
The following is a step-by-step video of how to make the above crystal radio and was my whole reason for coming up with it in the first place.
Regarding the measurements for the scrap wood in the above video I just used random scrap pieces that seemed like they would work. I'd recommend you do the same since it'll be less work (no extra cutting needed.) But here they are anyway (left-right x height x back-front):
- the base is 280mm x 17mm x 180mm,
- the vertical support is 35mm x 120mm x 15mm,
- the paper towel holder is 200mm x 38mm x 17mm
And here's my video with troubleshooting tips and tricks.
Here's a video I made of another way of making a tuning coil by having taps along the length of the coil.
How a Crystal Radio Works
This video goes through great detail explaining how this above crystal radio works, all the way down to the electron level.
