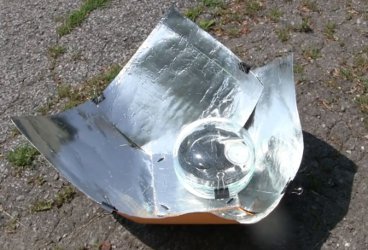
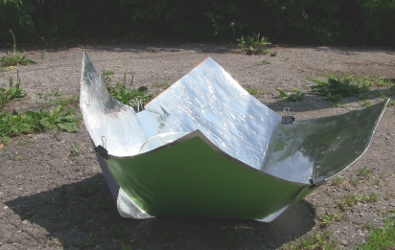
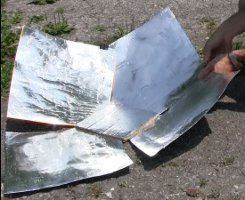
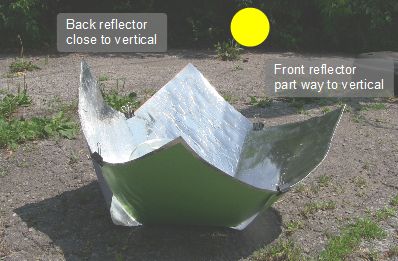
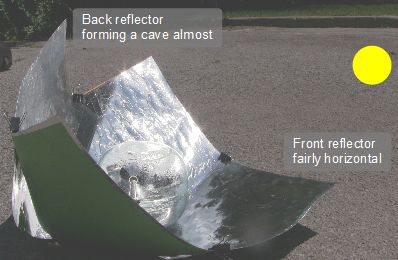
The Copenhagen solar cooker is a very clever, lightweight, portable and quick to set up solar cooker invented by Sharon Clausson. It is much like a car sunshade solar cooker in that to adjust it you set the cooking pot down flat and then adjust the reflectors around it. Unlike the car sunshade, the Copenhagen is suitable for all sun angles, meaning all times of the year and day.
The Copenhagen is simple to make (I made the one on this page) or you can find details about the commercially available Copenhagen solar cooker here, including links to where you can purchase one for a very reasonable price.
|
|
How to make a Copenhagen solar cooker
|
These don't take long to make and cost very little. All you'll likely need to buy are two sheets of poster board and some glue. Everything else, like the aluminum foil and a cardboard box, you probably have already. Click here for step-by-step instructions for making your own Copenhagen solar cooker. |

|

|
Assembling the Copenhagen solar cooker
On the how to make page I gave instructions for two different variations, a corner attachment type and a slotted base type. If you have one that you bought then it is likely the first type, the corner attachment type. Assembly is different for each so use the appropriate subsection below.
Assembling the corner attachment type
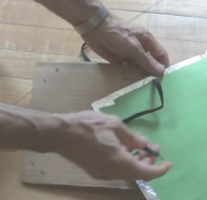
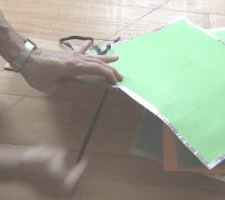
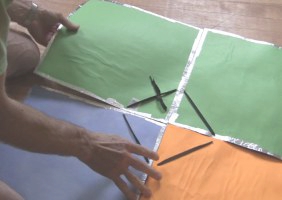
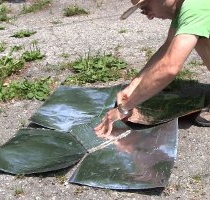
Assembly takes only a minute and consists mainly of using the twist ties or a shoelace to attach the reflectors the the base. Use the photos below as you read through the steps.
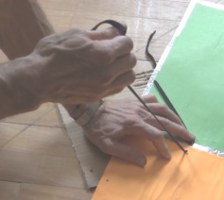
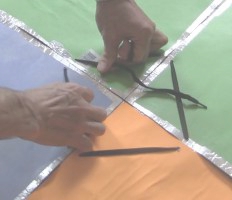
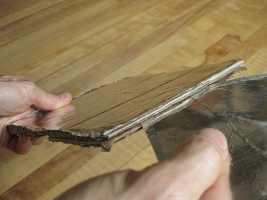
Step 1. Start by poking one end of the thread through one hole starting from the aluminum foil side of the base. If you made the reflectors using the how-to instructions on this website then find the reflector that has the same number as the number on the base nearest the hole you're using. With the foil side of the reflector facing the cardboard side of the base, poke the lace through the hole in the reflector as shown in the photo below.
Step 2. Poke the lace back down through the other hole in the reflector and then through the next hole in the base as shown in the photo below.
Step 3. Then find the reflector whose number corresponds to the next position on the base and repeat steps 1 and 2 for it.
Step 4. Continue for the remaining two reflectors but for the last hole in the last reflector, use the other end of the lace which you'd left behind in step 1 so that both ends wind up on the non-foil side of things (the bottom of the solar cooker.)
Step 5. Make sure the lace is pulled tight everywhere and tie the two ends. Done!Step 6. Flip it over and clip the reflectors together. I use office clips, but clothespins, food bag clips, ... also work.
|
|
|
|
|
|
The next step is to aim the Copenhagen solar cooker at the sun and adjust the reflectors to reflect the sunlight to the cooking pot. See the Aiming and adjusting the reflectors section below for this.
Assembling the slotted based type
Assembly takes only a minute. First insert each reflector into the base. Then use some sort of clip between the top of each two adjacent reflectors to hold them together. I use office clips, but clothespins, food bag clips, ... also work.
|
|
|
The next step is to aim the Copenhagen solar cooker at the sun and adjust the reflectors to reflect the sunlight to the cooking pot. See the Aiming and adjusting the reflectors section below for this.
Aiming and adjusting the reflectors
After you have the reflectors clipped together, put the cooking pot in place. You next need to aim the solar cooker at the sun and adjust the reflectors to better reflect the sun's light to the cooking pot.
Aiming at the sun
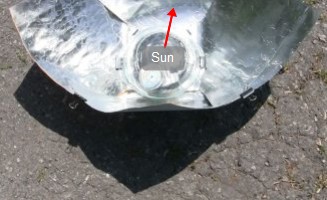
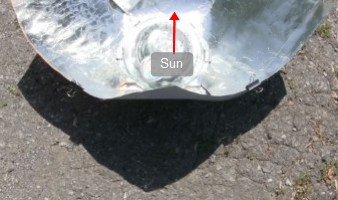
Perhaps the easiest way to aim at the sun is to use the shadow made by the solar cooker. Turn the solar cooker so the the upper corner of one of the reflectors is closest to the sun. Of course that means the upper corner of the opposite reflector will be farthest from the sun (see photo below.)
Look straight down at the one farthest from the sun and you should see a shadow. If the cooker is not facing the sun the shadow you see should be lopsided. Turn the cooker until it's no longer lopsided.
|
|
You can repeat this step after you've adjusted the reflectors better as in the following subsection.
For more see this page all about lining up solar cookers with the sun for more on that.
Adjusting the reflectors
The reflectors are adjusted by moving the clips and changing how much the adjacent reflectors overlap each other. The photos show how to adjust the reflectors for the different extremes in sun positions from morning to midday to late afternoon or evening. Just how high the sun is depends on the time of year and what latitude you're at (how far you are from the equator.)
The side reflectors should form a smooth curve from the front to back reflectors.
|
|
For more indepth understanding see this page about designing reflectors for solar cookers which is essentially what you're doing while you adjust these very flexible reflectors.

