Gravity light (v2) - Homemade/DIY
Gravity light (v2). This is version 2 of my gravity light. A gravity light is a light (one or more LEDs) that is powered for a useful amount of time by a slowly falling object, or mass.
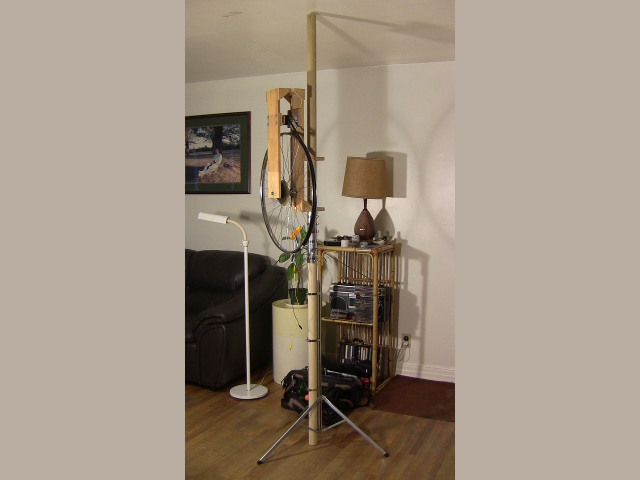
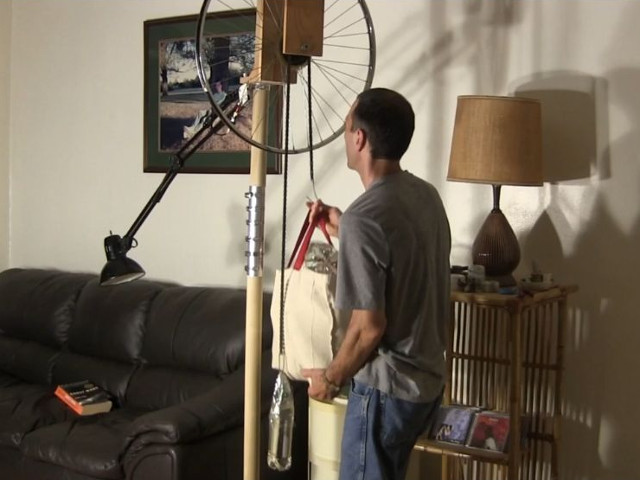
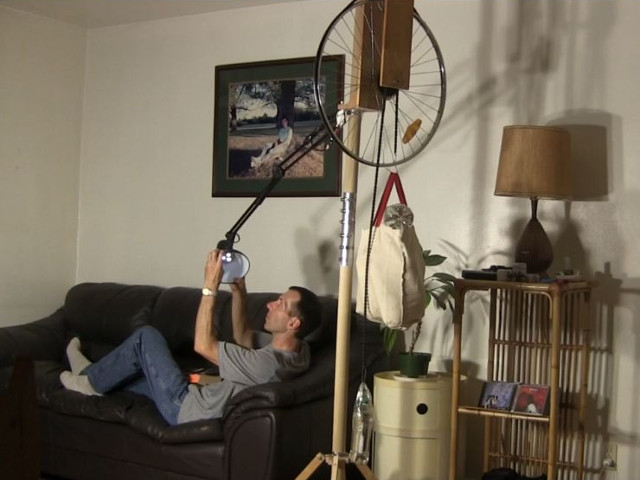
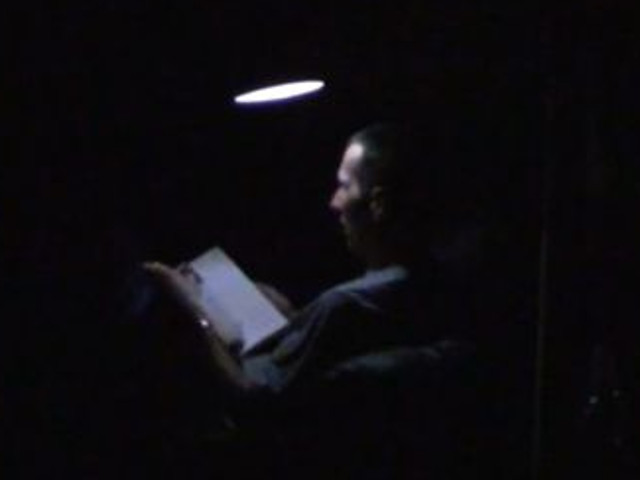
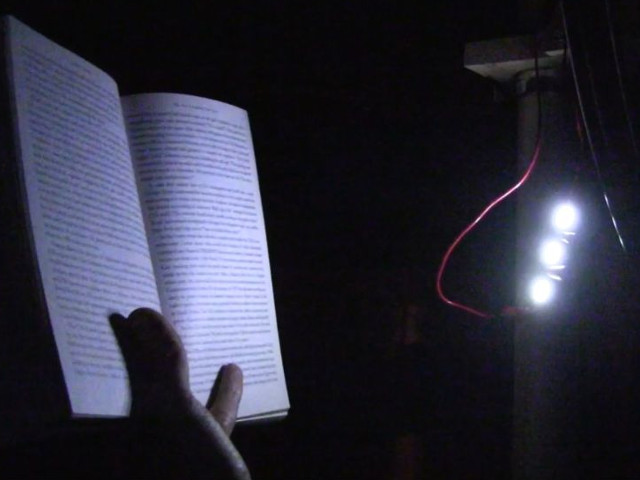
In the photo below, my masses are 15.3 liters/4 US gallons of water, and I'm using 3 LEDs as a reading light. The drop height is 4 feet/1.2 meters. Once the object has fallen all the way, you simply lift it back up and the light is lit again. I managed to get it to fall for 12 minutes while giving enough light to read by. From the power and efficiency calculations below, it is around 26% efficient.
For more details and calculations see the main gravity light page.

Below is the circuit. It's almost the same as the one for gravity light v1 except the diodes are Schottky diodes instead of silicon diodes to have less loss. Also, I got rid of the resistor since I didn't think I needed it.
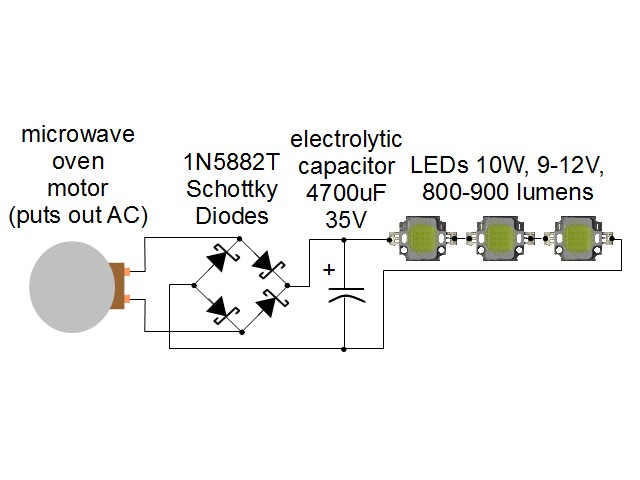
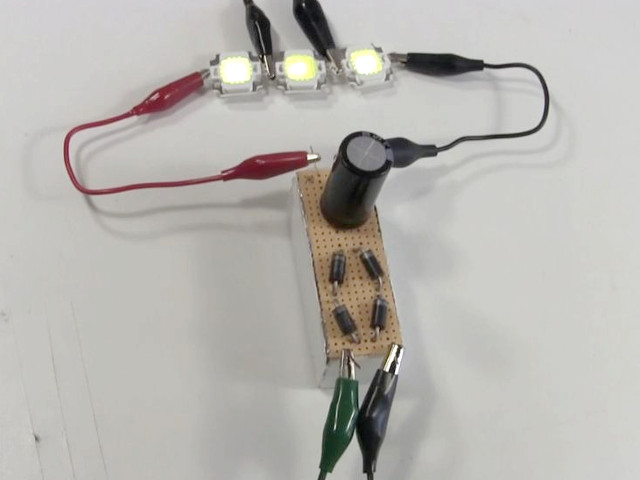
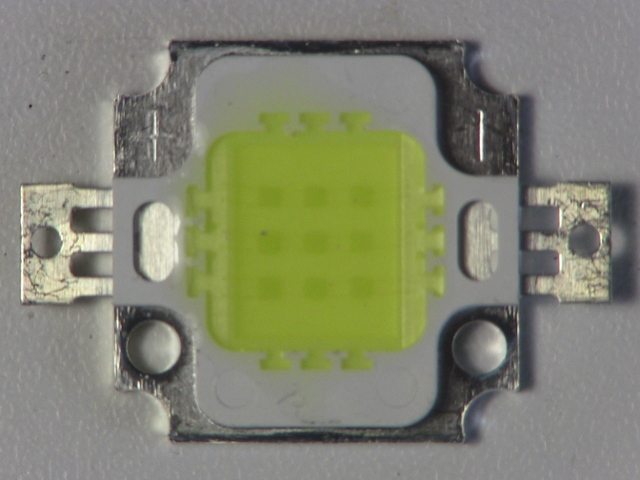
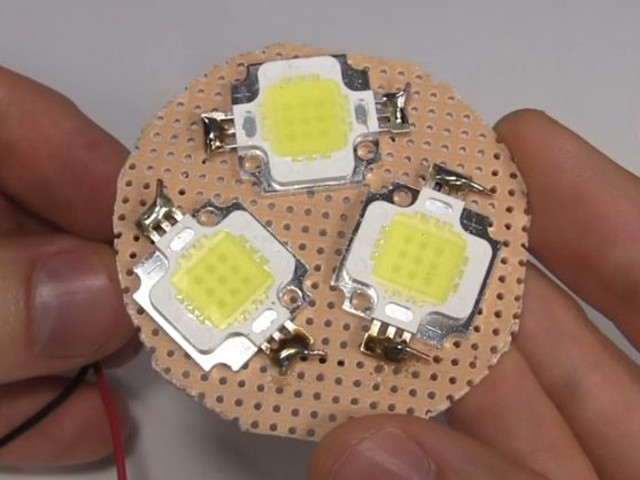
The lights were three of the LEDs (shown below) which I bought on ebay here. Each LED is actually made of multiple tiny LEDs. If you watch the Gravity light - Making video below carefully at 2:44 you'll see that only some of those tiny LEDs actually light up, though as the power is increased they light up very brightly. But the price was low enough for experimenting like this. They are 10 watt, 9-12 volts, pure white 800-900 lumens. A single LED (really is bunch of tiny LEDs) starts to turn on above around 8 volts.
Each has a positive (+) and a negative (-) side. I actually bought five of them but from experimenting I found that three connected in series (+ of one connected to the - of the next) gave the best light. That meant the whole series string doesn't turn on until the capacitor reaches 24 volts.
Three in parallel instead gave around the same light but that meant the capacitor would charge up to only 8 volts before the lights turned on. I wanted the capacitor to charge up more so I'd have more energy stored for when the masses reached the floor.
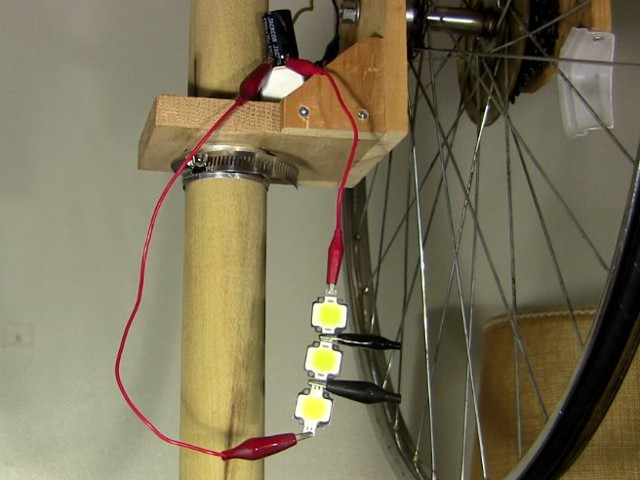
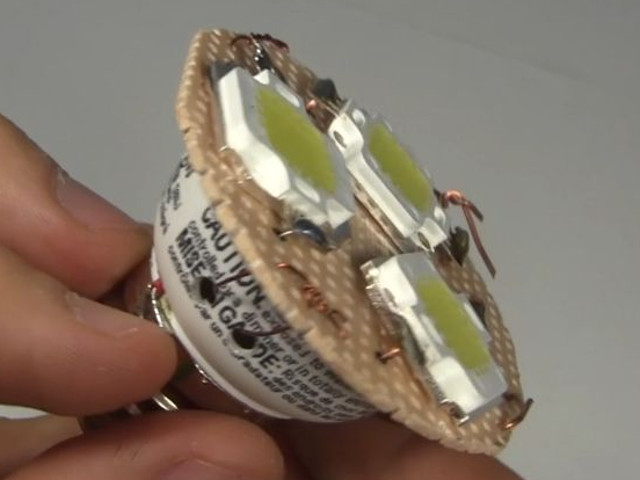
To mount them in the lamp, I made the DIY LED lightbulb shown below by mounting them on a breadboard and connecting that to a base I'd previously cut from a compact fluorescent lightbulb (CFL) for a joule thief project.
I measured both the current and voltage going into the 3 LEDs in series while turning the wheel and got around 2.7 milliamps at 24 volts. This means that the gravity light is not supplying anywhere near the LEDs rated 10 watts.
Power and efficiency calculations
These are calculations done to get some idea of the efficiency.
Amount of falling water: 15.3 liters/4 US gallons
Distance it falls: 1.2 m (meters)/4 feet
Time is falls: 12 minutes
1 liter of water = 1 kg (kilogram)
15.3 liters was used, so that's 15.3 kg (kilograms) of water
15.3 kg x 9.8 m/s^2 = 149.94 N (Newton) weight or downward force here on Earth
149.94 N x 1.2 m distance = 180 J (joules)
180 J / (12 minutes x 60 seconds/minute) =
0.25 watts
I measured the voltage and current while the lights were lit.
Current: 2.7 millamps (0.0027 amps)
Voltage: 24 volts
power = current x voltage = 0.0027 amps x 24 volts =
0.065 watts
Note that the LEDs are rated at 10 watts, but the power available
from the gravity light was nowhere near enough to run them at full power.
Comparing the two, (0.065 watts / 0.25 watts) x 100 = 26% efficiency. 26% is actually surprisingly good given what the losses must be in the bicycle wheel, the generator mounting bearings, the generator and the circuit.
Video - Gravity Light - a Homemade/DIY one (version 2)
This video gives an overview of the above homemade gravity light, the principle of how it works, and a demonstration of it in action.
Video - Gravity Light - Making and Enhancements (version 2)
Here are most of the step-by-step details for how I made this gravity light, and includes the improvements made over version 1.

