Mini solar tower version 5
This is my July 8, 2011 attempt to generate electricity using a mini solar tower. It turns out that despite having 640 watts of sunlight arriving at my fresnel lens, the solar tower is so inefficienct that the best I can do is rotate a paper turbine a little.
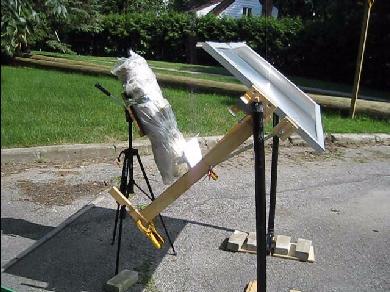
Testing the mini solar tower with paper turbines
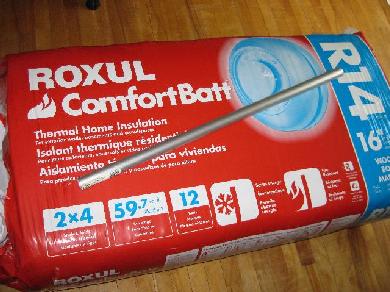
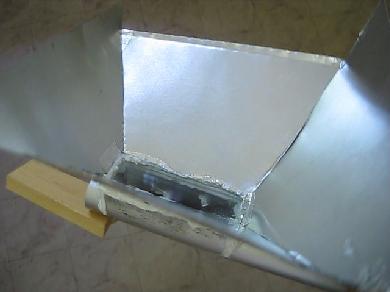
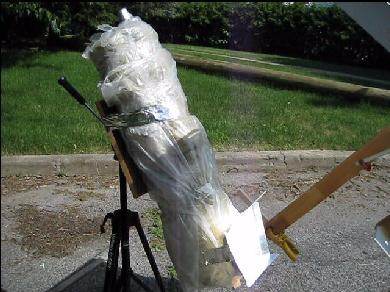
Smoke from melting plastic that was wraped around the insulation was being pulled into the heat tube, inadvertantly allowing me to see the air flow. To increase output air velocity and pressure I put a funnel (see below) over the outlet.
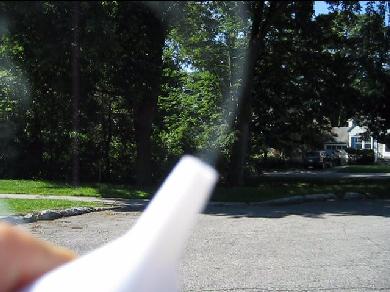
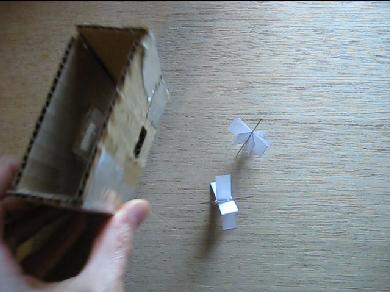
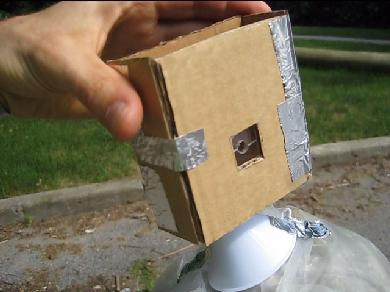
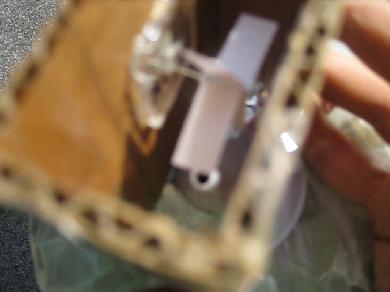
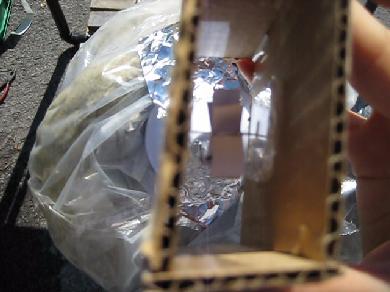
To get it to work I first have to wait until the entire pipe is too hot to touch. This causes the rising hot air to stay hot all the way up by minimizing heat loss to the equally hot pipe. At that point the air output is at maximum velocity and pressure.
When I put one side of the turbine over the funnel outlet the turbine rotates about one eigth of a turn such that a blade is blown to the horizontal position but it goes no further.
With some further optimization I can probably get it to keep one of these paper turbines spinning but not enough to turn a PC fan to produce electricity.
Construction of the mini solar tower
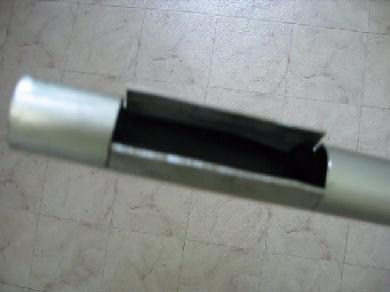
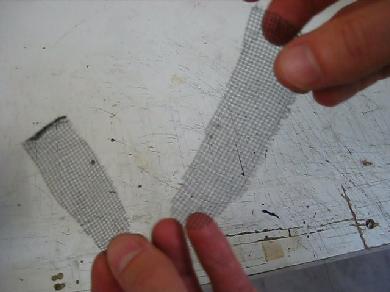
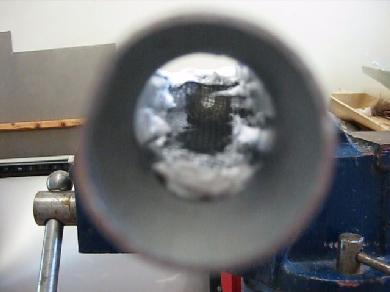
There are three absorbers. The inside back of the pipe is painted black but then there are two aluminium fly screens, also painted black. As the following diagram shows, the air must pass through the two fly screen absorbers and when it does so it will either touch the screen wires or pass very close to them. That makes for relatively complete heating of all air.
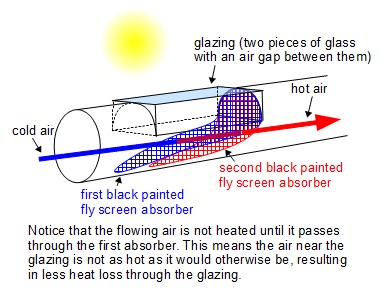
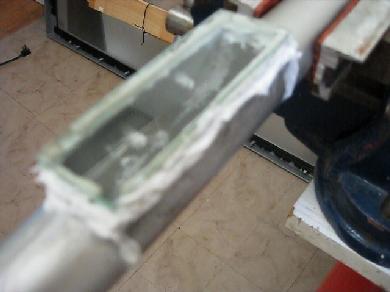
But the main reason for this design is to reduce heat losses to the glazing. The flowing air is not heated by the first screen until it passes through it, resulting in the air between the glazing and the absorber being still relatively cool. This air is still heated by radiant heating and contact with the sides of the pipe and the glazing, but at least it's cooler than it would be with most alternative designs. The reason this a good thing is that the glazing is exposed to the outside air and so air that contacts the glazing from the inside will loose heat to the glazing. The greater the temperature difference between the glazing and the hot air, the more efficient the heat transfer. Keeping the air relatively cool therefore makes for less effcicient heat transfer (loss) to the glazing.
This design is taken from the same design used in matrix type solar air heaters.
Video for version 5 of the solar tower
The following video is of version 5.
More topics
Renewable Energy
Getting started
Solar in the city
Solar energy
Solar air heating
Solar pool heating
Solar power
How it works 1
How it works 2
Types of systems
MicroFIT/feed-in tariff
Net metering
Off-grid solar
Off-grid solar inst. p1
Off-grid solar inst. p2
Off-grid solar inst. p3
Off-grid solar inst. p4
RV solar (small system)
Mobile solar system
Solar panel angle
Broken solar panels
Fix broken panel
Pure vs modified sine
DIY solar panel (simple)
DIY copper solar cell
DIY transistor solar cell
Concentrated solar DIY
Mini solar tower
Versions 1, 2 and 3
Version 4
Version 5
Version 6Version 7
Arnprior solar farm
Solar cooking
Solar hot water
Wind power
Solar house simulator
Solar in winter issues
Finding true south
Shading/obstacle issues
Lining up with sun
Heat
Insulation
Insulation Table
Heat transfer/loss
Squaring array frame
Science/Electronics
Efficiency & Conservation
Composting
Food
Non-conv. Energy
Non-conv. Propulsion
Space
Stories
